
Introduction
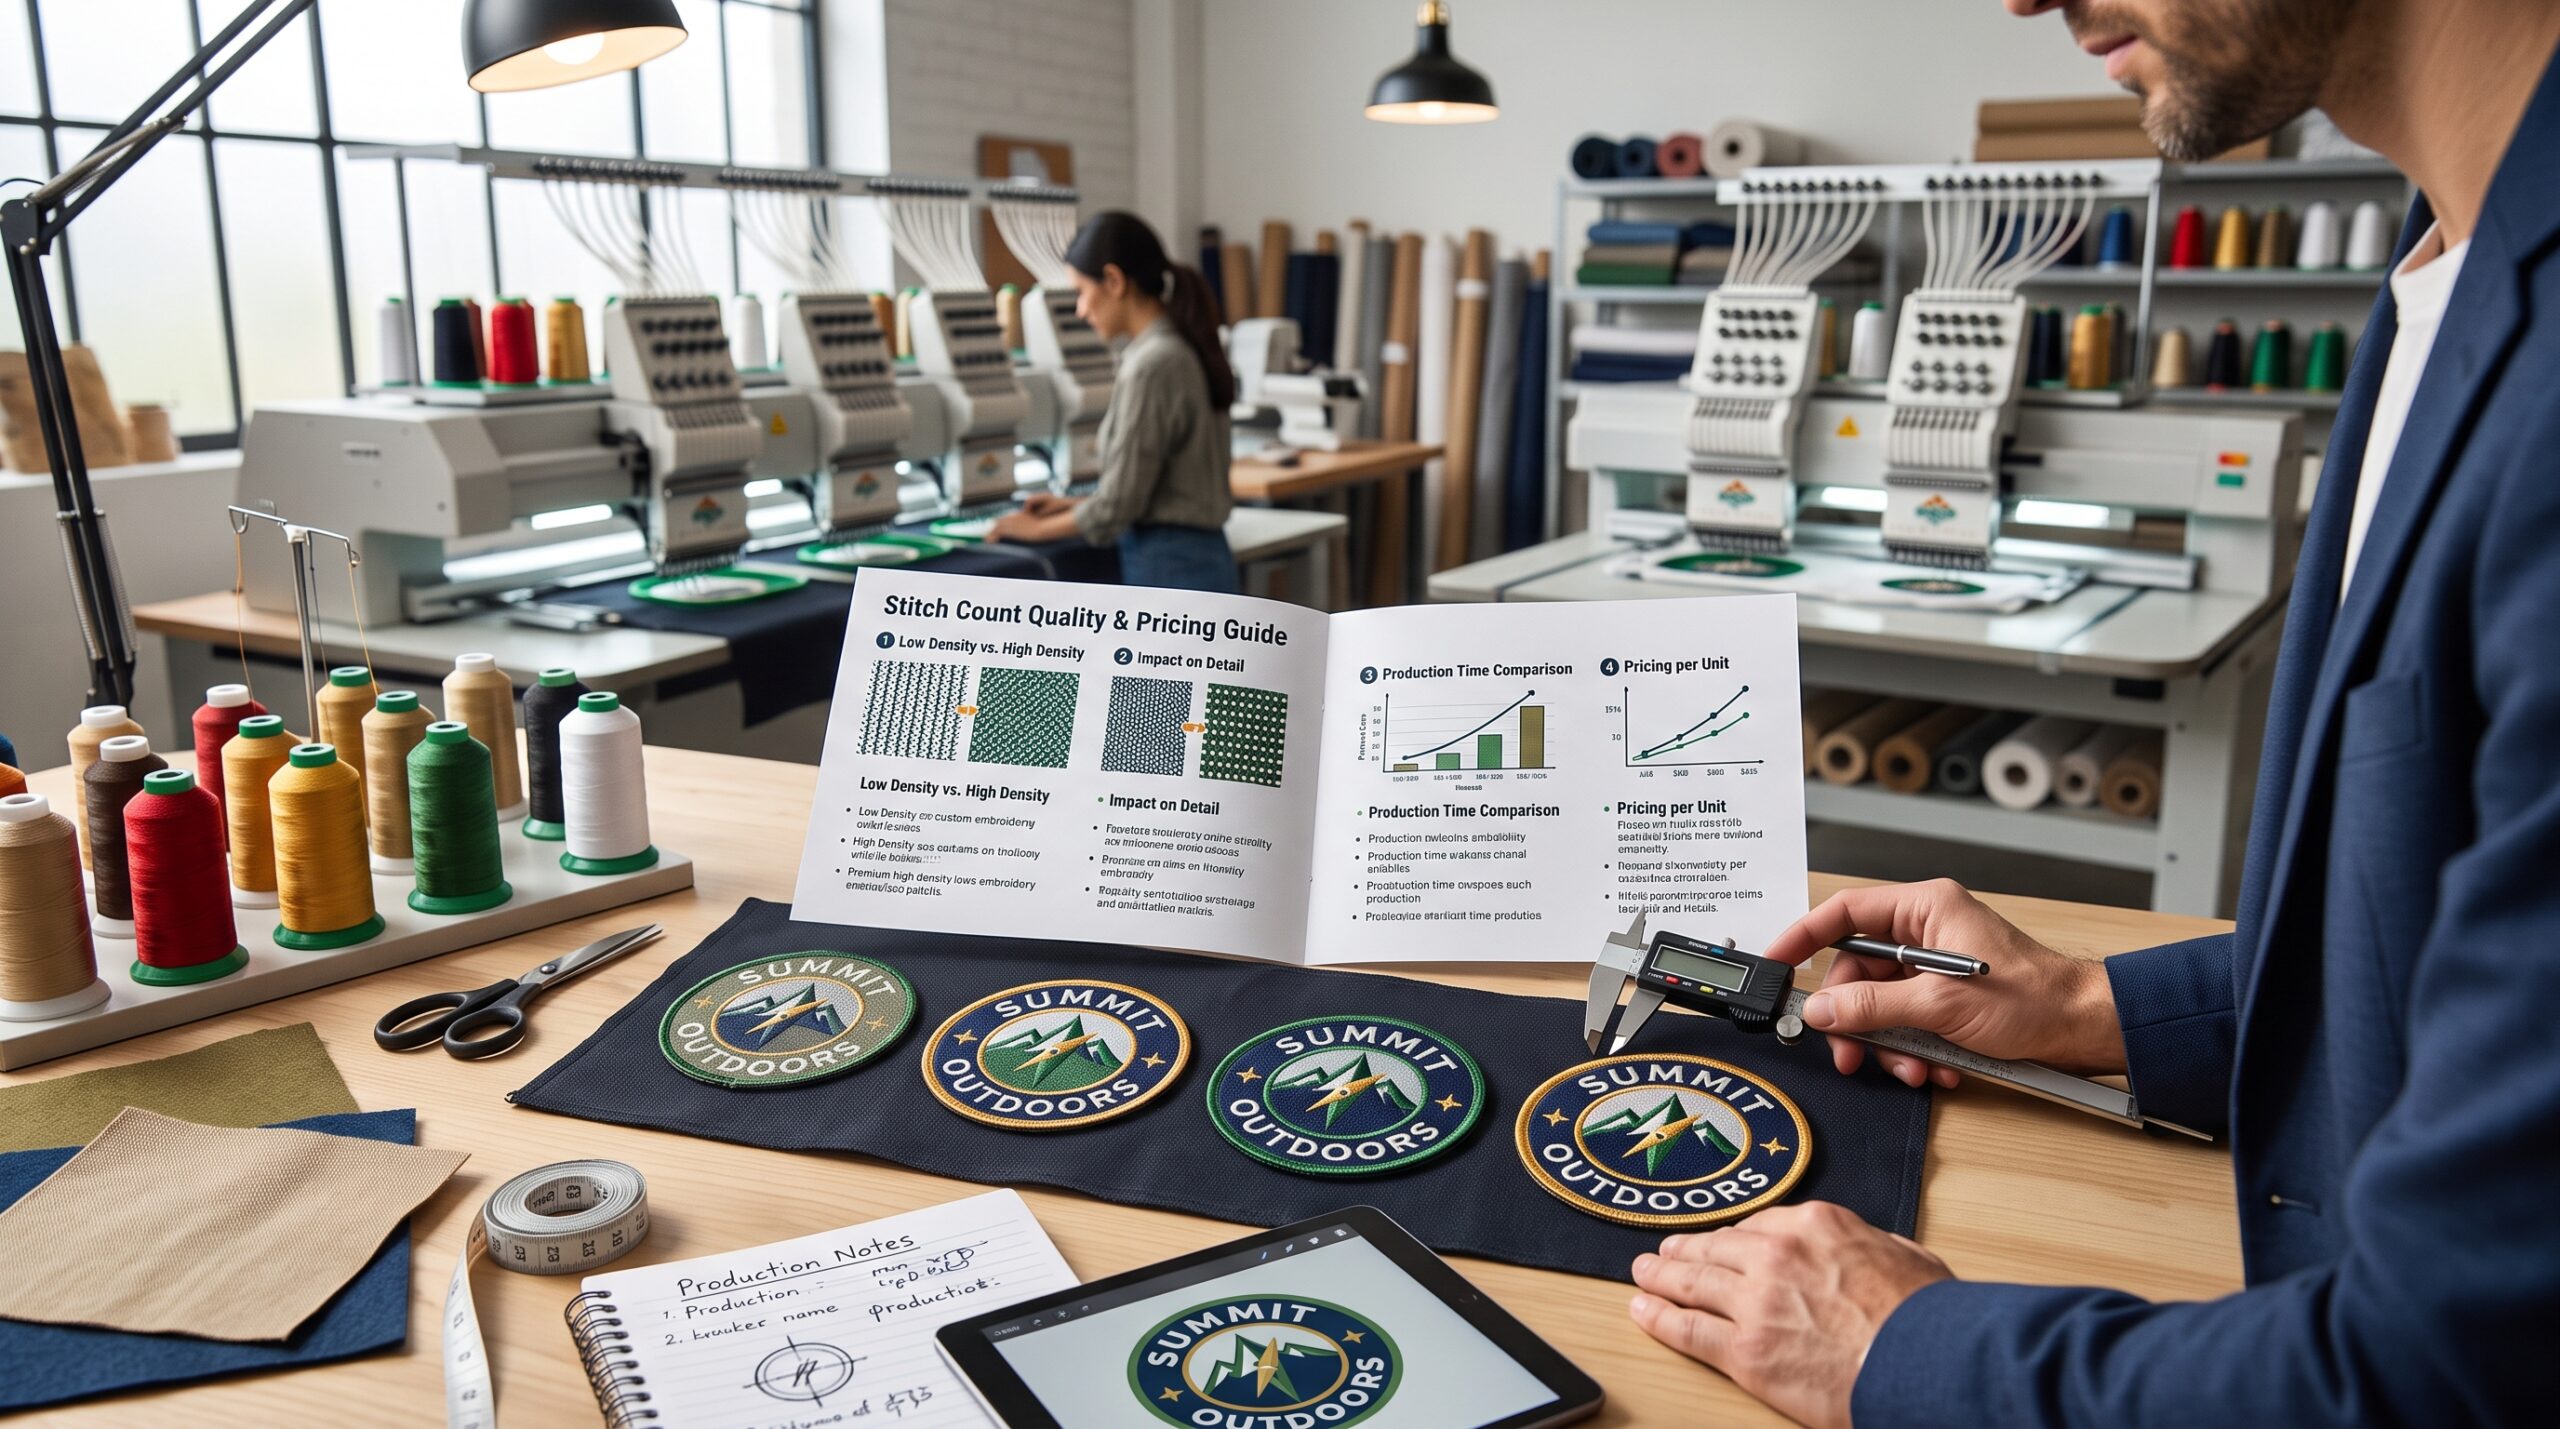
- Businesses ordering custom embroidered patches often run into one confusing decision early in the process: choosing the right stitch count for their design.
- Stitch count directly affects how a patch looks, how much it costs, and how well small details like text and logos appear once stitched.
- Many buyers assume higher stitch count always means better quality, but that is not always true, and choosing the wrong stitch count can lead to unnecessary costs or a patch that does not represent the brand accurately.
- This guide explains what stitch count means, how it affects embroidery quality, and how B2B buyers can choose the right stitch count for logos, text, and detailed designs in 2026.
- By the end of this guide, you will understand:
- What stitch count means in embroidery
- How stitch count is different from stitch density
- How stitch count affects pricing and production time
- How to choose the right stitch count based on design type and fabric
- Best practices to avoid common stitch count mistakes
What Is Stitch Count?
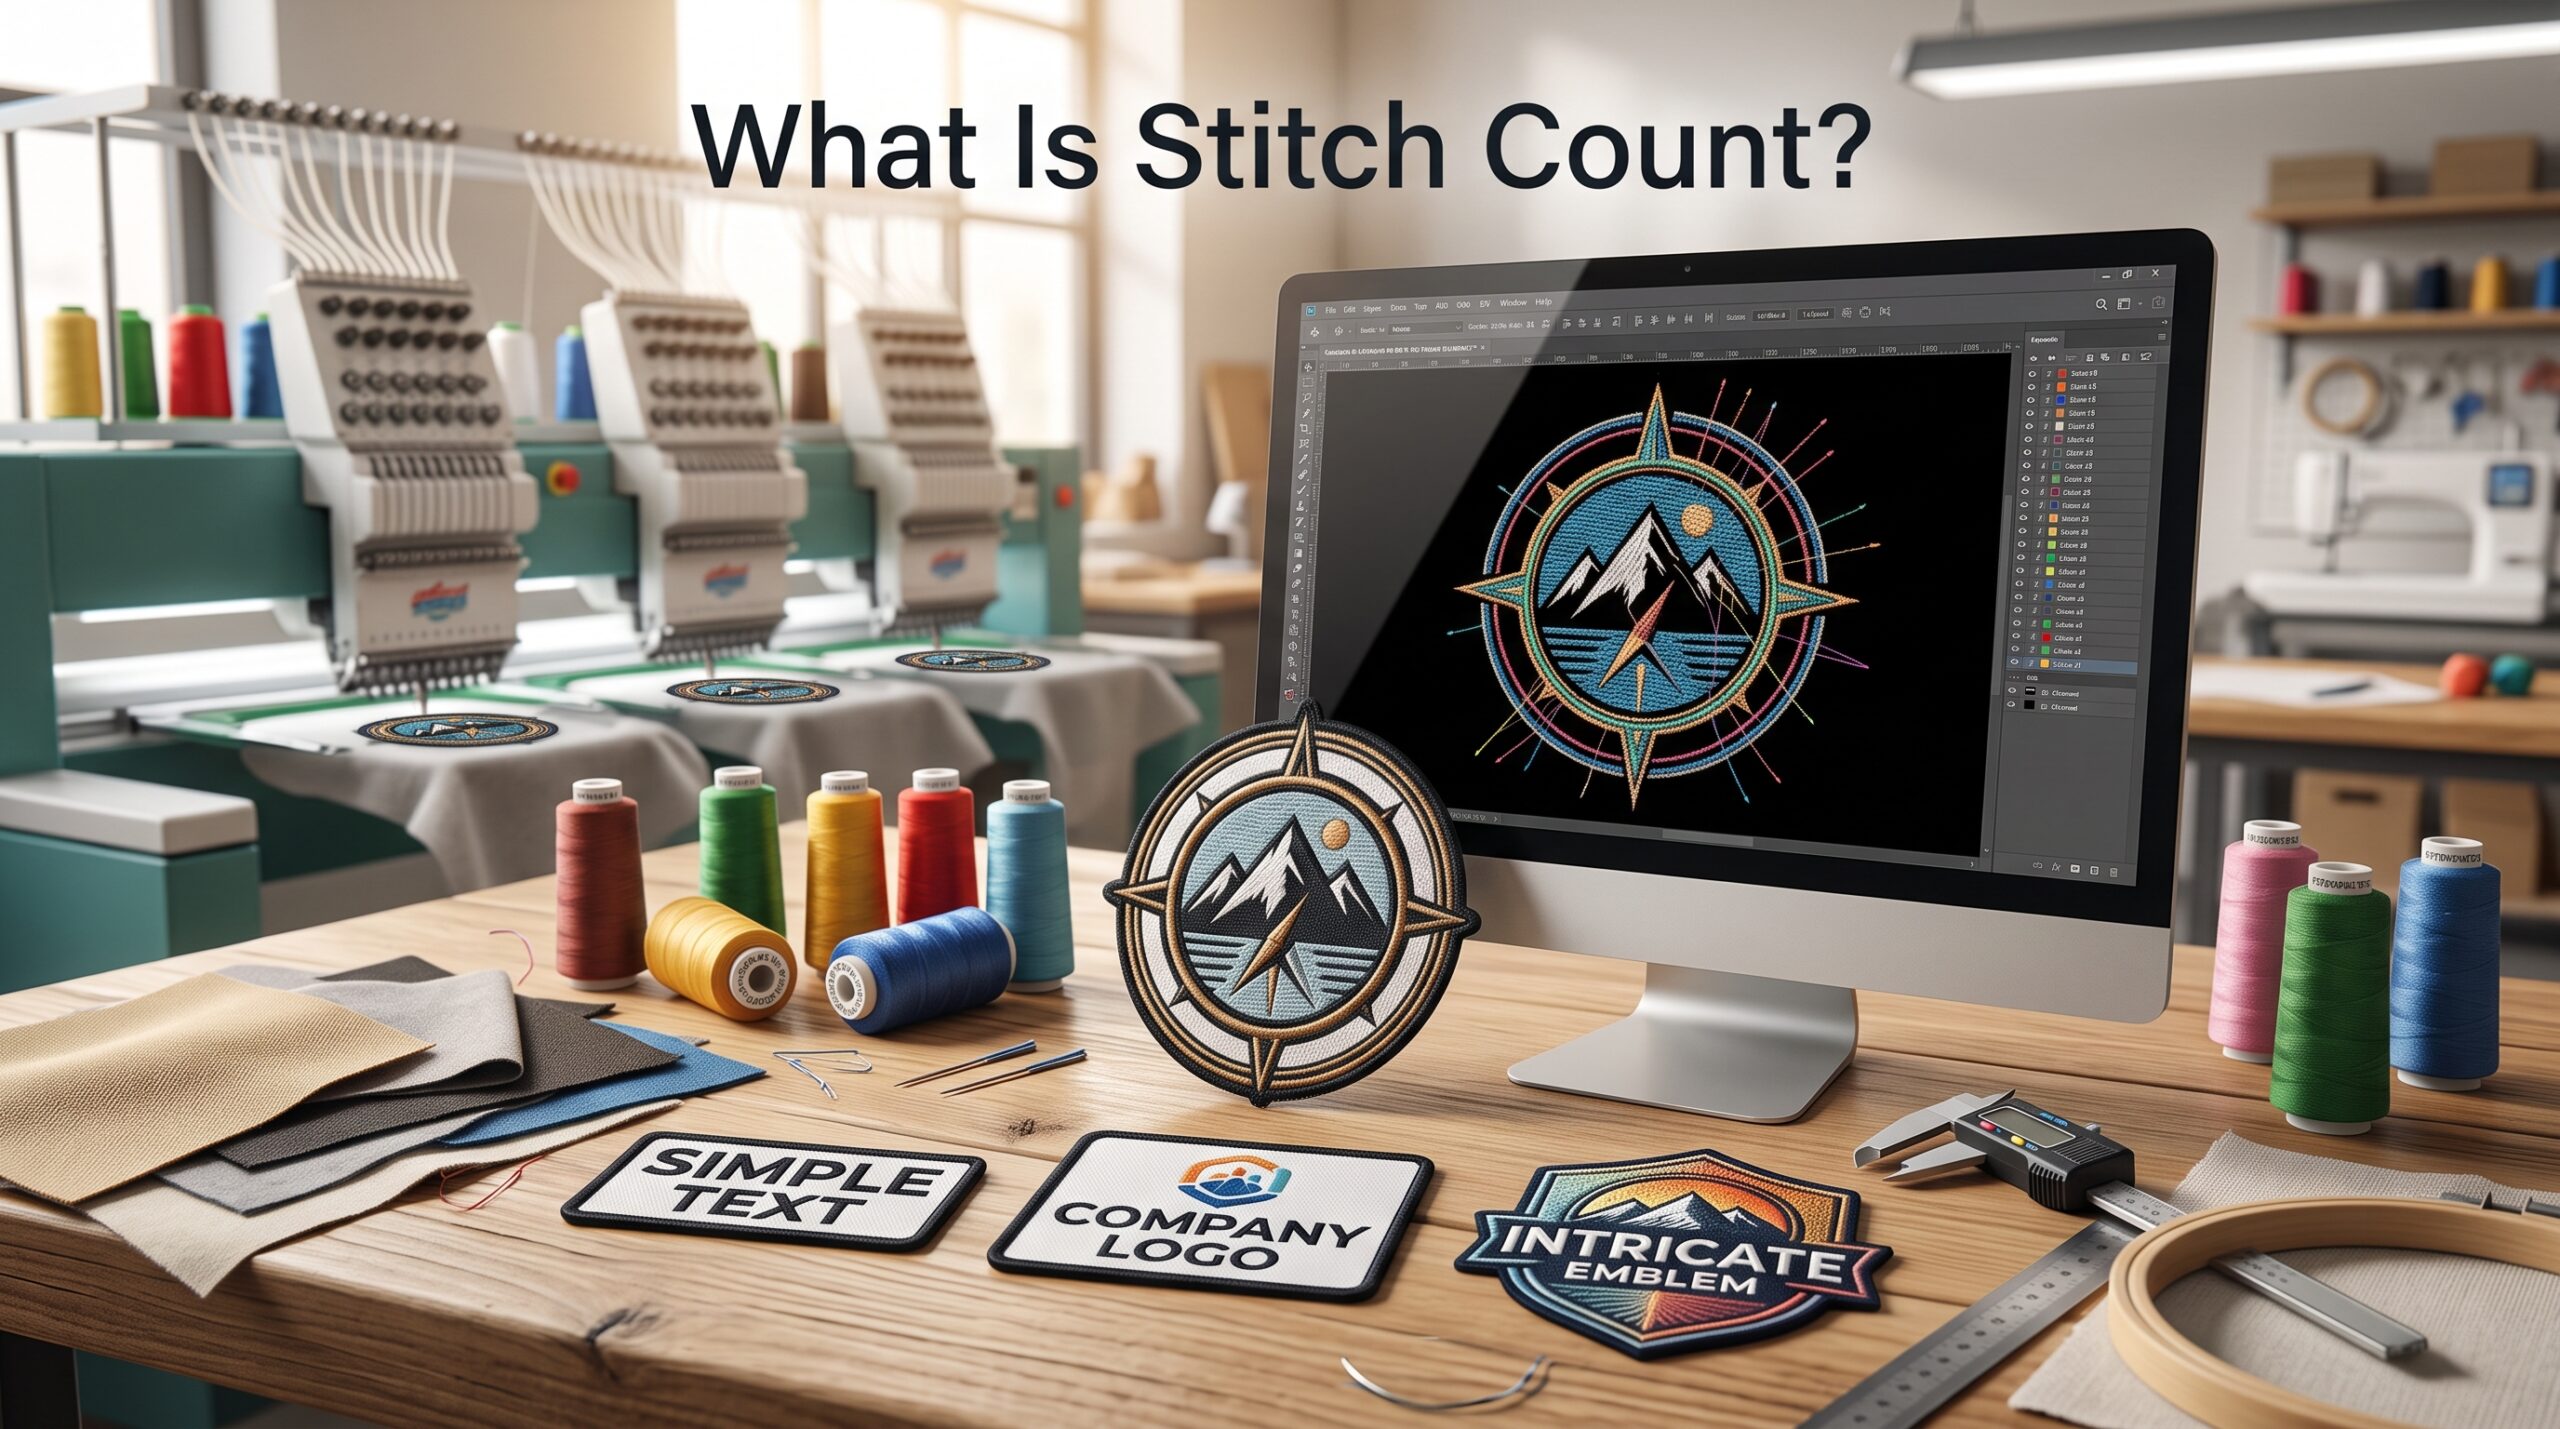
- Featured Snippet Answer: Stitch count refers to the total number of individual stitches that make up an embroidered design. It directly affects the level of detail, texture, and overall appearance of the patch, and manufacturers use it as one of the main factors when calculating embroidery production cost and time.
- Key points to understand about stitch count:
- A digitized file places thousands of individual stitches to build every embroidered patch.
- Stitch count varies based on design complexity, size, and the amount of fill or detail required
- A simple text-only patch may need a few thousand stitches, while a highly detailed logo may require tens of thousands
- Stitch count is different from thread color count, which refers to the number of colors used in a design
Stitch Count vs Stitch Density: What Is the Difference?
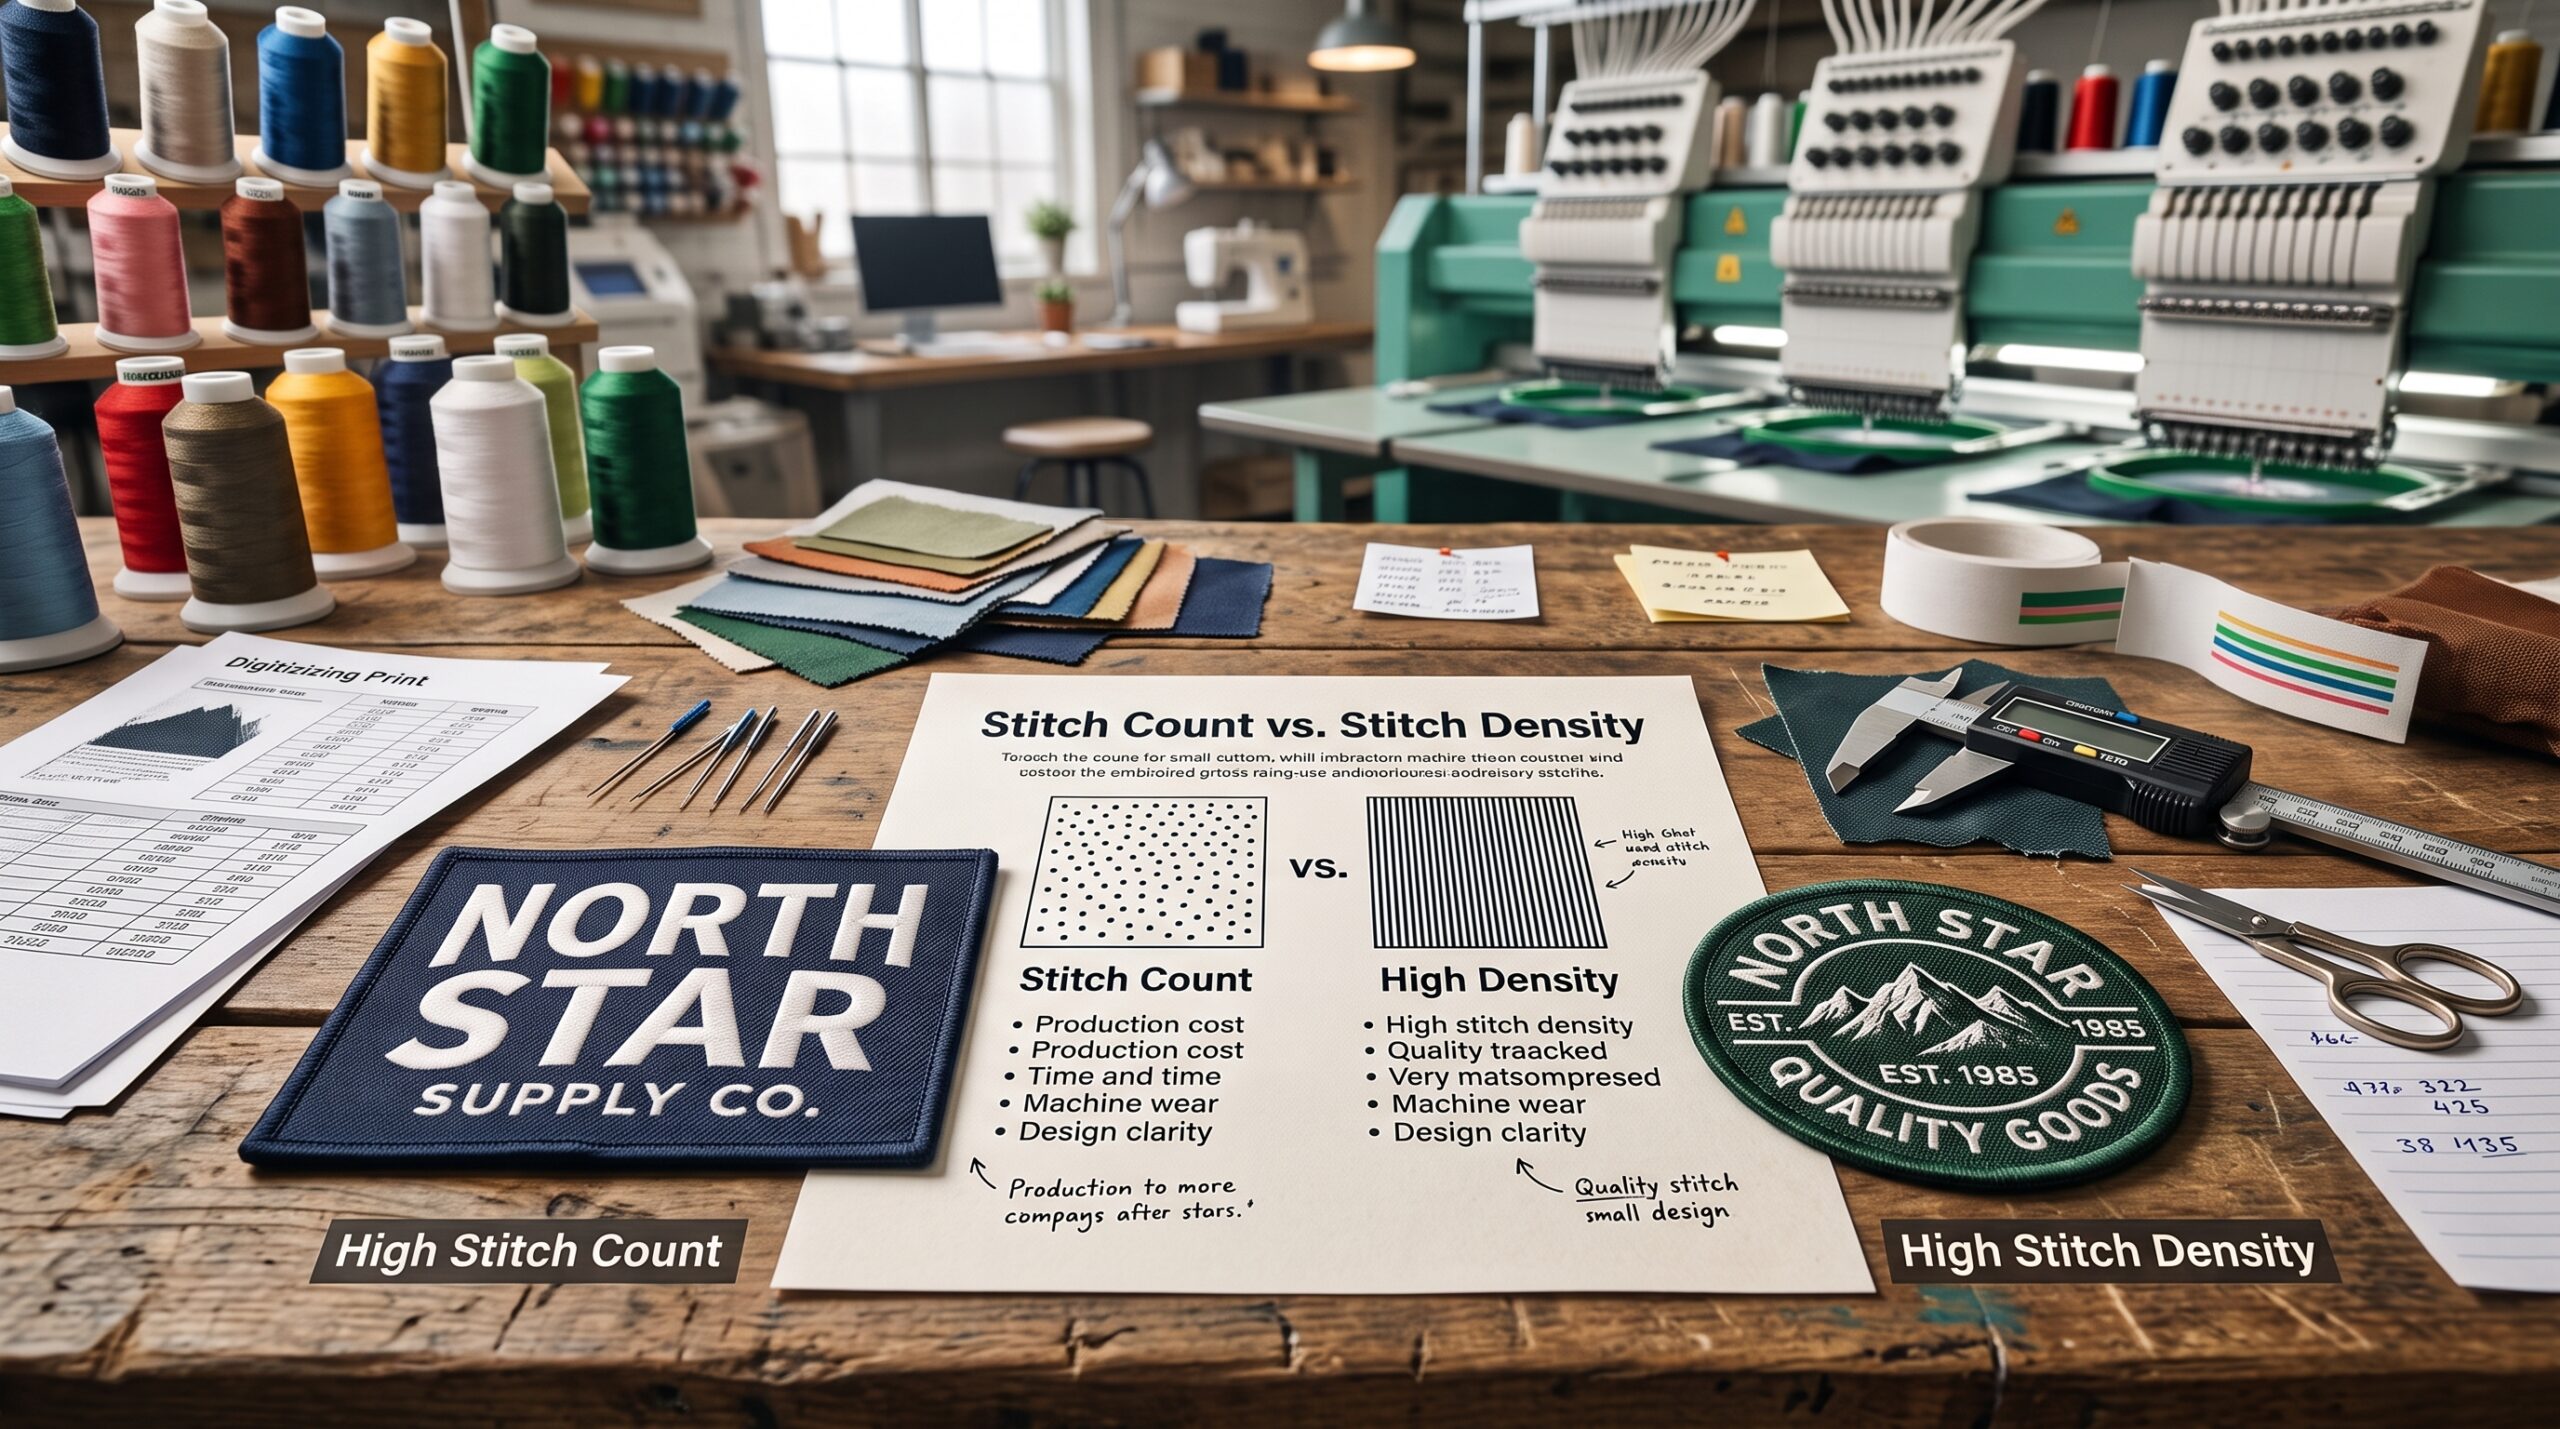
- Featured Snippet Answer: Stitch count is the total number of stitches in a design, while stitch density describes how closely those stitches sit together within a given area. A design can have a high stitch count but low density if it covers a large area, or a low stitch count with high density if it covers a small, detailed section.
- Why this distinction matters for buyers:
- Stitch count affects overall production cost and time
- Stitch density affects how solid, textured, or raised the embroidery appears
- Digitizers often use high density for small text or fine detail to keep it readable.
- Digitizers often use lower density for larger fill areas to avoid excess thread buildup and fabric puckering.
Why Right Stitch Count Matters for Businesses
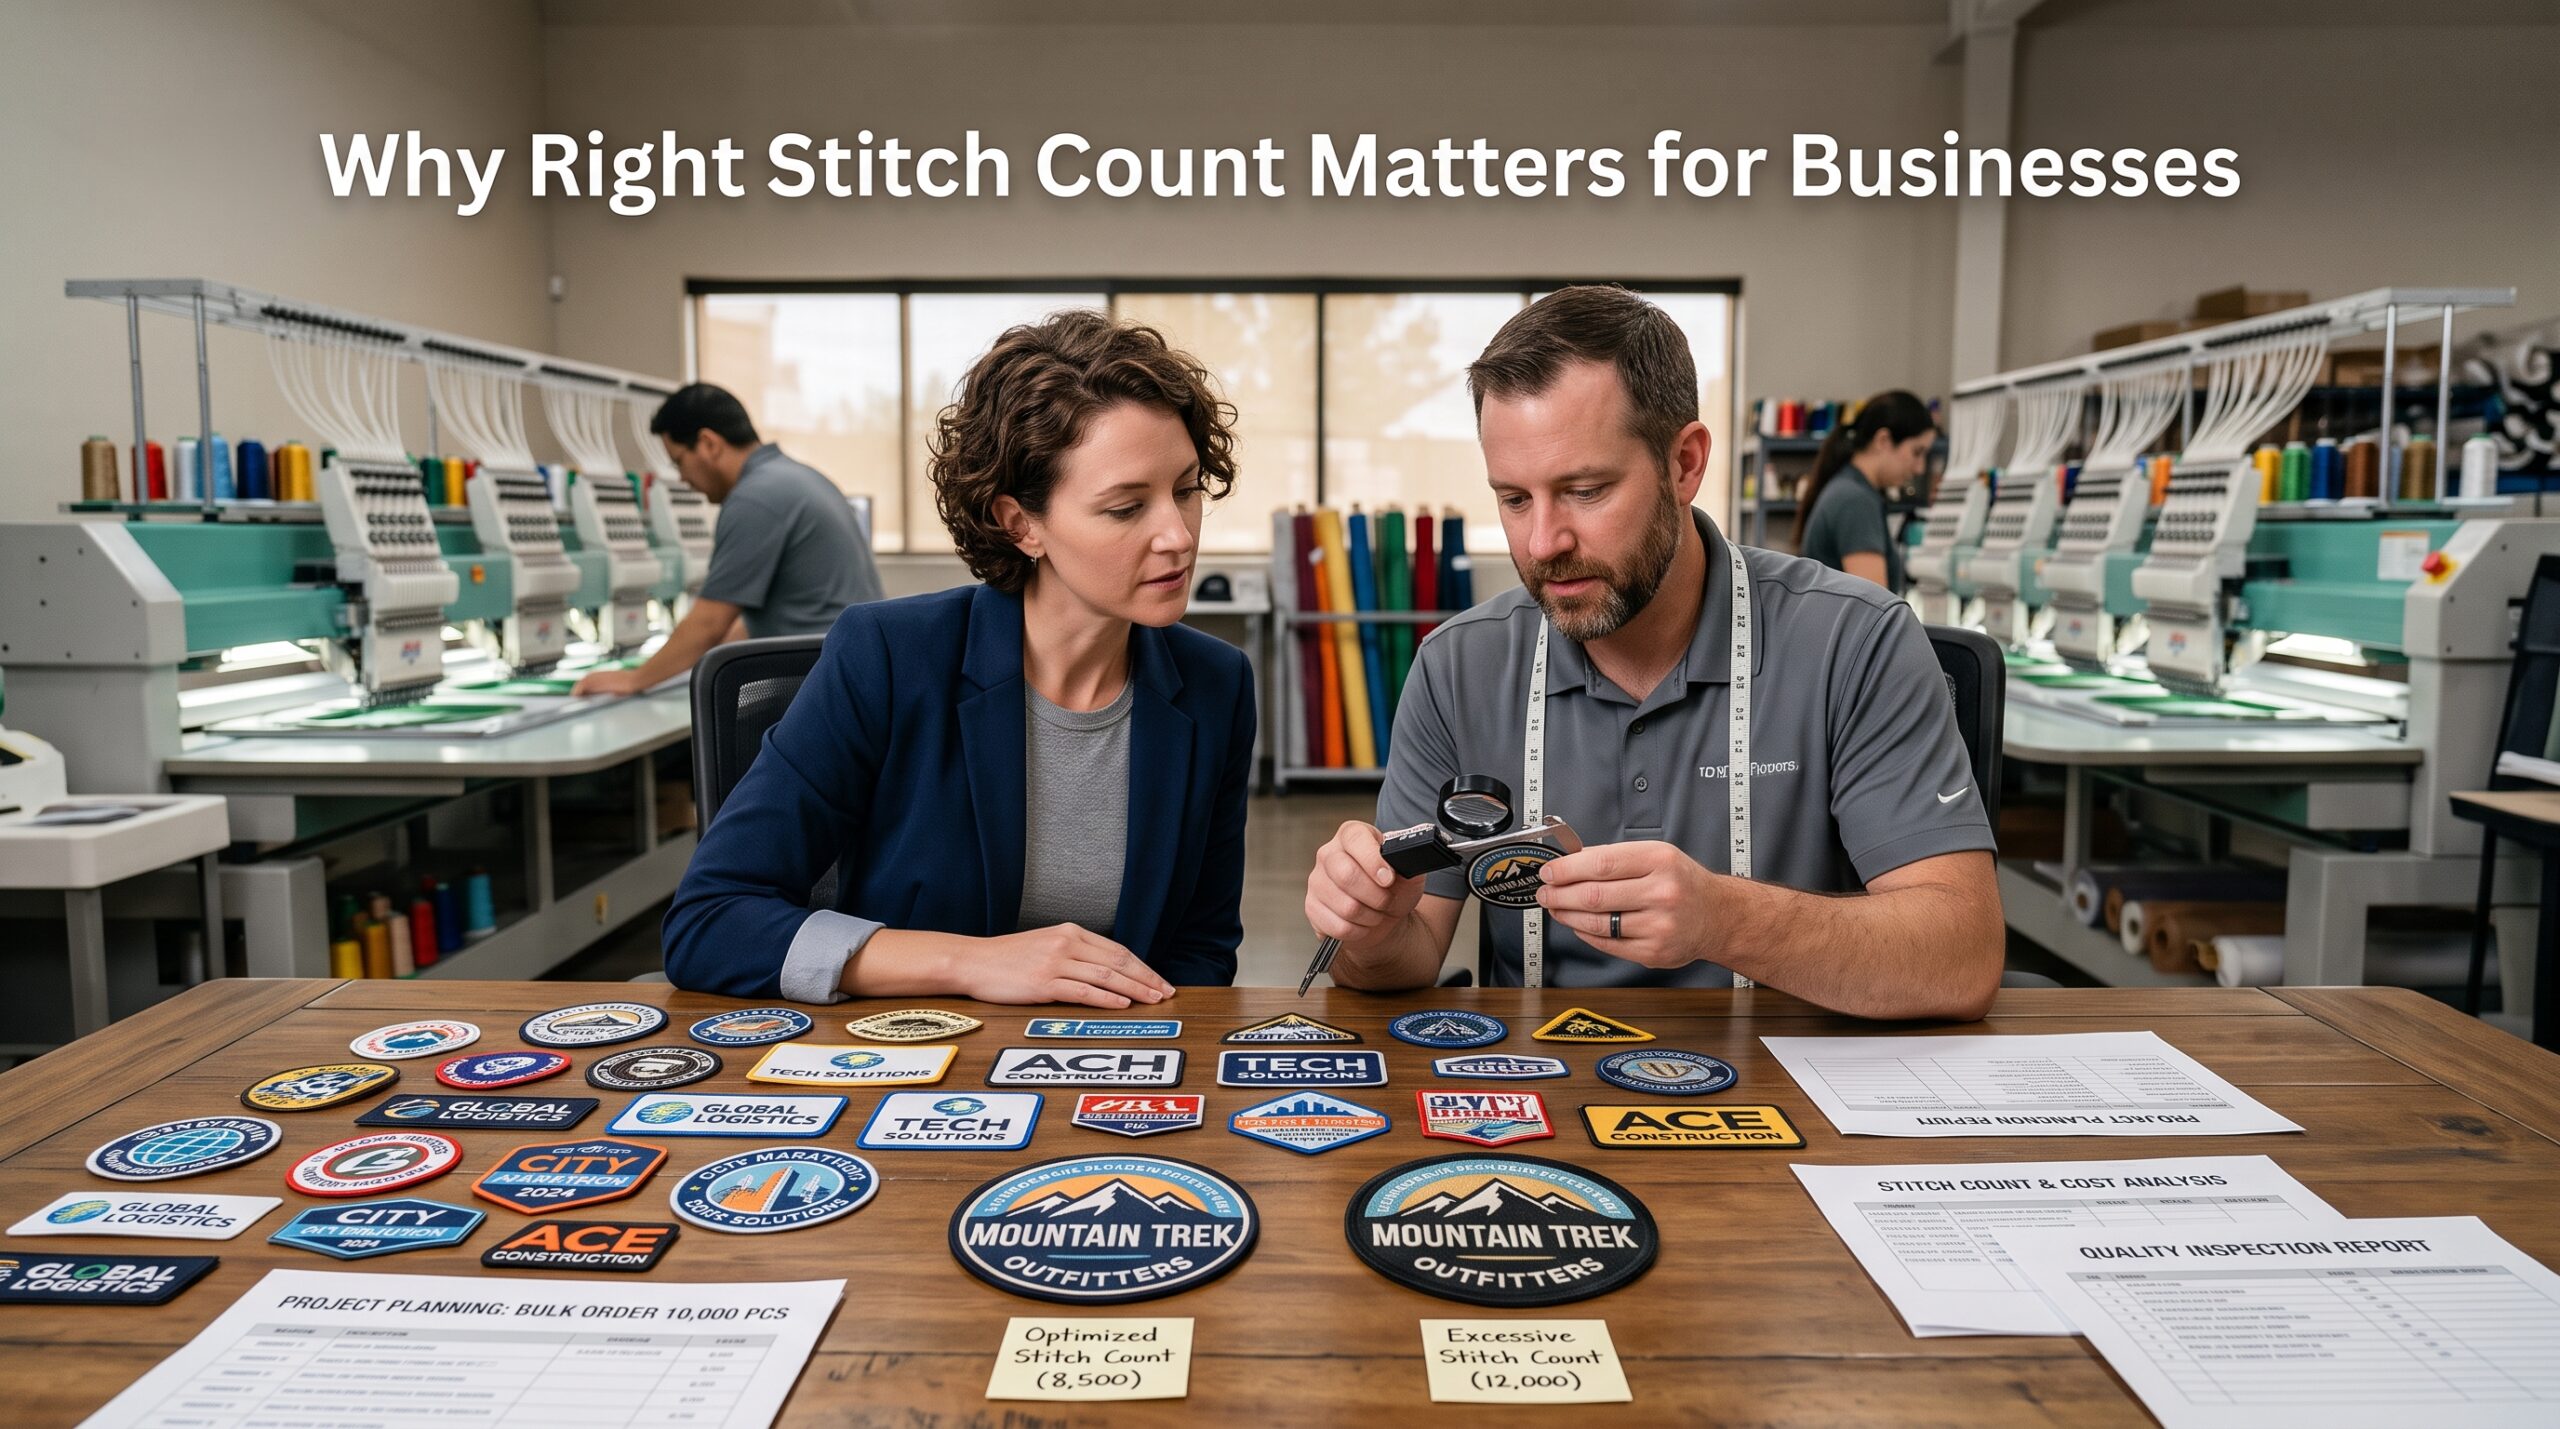
- Featured Snippet Answer: Choosing the right stitch count matters for businesses because it directly impacts patch quality, production cost, and turnaround time. An incorrect stitch count can result in unclear logos, unnecessary expenses, or embroidery that does not hold up well over repeated use.
- Business impact of stitch count decisions:
- Affects how clearly a logo or text appears on uniforms, caps, and merchandise
- Impacts total order cost, especially for bulk B2B orders
- Influences production time, since higher stitch counts take longer to embroider
- Affects patch durability, since improper density can lead to thread breakage or fabric damage over time
Key Features and Specifications of Embroidered Patches
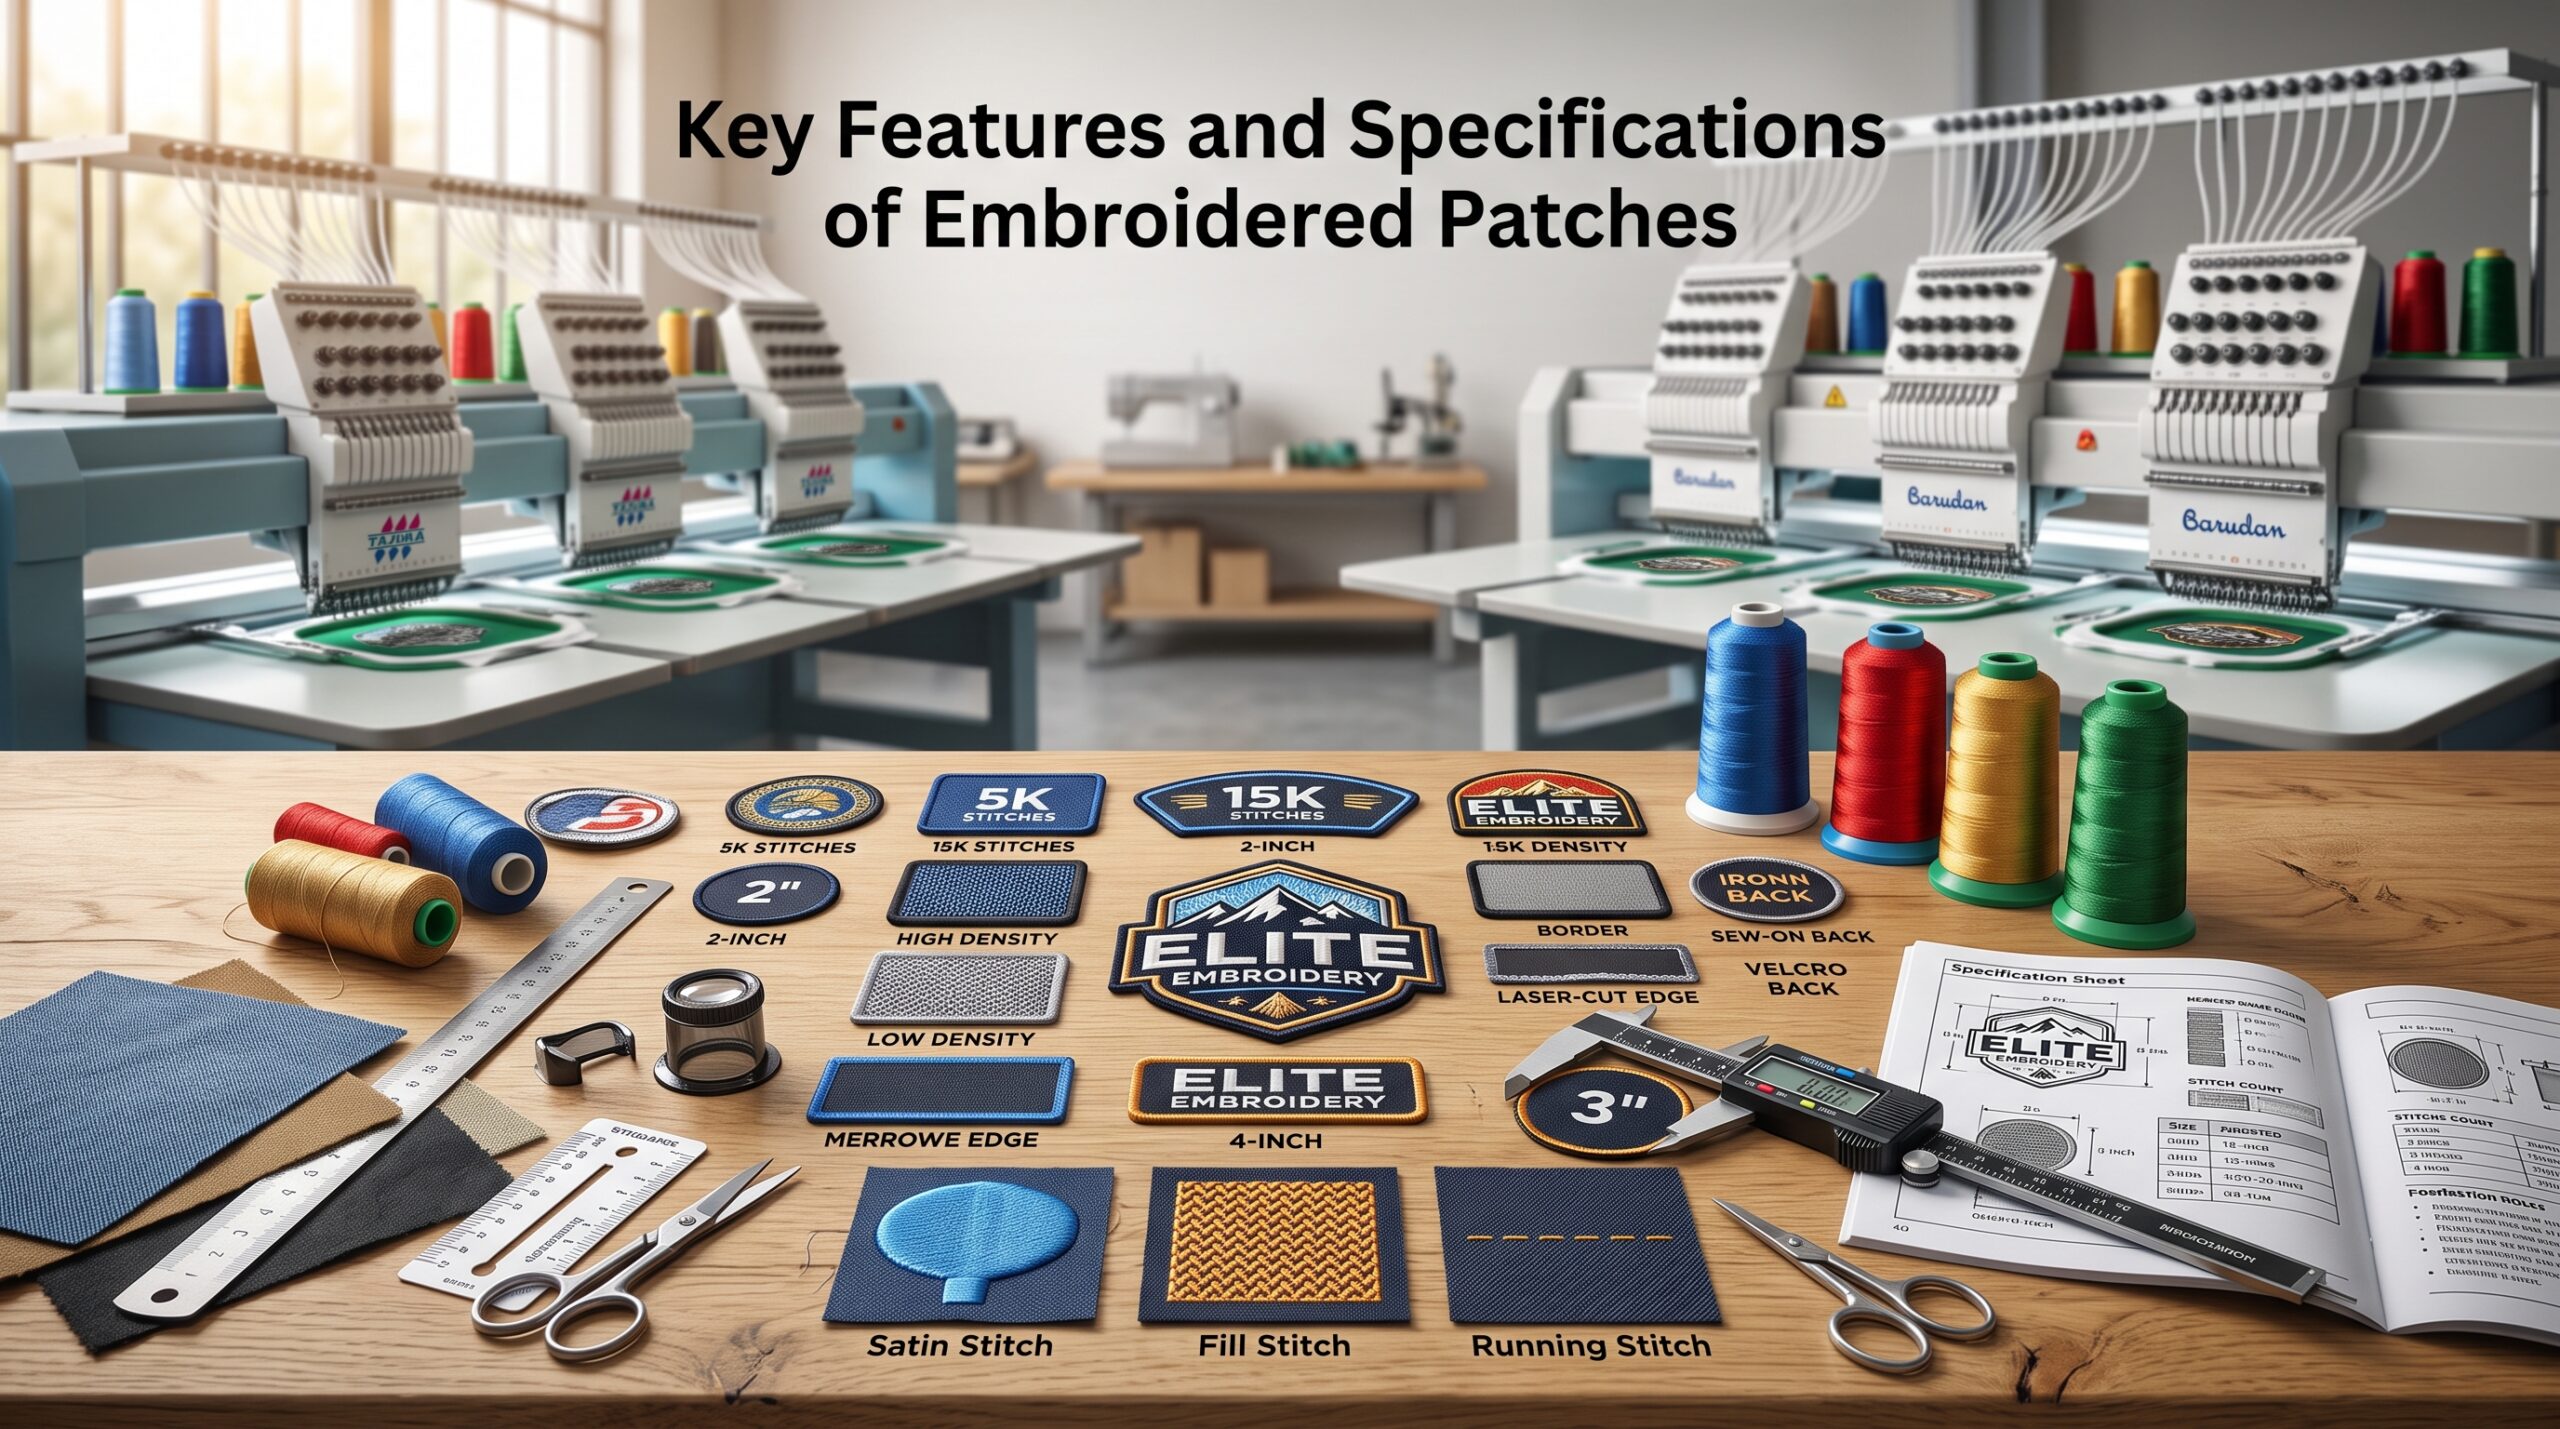
- Featured Snippet Answer: Specifications such as stitch count, stitch density, thread type, patch size, backing type, and border finish define an embroidered patch, and all of these influence the final appearance, durability, and production cost of the patch.
- Common specifications to review before ordering:
- Stitch count range: varies from a few thousand for simple designs to over 20000 for highly detailed logos
- Stitch types: satin stitch for borders and text, fill stitch for larger areas, running stitch for fine outlines
- Thread type: polyester or rayon, chosen based on durability and color vibrancy needs
- Patch size: directly affects how much detail the embroidery can clearly show.
- Backing options: iron on, sew on, or Velcro backing depending on end use
How Stitch Count Works in Embroidery Digitizing
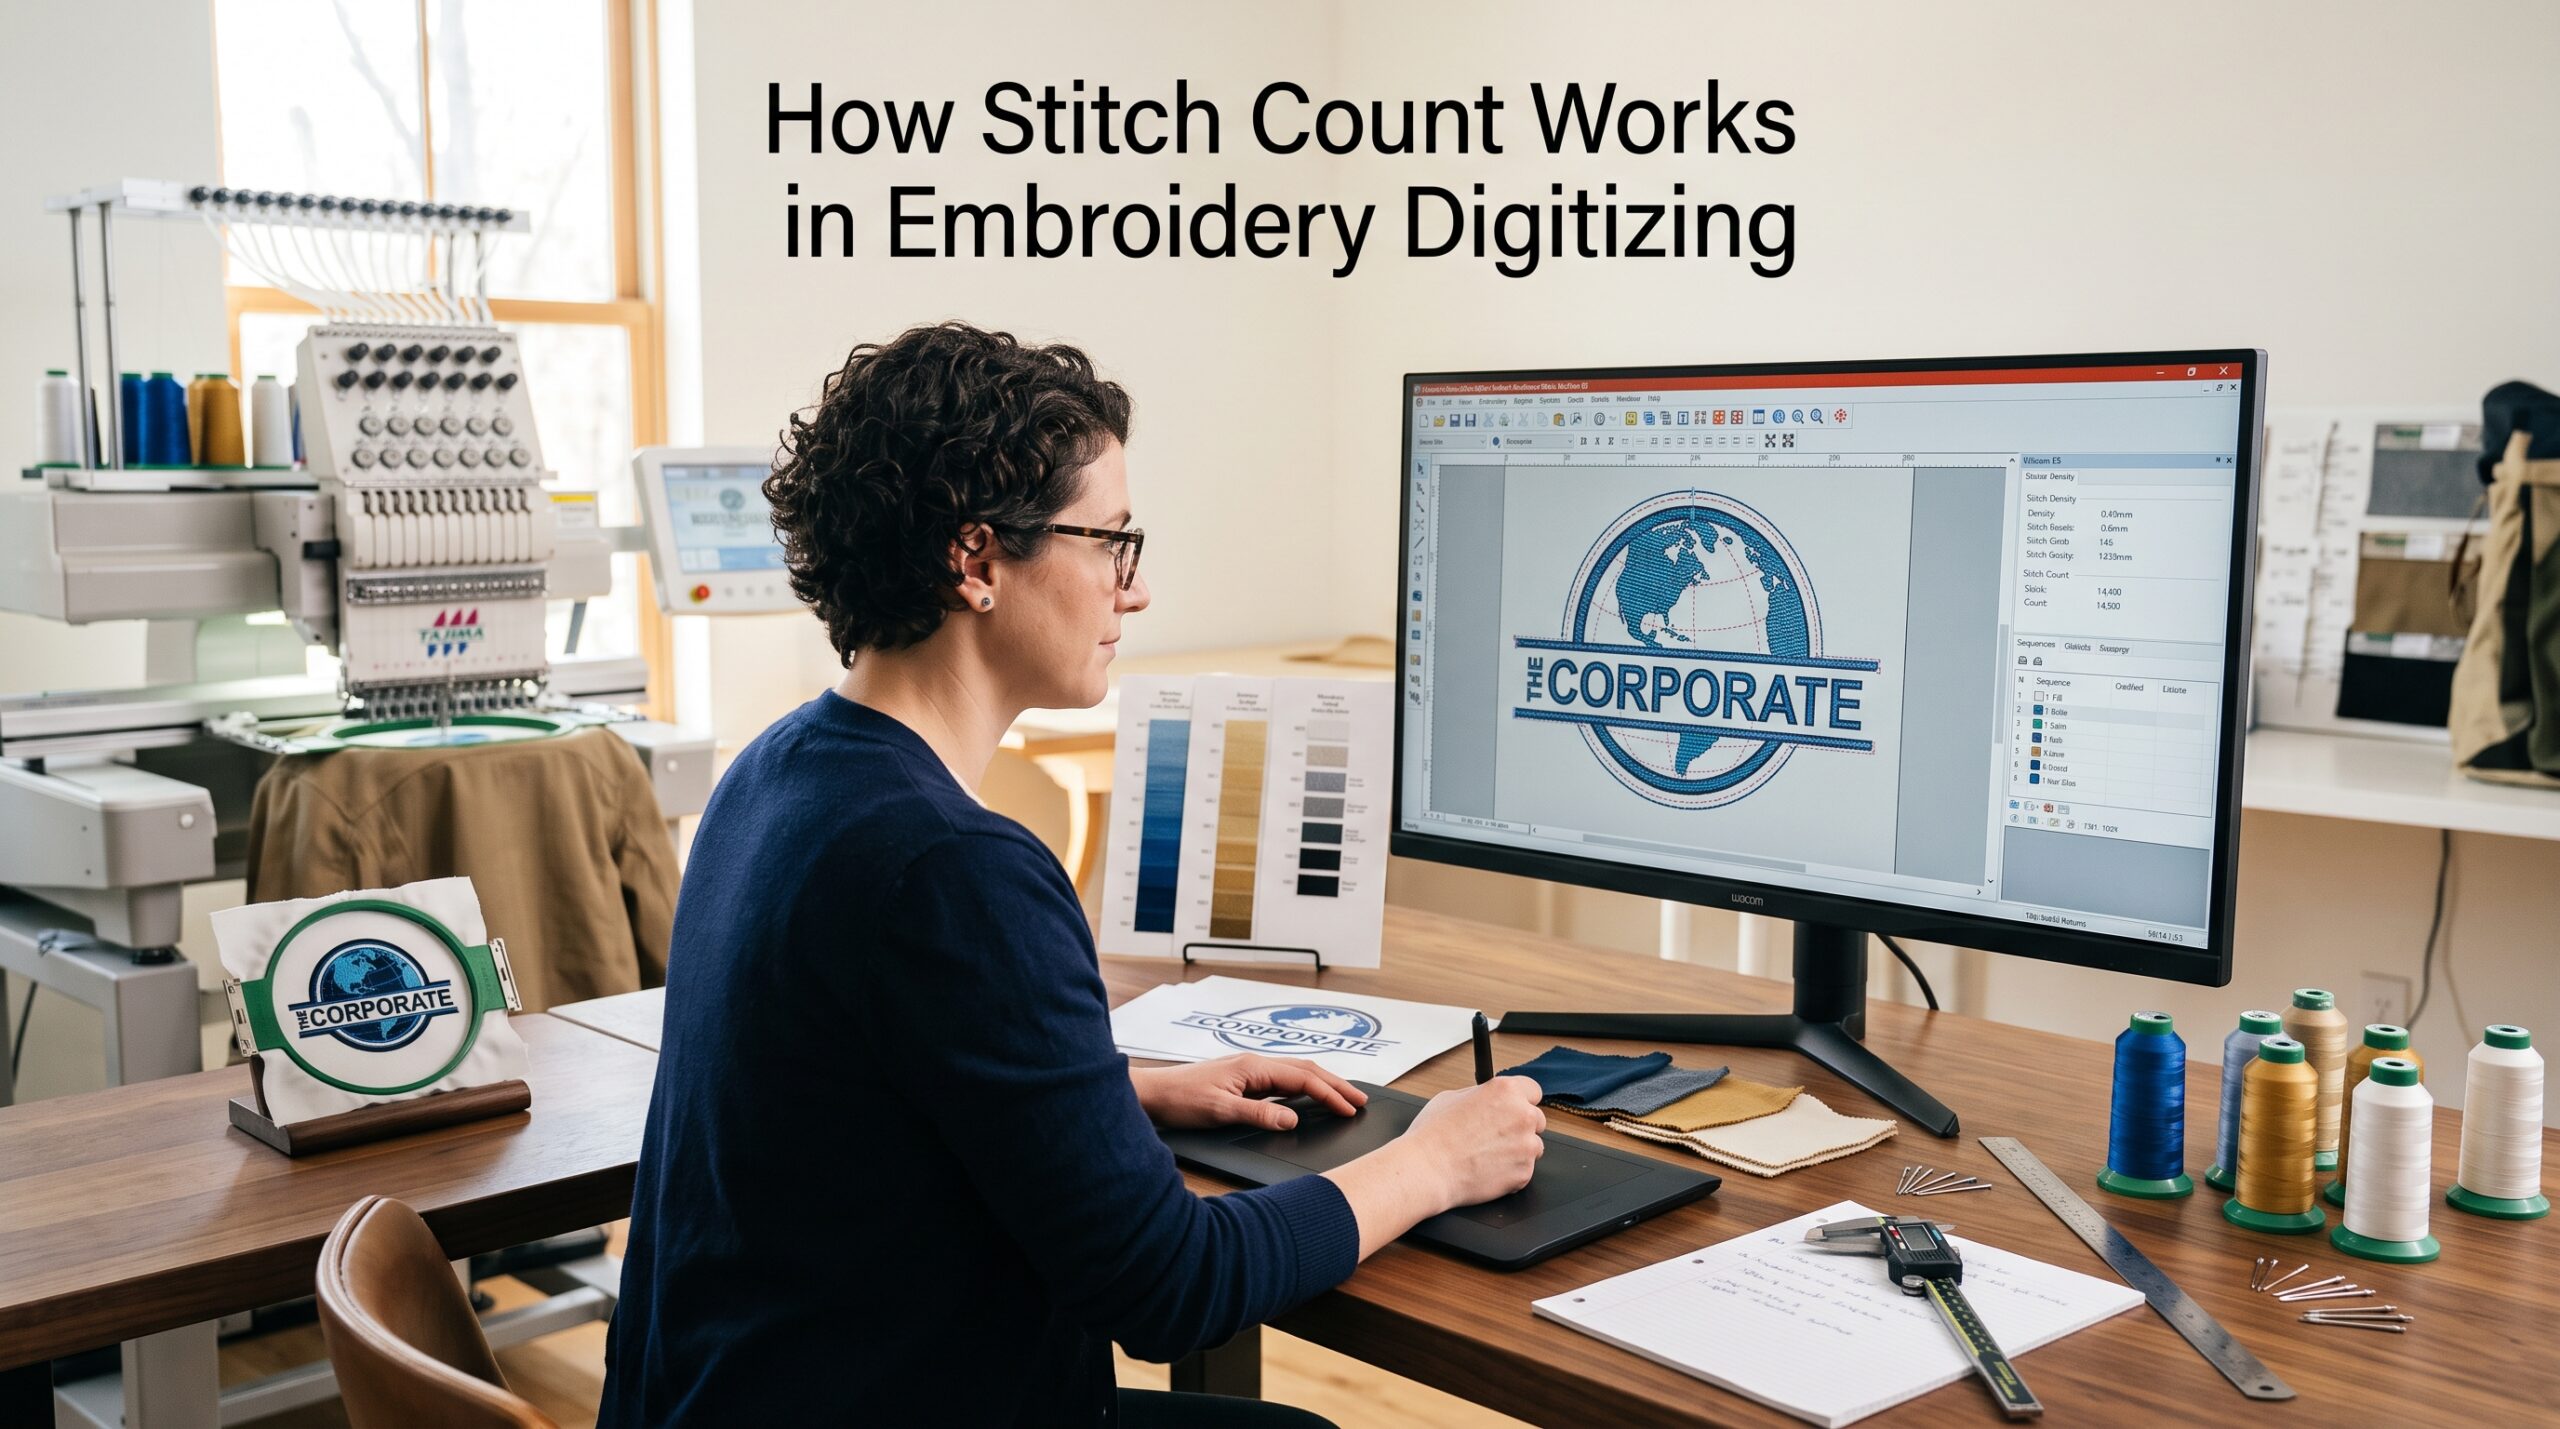
- Featured Snippet Answer: The embroidery digitizing process determines stitch count by converting a design into a stitch file that tells the embroidery machine exactly where to place each stitch. Digitizers adjust stitch type, density, and sequence based on the design’s shape, size, and level of detail.
- Step by step process explanation:
- A design or logo is submitted in image or vector format
- A digitizer converts the artwork into a stitch file compatible with embroidery machines
- Stitch types are assigned to different parts of the design, such as satin stitches for text and fill stitches for larger areas
- Stitch density and count are adjusted based on fabric type and patch size
- The final file is tested and adjusted to avoid issues like thread breaks or fabric puckering before mass production
How to Choose the Right Stitch Count
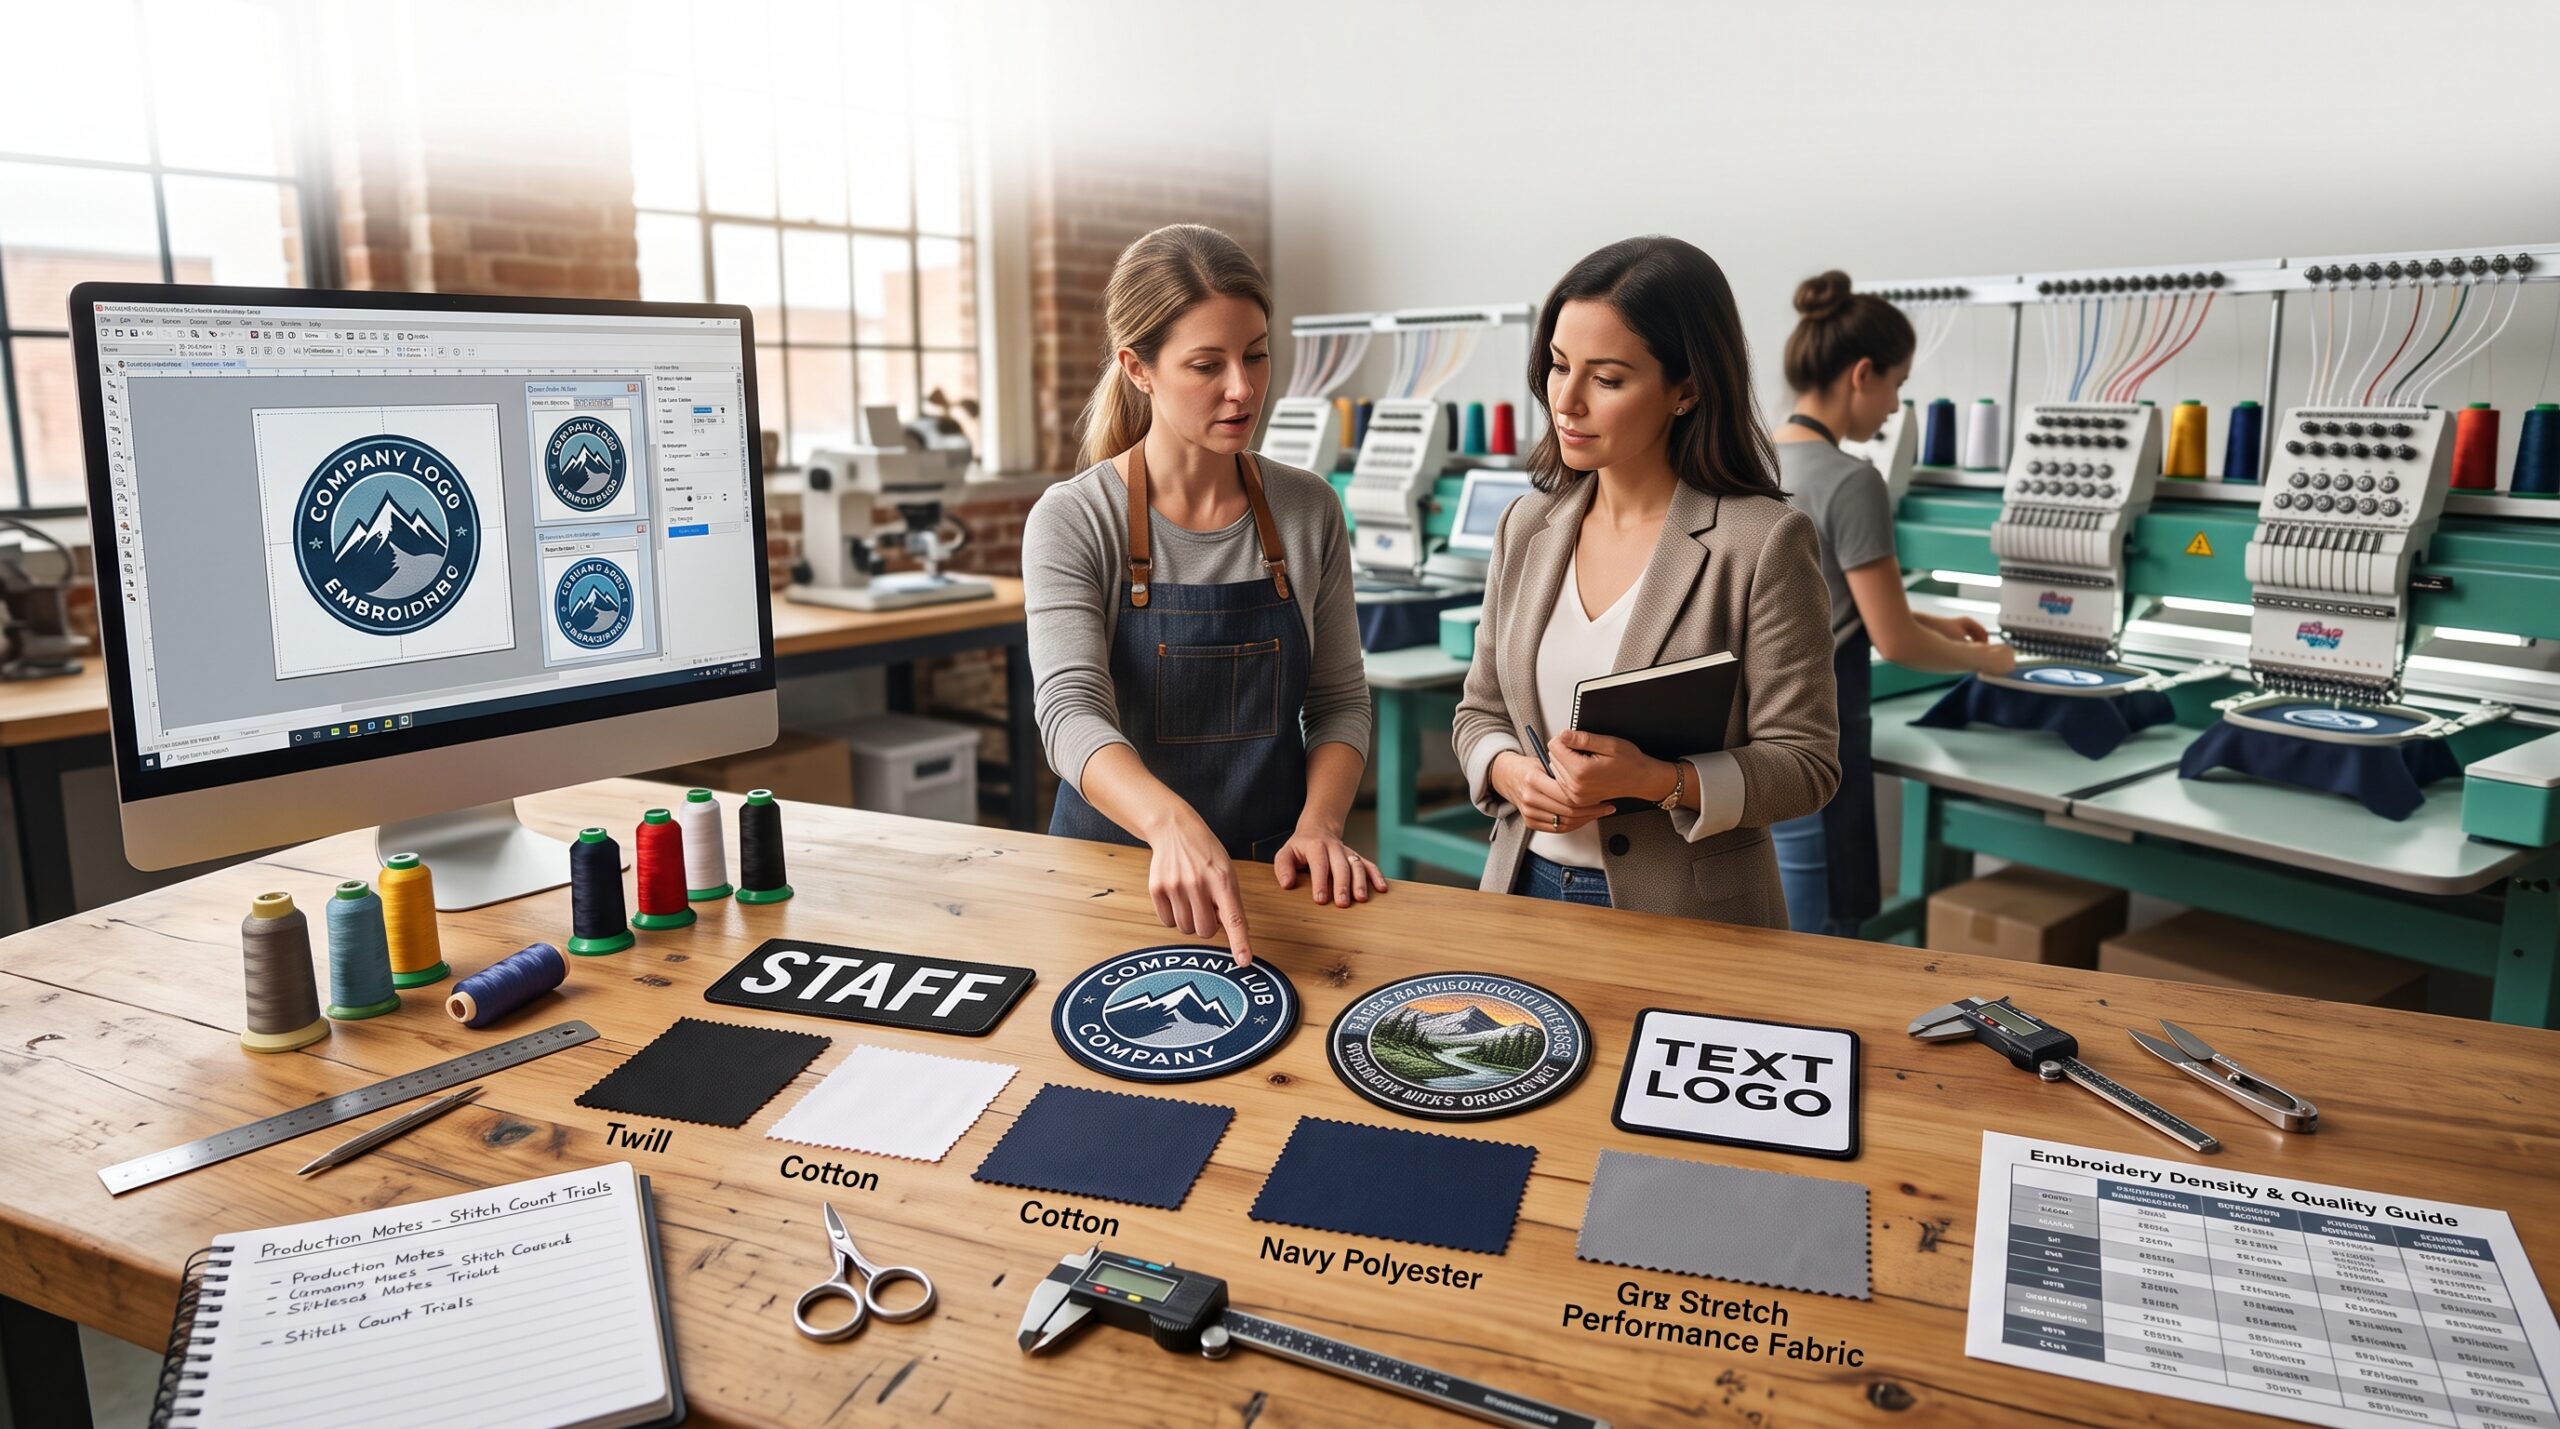
- Featured Snippet Answer: The right stitch count depends on design complexity, patch size, and fabric type. Small text and fine details require higher stitch density in a smaller area, while larger fill areas require balanced density to avoid excess thread buildup and maintain fabric flexibility.
- Practical guidelines for choosing stitch count:
- For small logos or text: use higher density in a compact area to maintain readability
- For large fill areas: use moderate density to prevent stiffness and fabric puckering
- For detailed designs: allow for higher stitch count to capture fine shapes and shading
- For simple designs: lower stitch count is usually sufficient and more cost effective
- For stretchable fabrics: lower density is often recommended to maintain fabric flexibility
Does Higher Stitch Count Mean Better Quality?
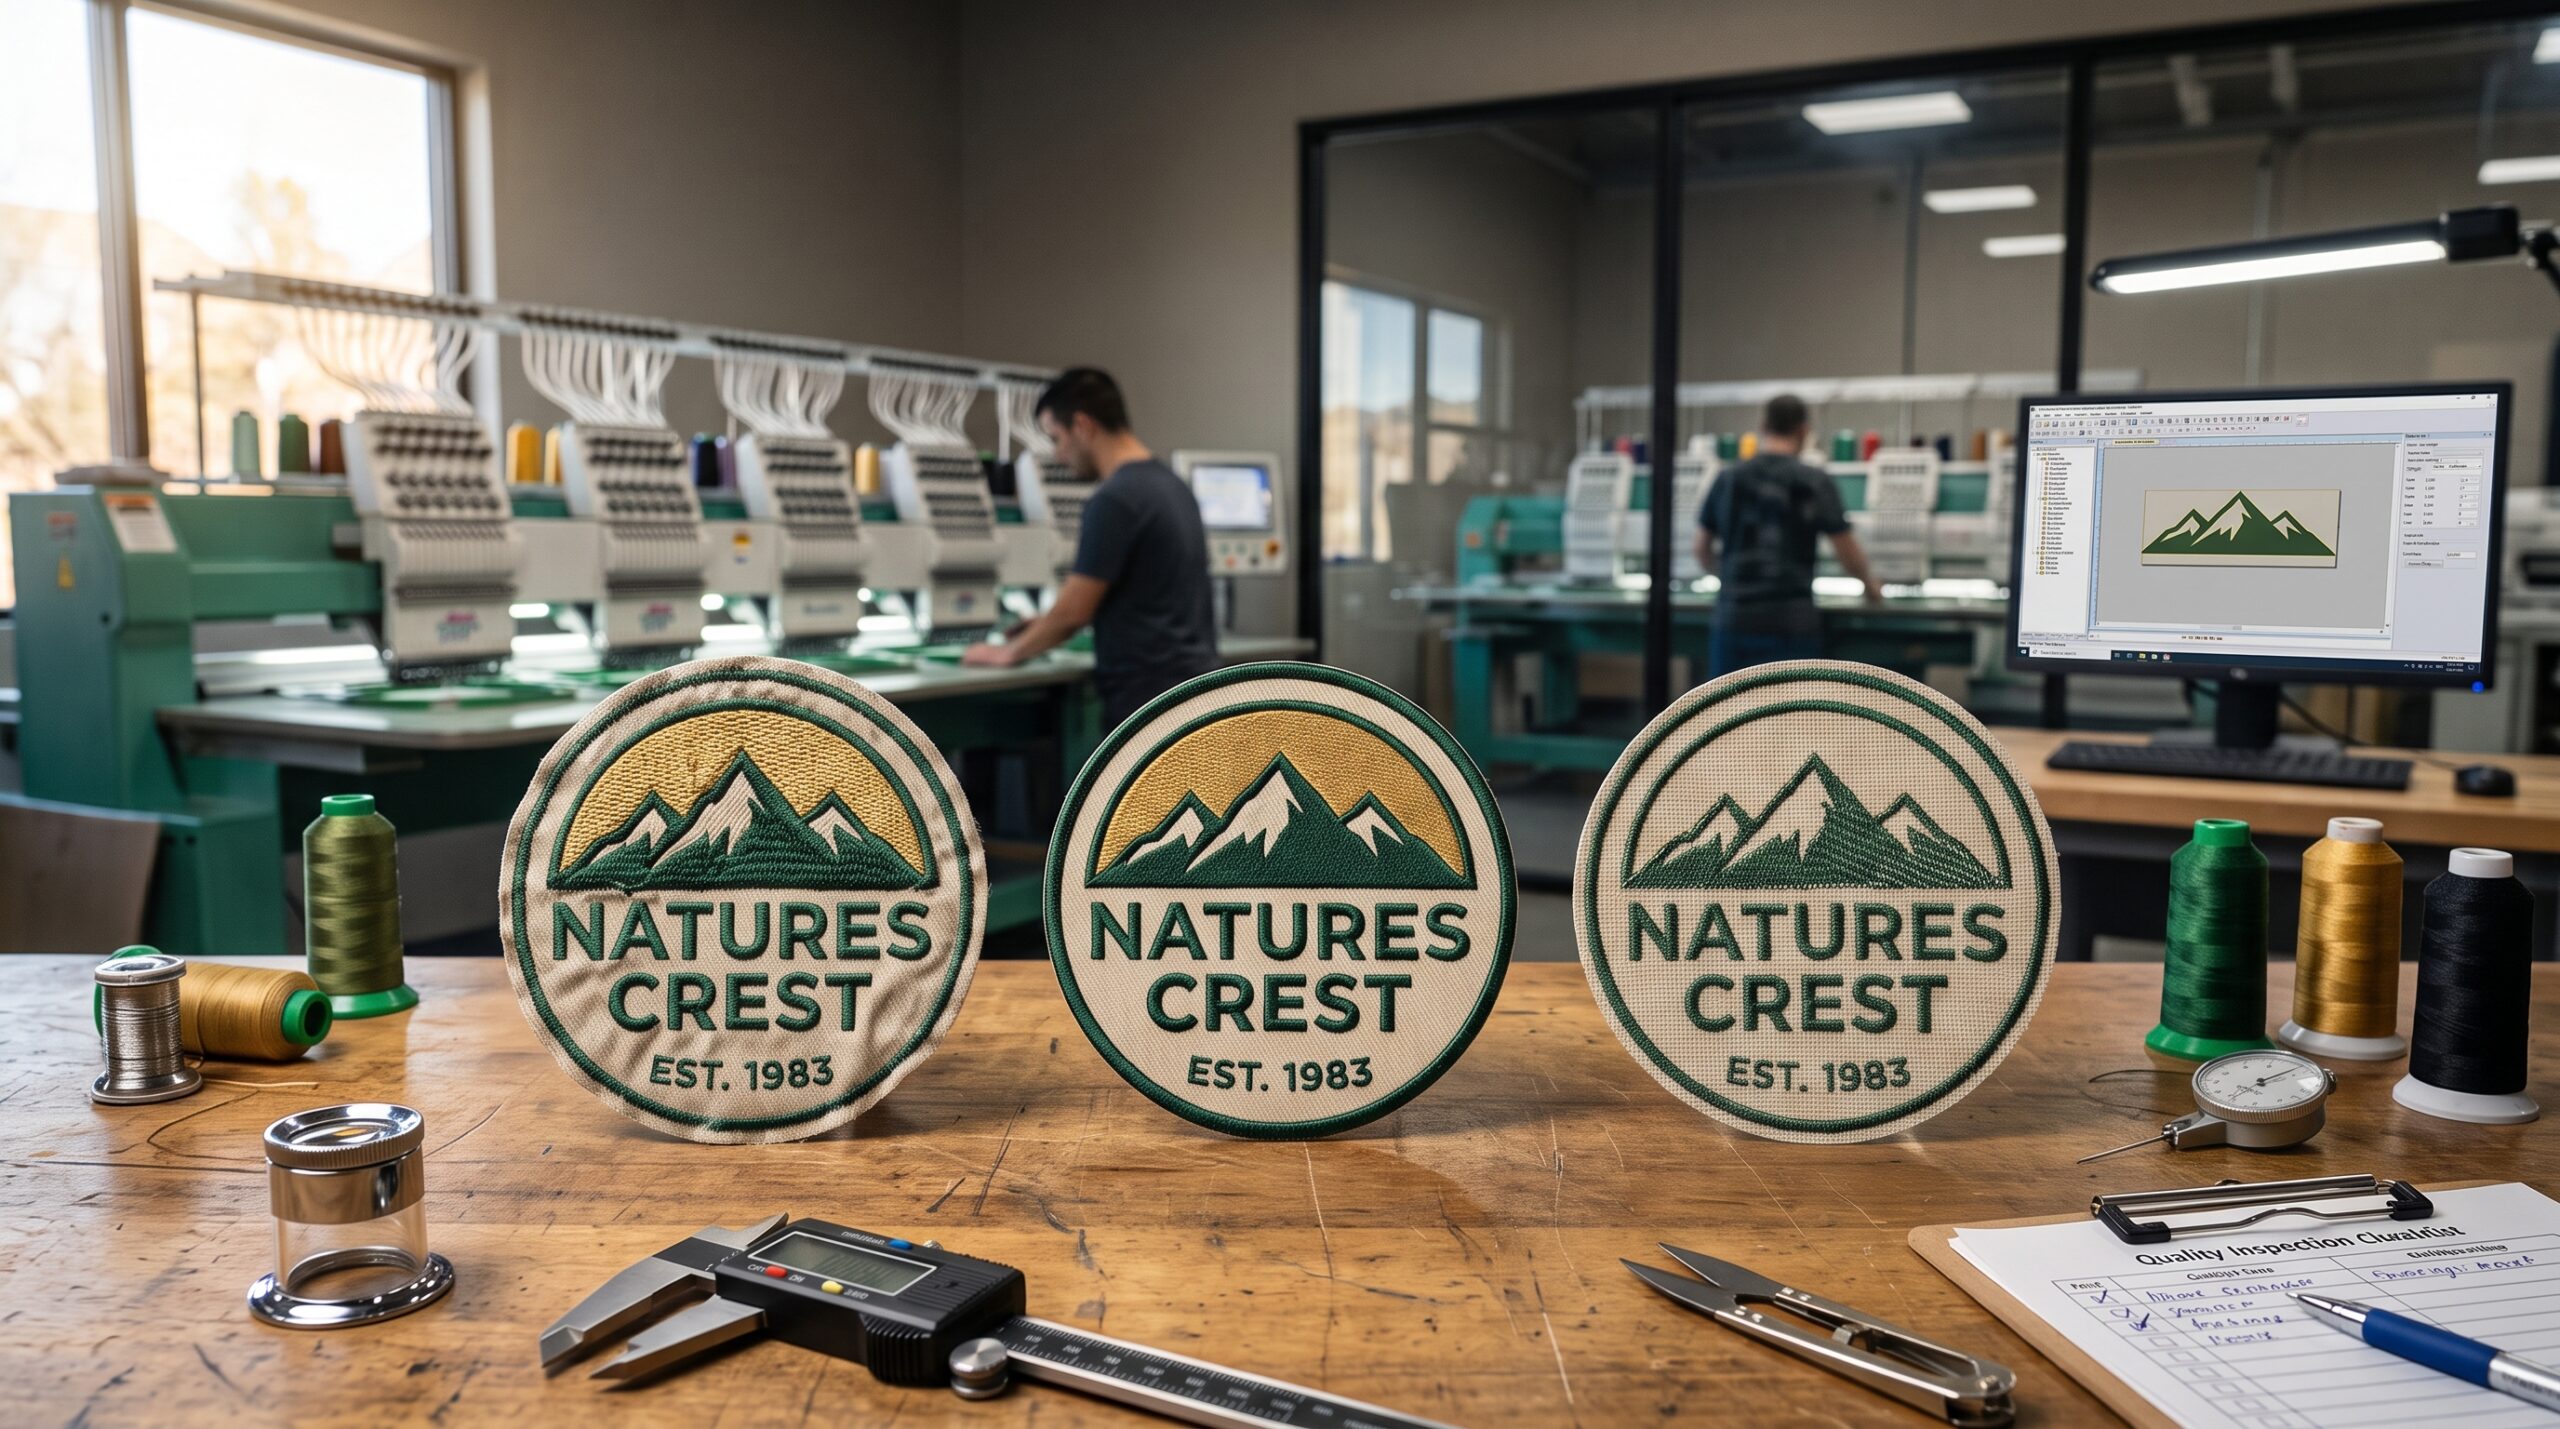
- Featured Snippet Answer: Not necessarily. Higher stitch count does not automatically mean better embroidery quality. Quality depends on proper digitizing, correct stitch density for the design, and appropriate stitch type selection, rather than simply increasing the total number of stitches.
- Why more stitches are not always better:
- Overly high stitch count can cause fabric puckering or stiffness
- Excess density can lead to thread breakage during production
- Well optimized digitizing often achieves better clarity with an appropriately balanced stitch count
- Cost increases with stitch count, so unnecessary stitches add expense without improving appearance
Benefits for B2B Buyers
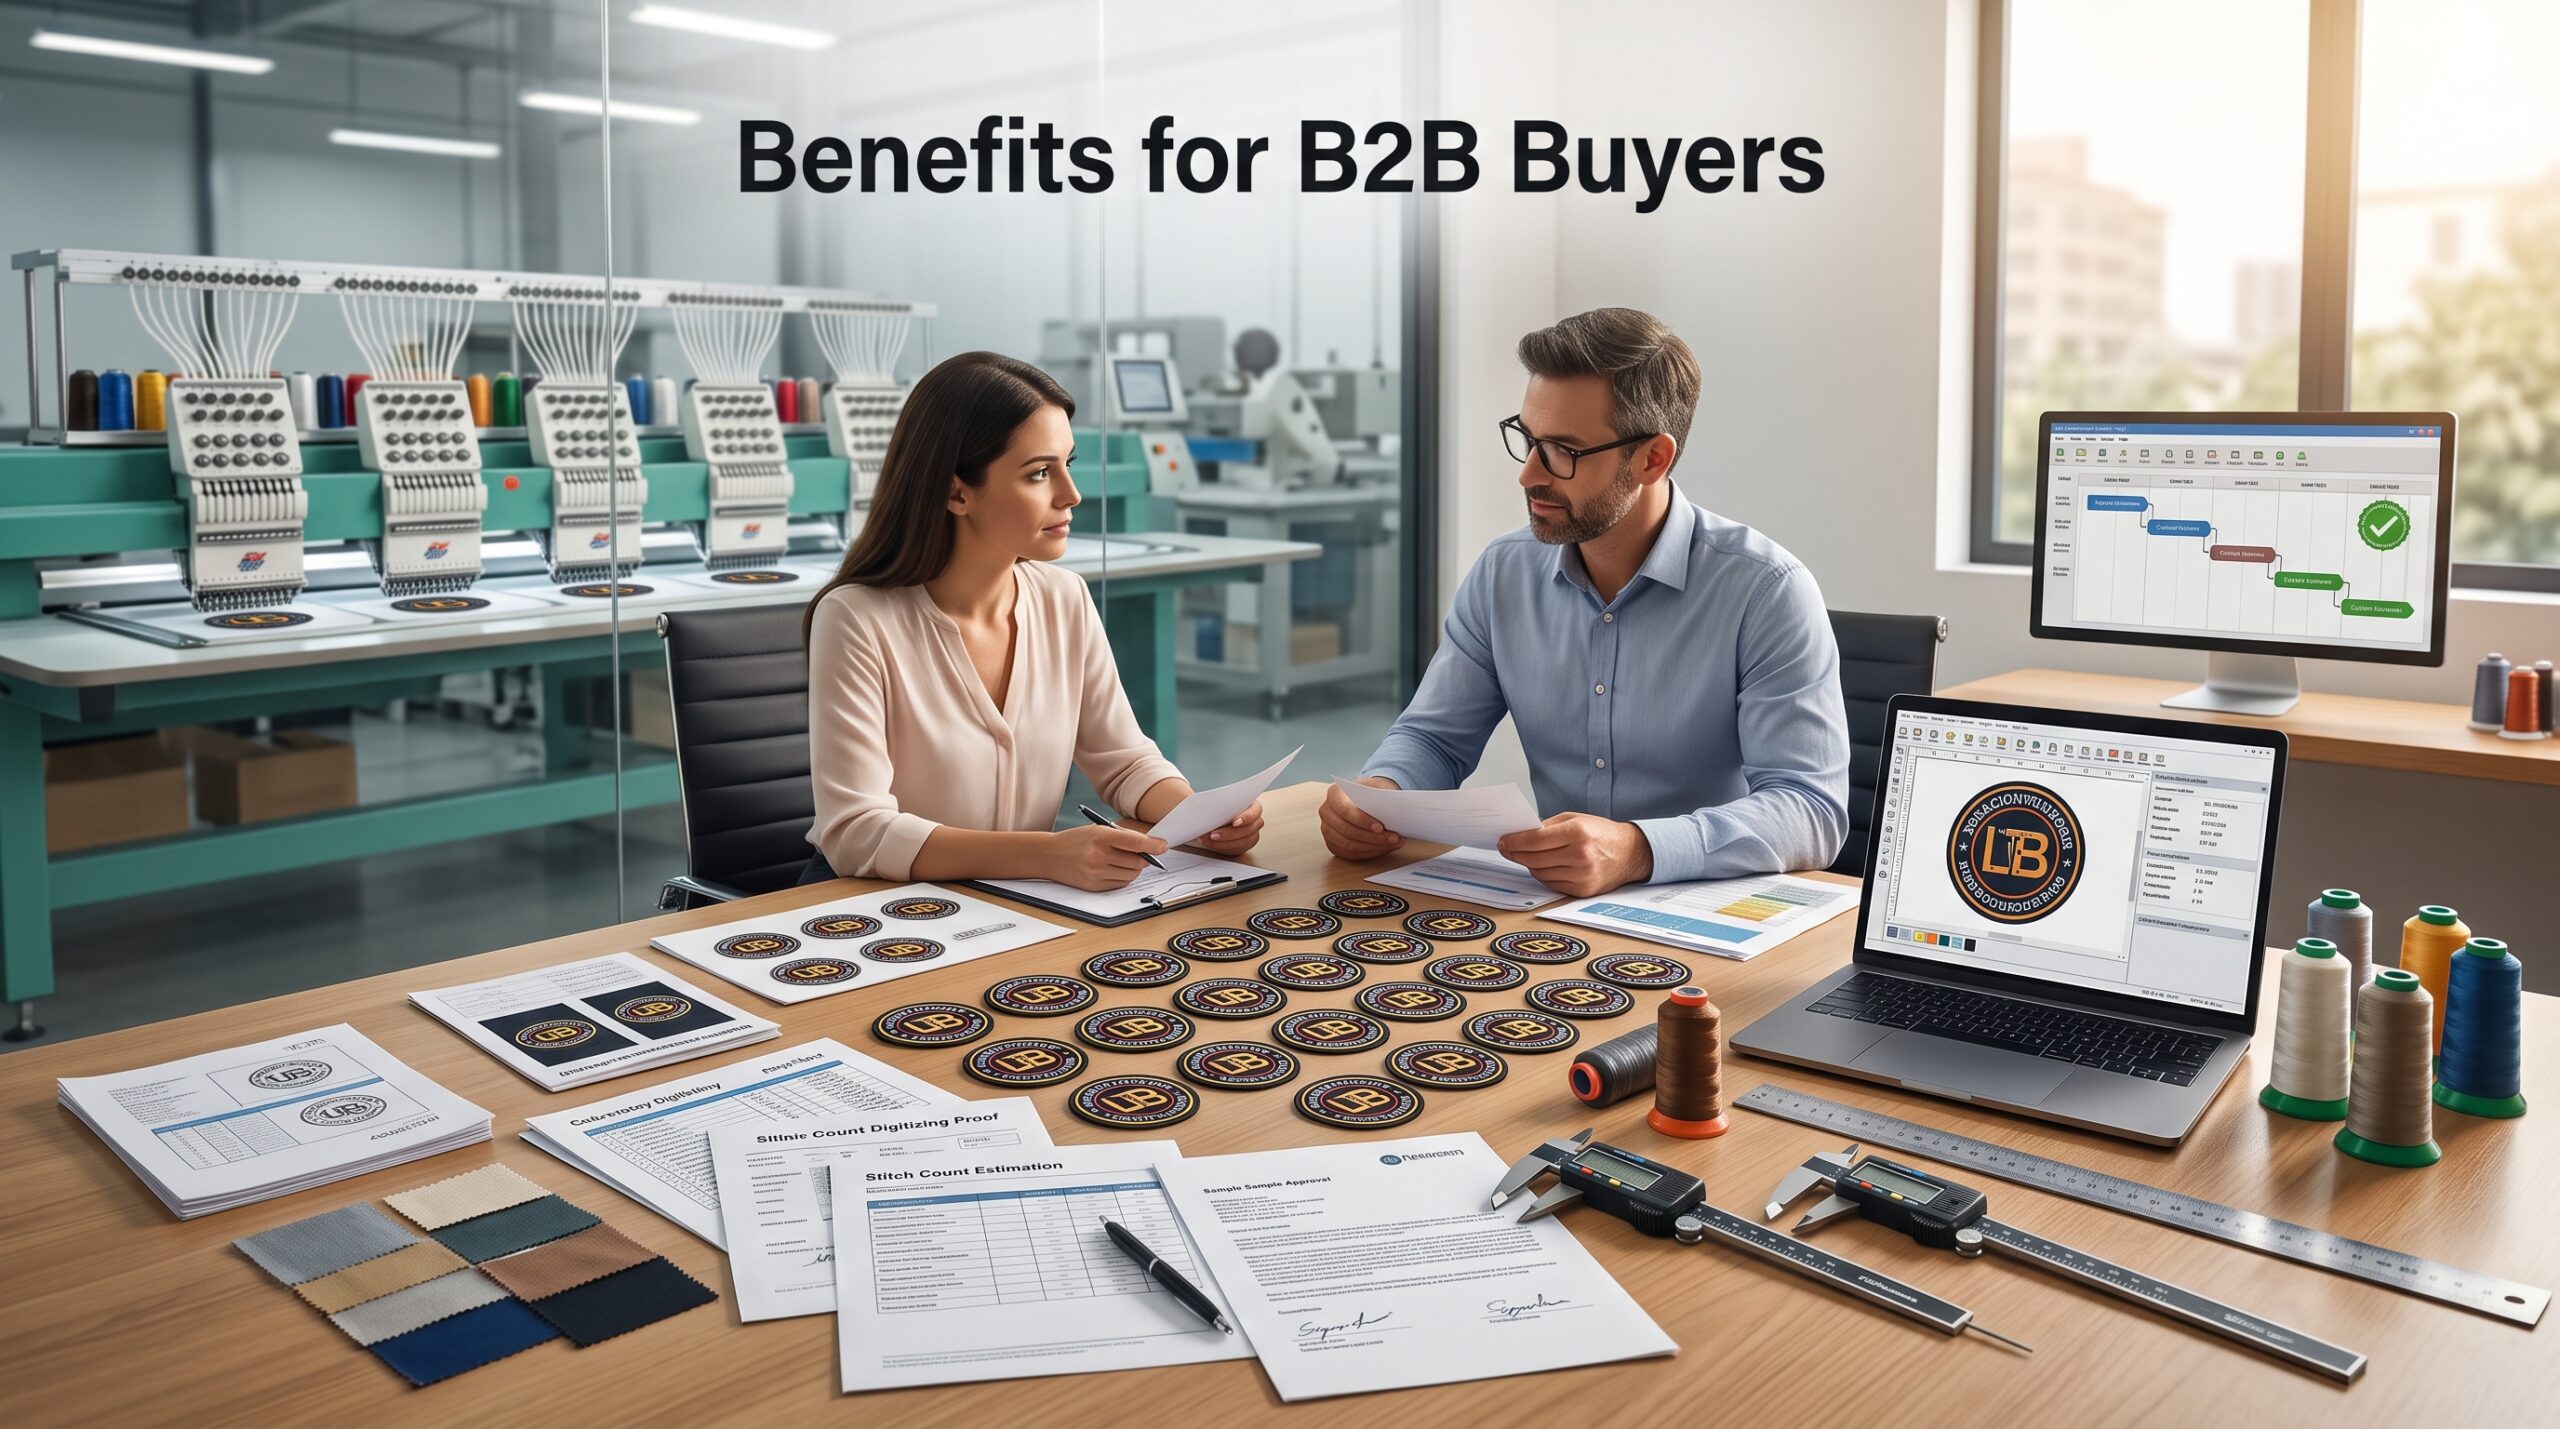
- Featured Snippet Answer: Understanding stitch count helps B2B buyers control production costs, ensure design consistency across bulk orders, and avoid quality issues before mass production begins, making it an important factor in large scale custom patch ordering.
- Key benefits for bulk and business buyers:
- Better cost forecasting for large orders based on stitch count estimates
- Improved consistency across multiple patches in the same order
- Reduced risk of reorders due to unclear or poorly digitized designs
- Easier communication with manufacturers when specifying design requirements
Industry Use Cases and Applications
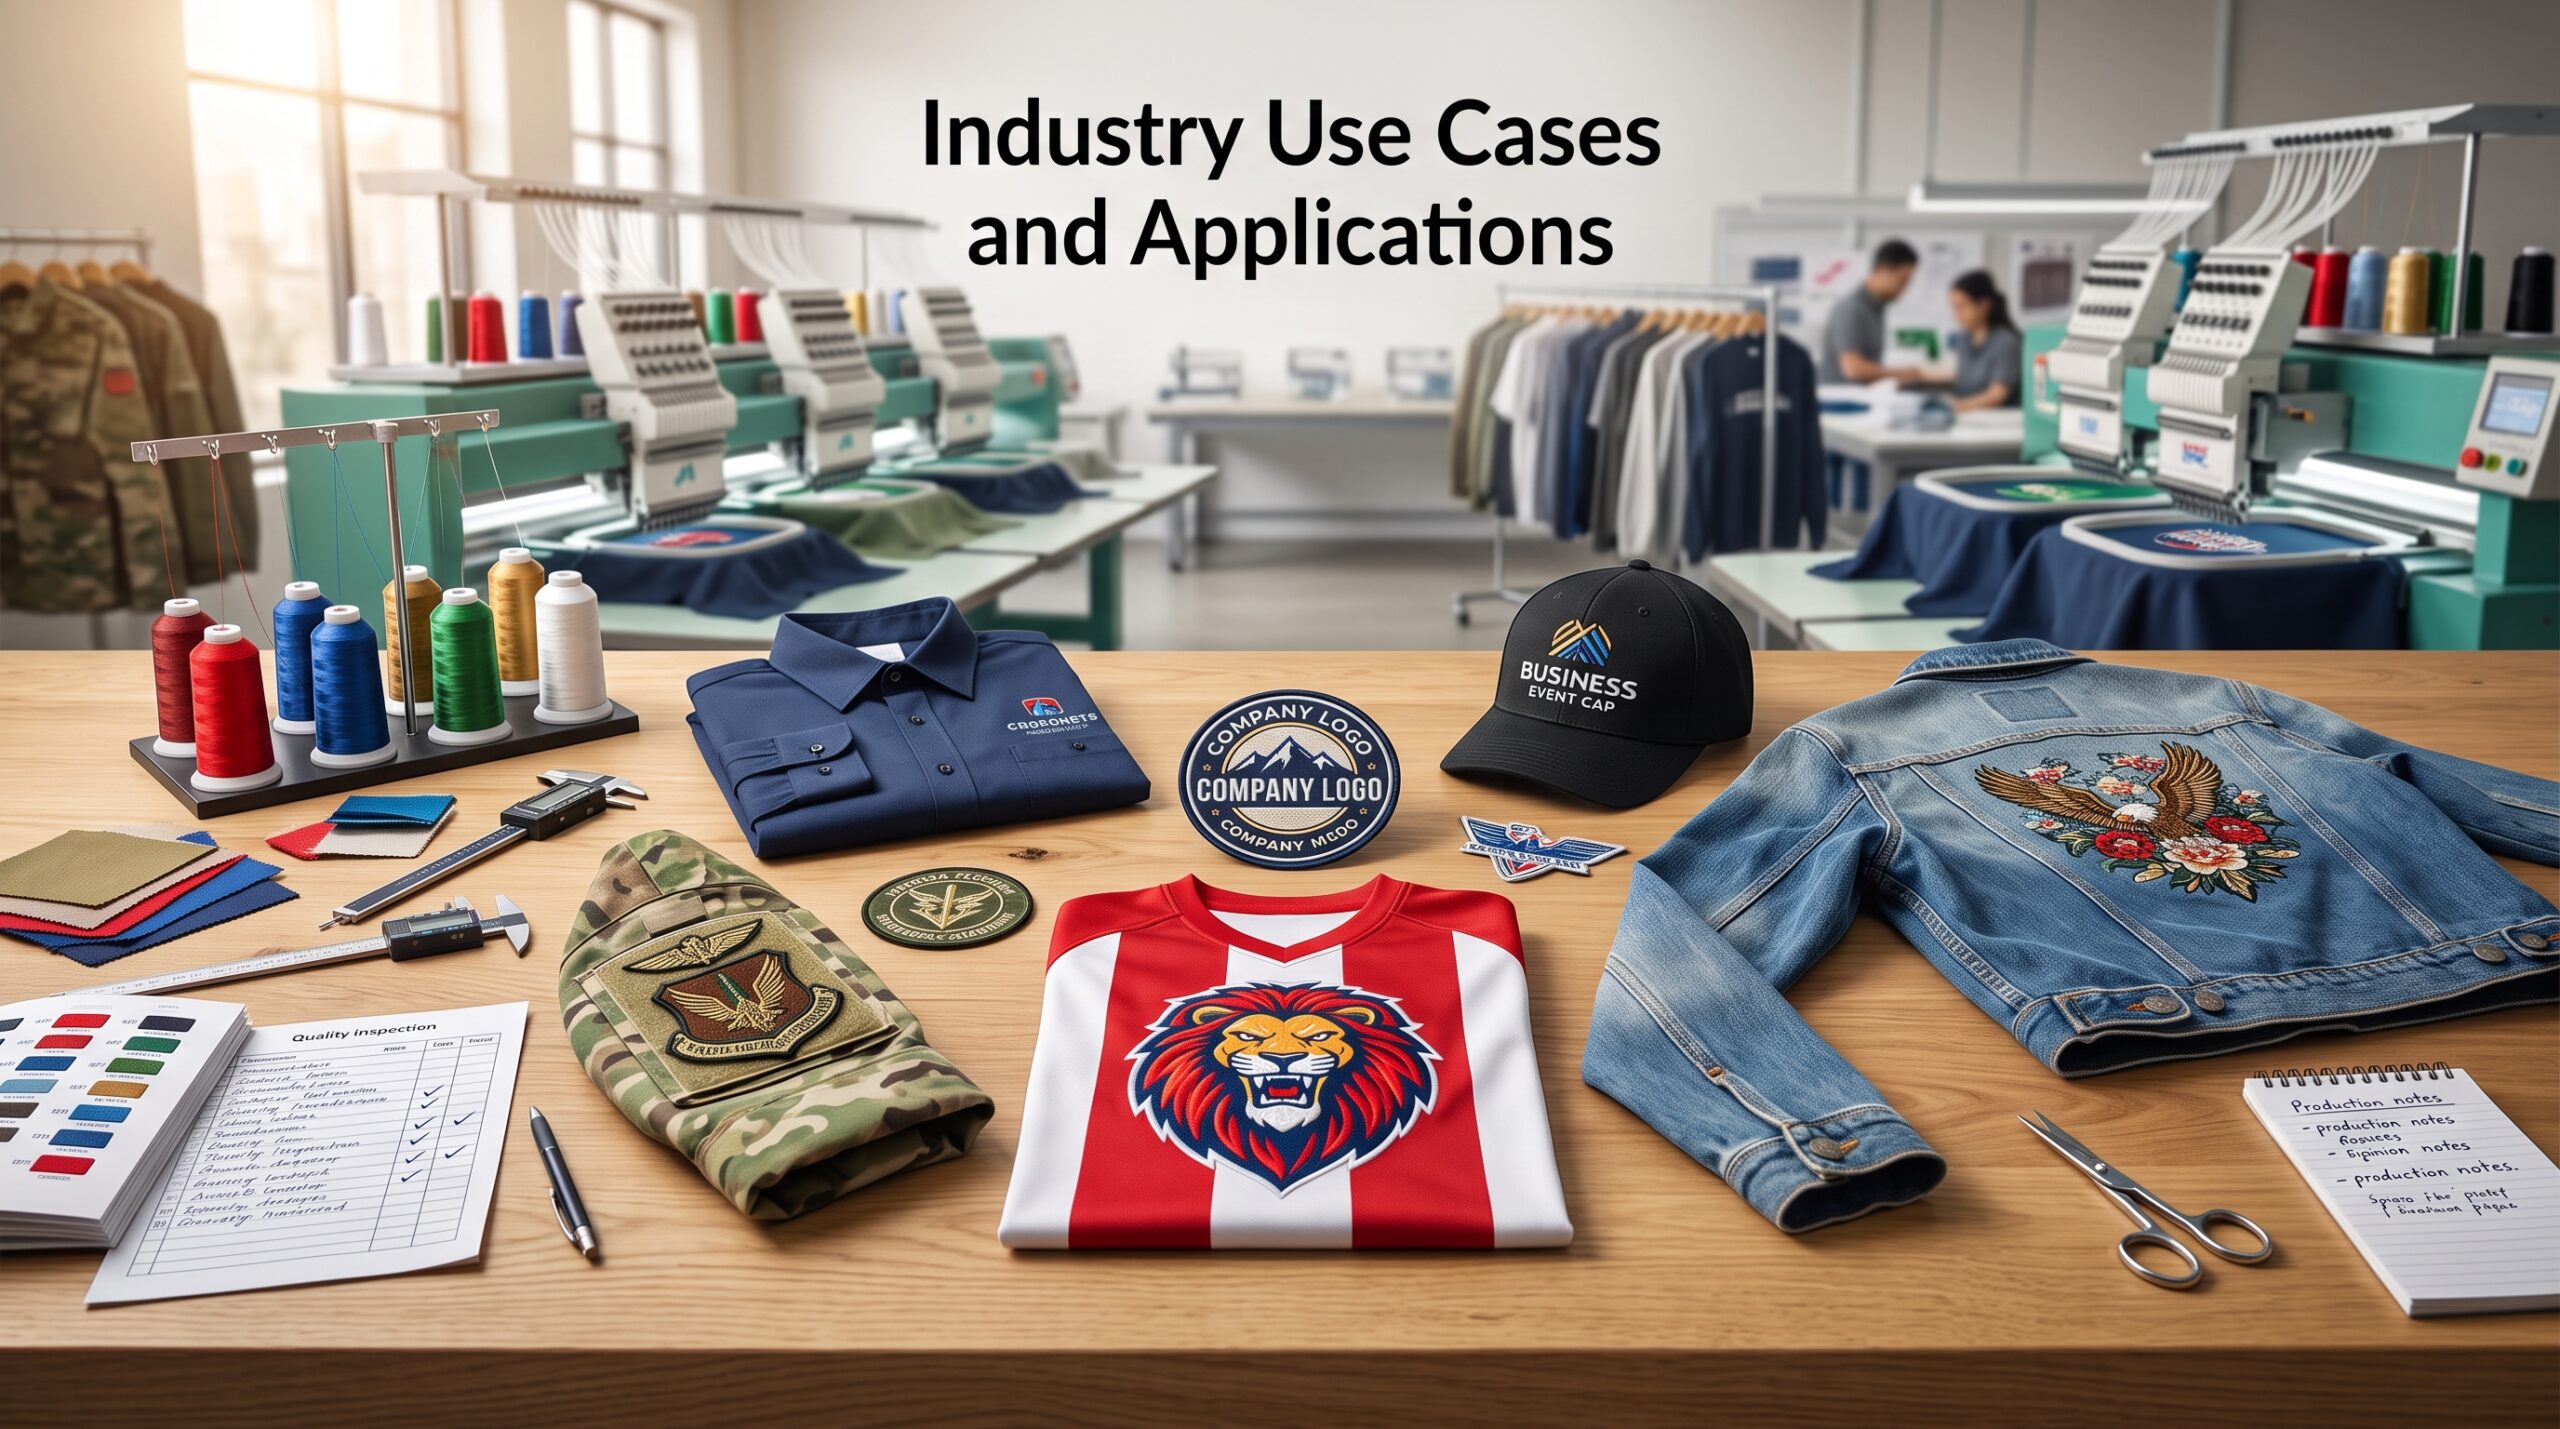
- Featured Snippet Answer: Stitch count considerations apply across multiple industries, including corporate uniforms, military and public safety patches, sports team merchandise, and promotional branding, where logo clarity, durability, and cost efficiency are all directly influenced by stitch count decisions.
- Common industry applications:
- Corporate uniforms: consistent logo embroidery across large employee orders
- Military and public safety patches: high durability and detail requirements
- Sports teams and clubs: team logos requiring clear detail at smaller sizes
- Promotional and event merchandise: cost efficient designs for bulk giveaway items
- Fashion and apparel brands: detailed embroidery for premium branding elements
Customization and Ordering Process
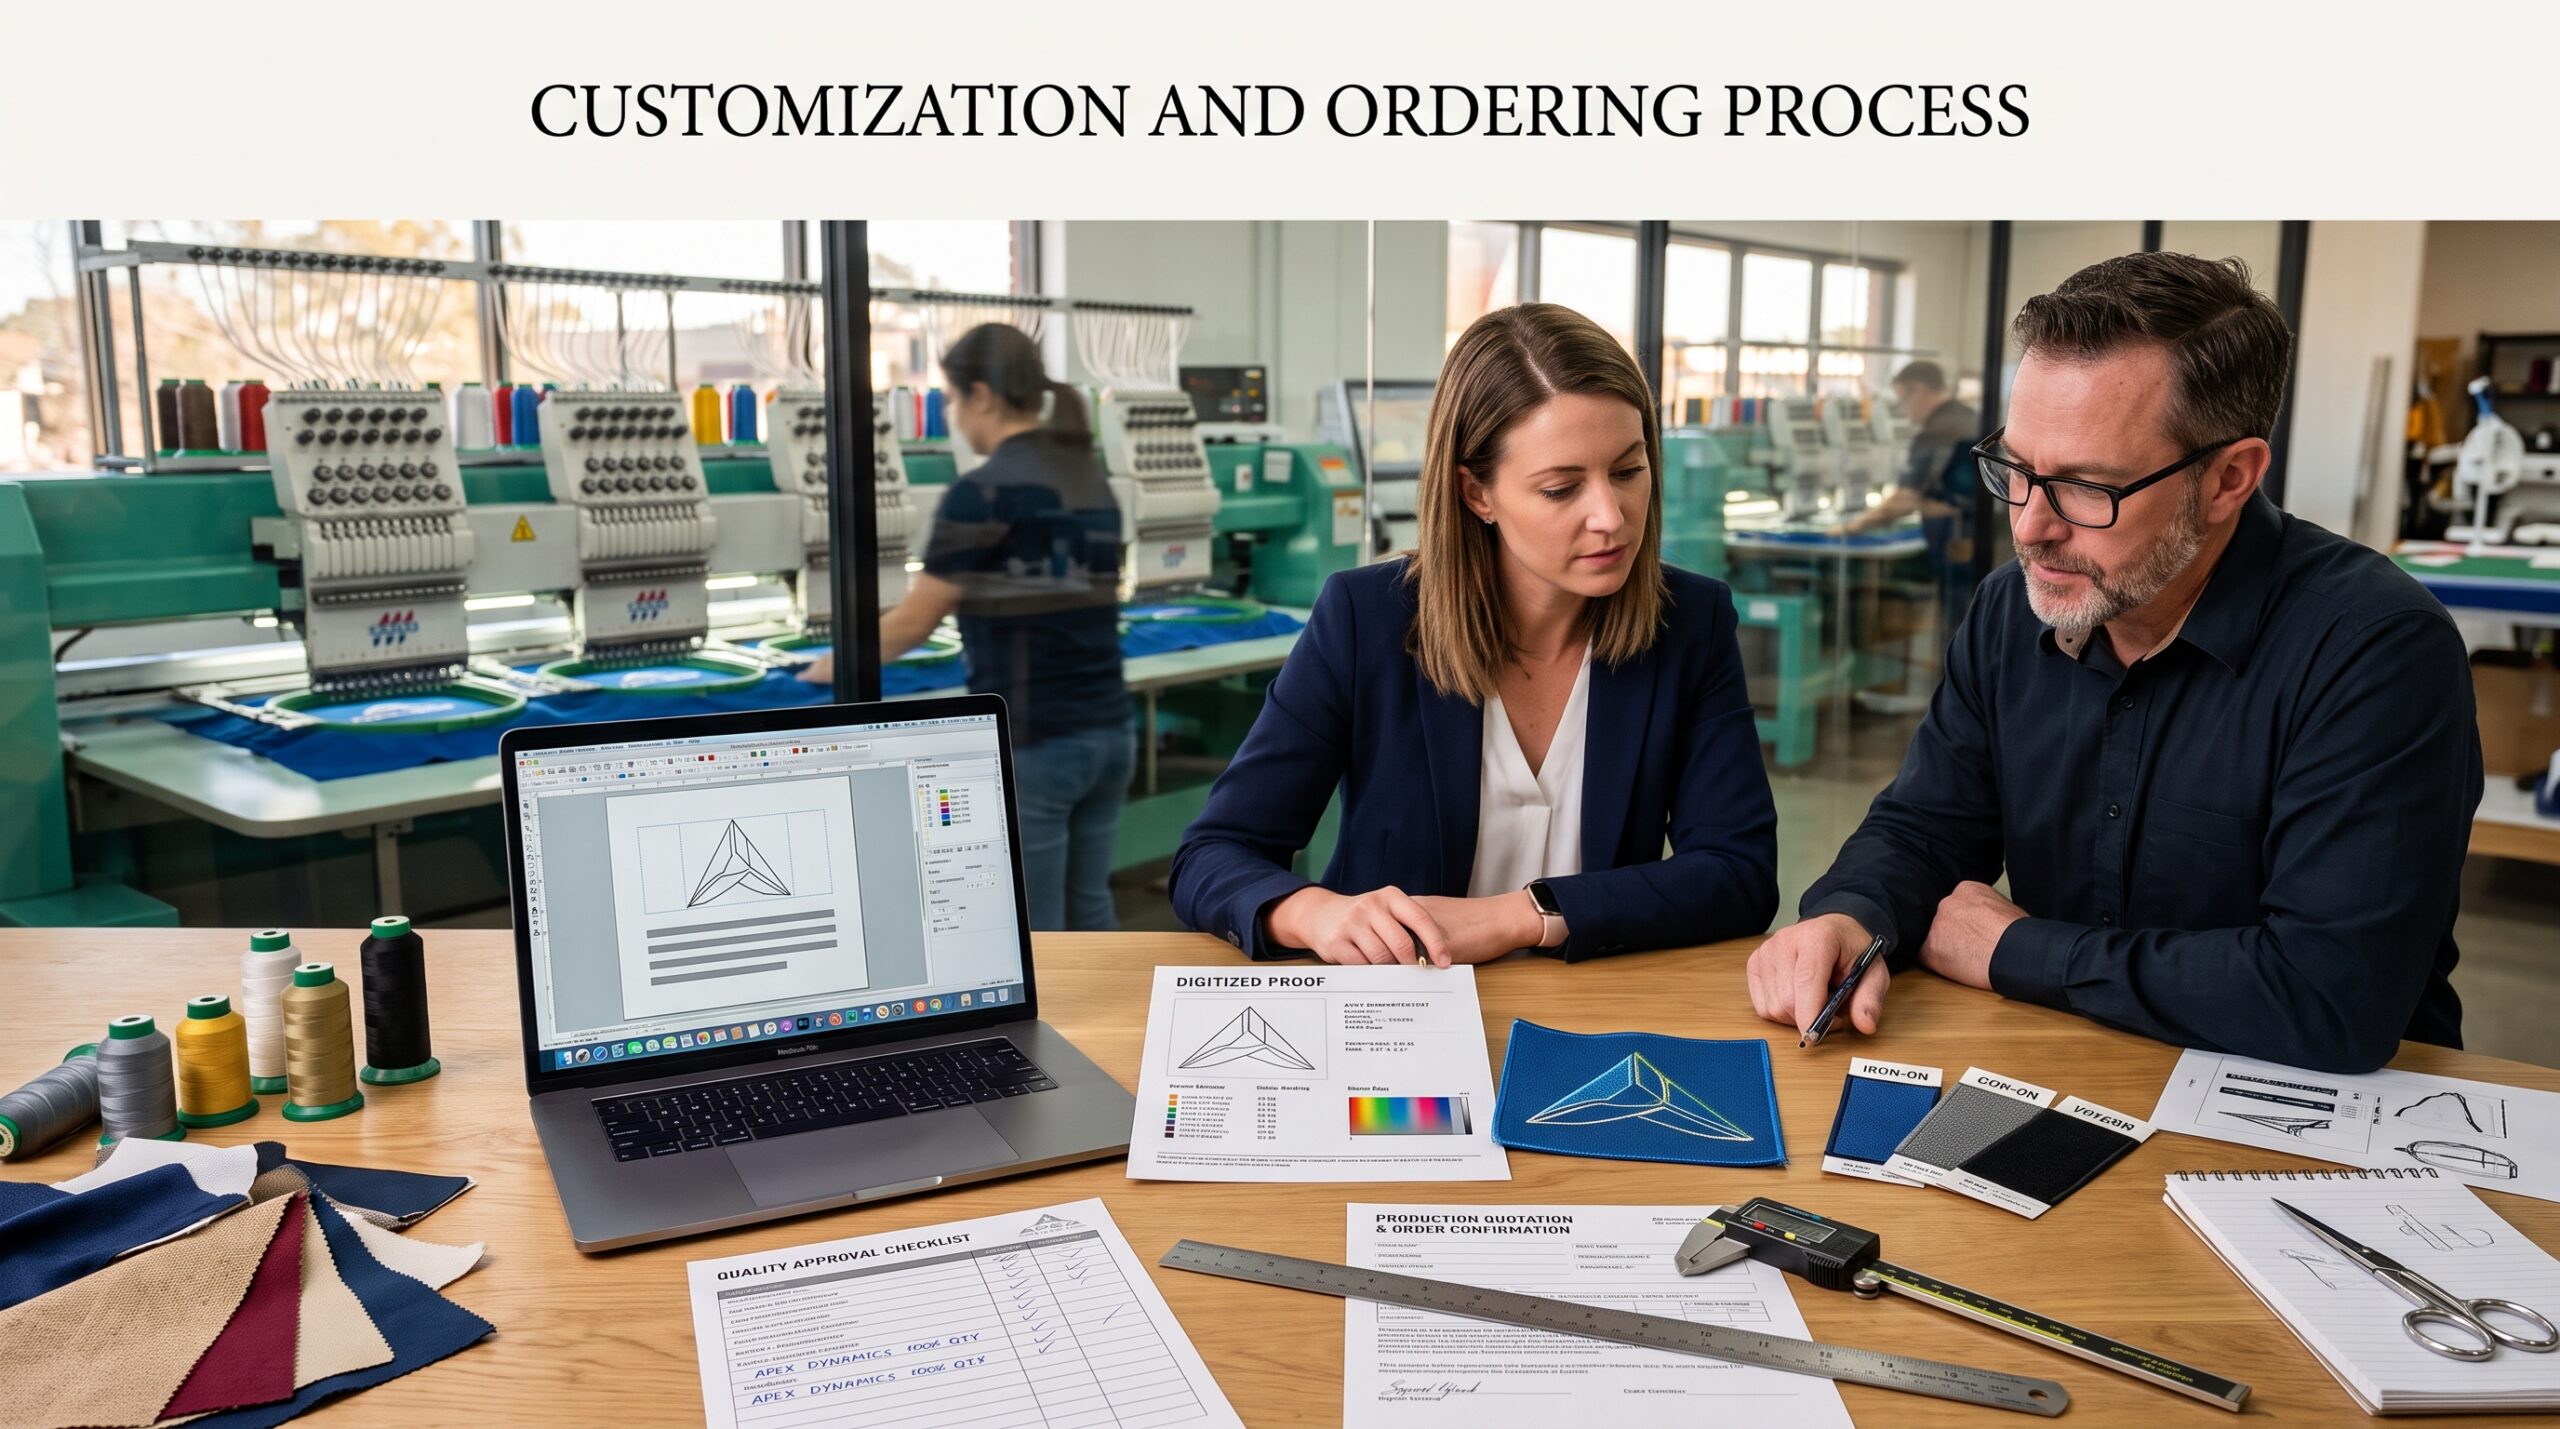
- Featured Snippet Answer: The custom patch ordering process typically involves submitting a design file, receiving a digitized proof with stitch count details, approving the sample, and moving into bulk production, allowing buyers to review quality and pricing before committing to a full order.
- Step by step ordering process:
- Submit your logo or design file for review
- Receive a digitized proof showing estimated stitch count and layout
- Review and approve stitch density, size, and backing options
- Approve a sample patch before bulk production begins
- Proceed to full production once design and pricing are confirmed
- Order a sample today to review stitch quality and detail before placing a bulk order.
Why Choose Custom Patches 4U
- Featured Snippet Answer: Custom Patches 4U supports B2B buyers with accurate digitizing, transparent stitch count based pricing, and quality checks before bulk production, helping businesses avoid costly embroidery mistakes and ensure consistent results across large orders.
- What sets Custom Patches 4U apart:
- Experienced digitizing team that optimizes stitch count for clarity and cost efficiency
- Transparent pricing based on stitch count and design complexity
- Sample approval process before bulk production
- Support for a wide range of industries and order sizes
- Contact us for bulk order pricing and a free digitizing consultation for your next embroidered patch project.
Frequently Asked Questions
What is stitch count in embroidery?
Stitch count is the total number of individual stitches used to create an embroidered design. It directly affects how much detail the design can hold, how the finished patch looks, and how long it takes to produce. Because thread usage and machine time both scale with stitch count, it is also a key factor in embroidery pricing.
What is a good stitch count for a logo patch?
A good stitch count depends on the size of the patch and how much detail the logo contains. Most standard logo patches typically fall between 5000 and 15000 stitches. Simple logos stay on the lower end, while detailed logos with small text often need more.
Does higher stitch count mean better quality?
Not always. Embroidery quality depends more on correct digitizing, proper stitch density, and stitch type selection than on simply adding more stitches. An overly high stitch count can actually cause puckering, stiffness, or thread breakage during production.
How does stitch count affect embroidery pricing?
Stitch count affects pricing because it relates directly to production time and thread usage. Higher stitch counts require more machine time and material, which increases the manufacturer’s cost. This is why stitch count is a common variable used in embroidery quotes.
What is the difference between stitch count and stitch density?
Stitch count is the total number of stitches used across an entire design. Stitch density refers to how closely those stitches are spaced within a specific area. A design can have a high stitch count but low density if it covers a large surface area.
How do I reduce stitch count without losing quality?
Stitch count can often be reduced by simplifying unnecessary fill areas and removing fine detail that will not be visible at the final patch size. Working with an experienced digitizer helps optimize stitch paths efficiently. This can lower costs without harming visual clarity.
What stitch count is best for small text embroidery?
Small text usually needs higher stitch density within a compact area to stay legible, even though its total contribution to stitch count is relatively low. Tighter spacing prevents letters from blurring together. A minimum text height is often recommended for clarity.
Does fabric type affect stitch count decisions?
Yes, fabric type plays a major role in stitch density decisions. Stretchable or lightweight fabrics generally need lower density to avoid puckering, while sturdier fabrics like twill can support higher density. This affects the overall stitch count strategy for a design.