
Ordering a batch of custom patches is only half the job. If the application goes wrong, patches peel off within days or the fabric gets scorched. This is why so many buyers search for how to apply iron on patches before committing to a bulk order.
This guide covers every step of the process. You will learn how to use a household iron, how to use a heat press, and how to keep patches attached wash after wash.
At Custom Patches 4U, we supply embroidered and iron on patches to companies and bulk buyers. This guide answers the questions we hear most often before a business places or applies a large order.
What Is an Iron On Patch?
An iron on patch is a fabric emblem with a heat activated adhesive backing. The backing is added during manufacturing, so no extra glue or tools are needed at the application stage.
Here is what makes an iron on patch different from a standard sew on patch:
- It has a heat sensitive adhesive film already applied to the back.
- Heat and pressure from an iron or heat press melt this film so it bonds to fabric.
- No sewing equipment or trained staff are required to attach it.
- One person can apply dozens of patches per hour using just a household iron.
Get Custom Pricing for bulk iron on patch orders before you plan your application process.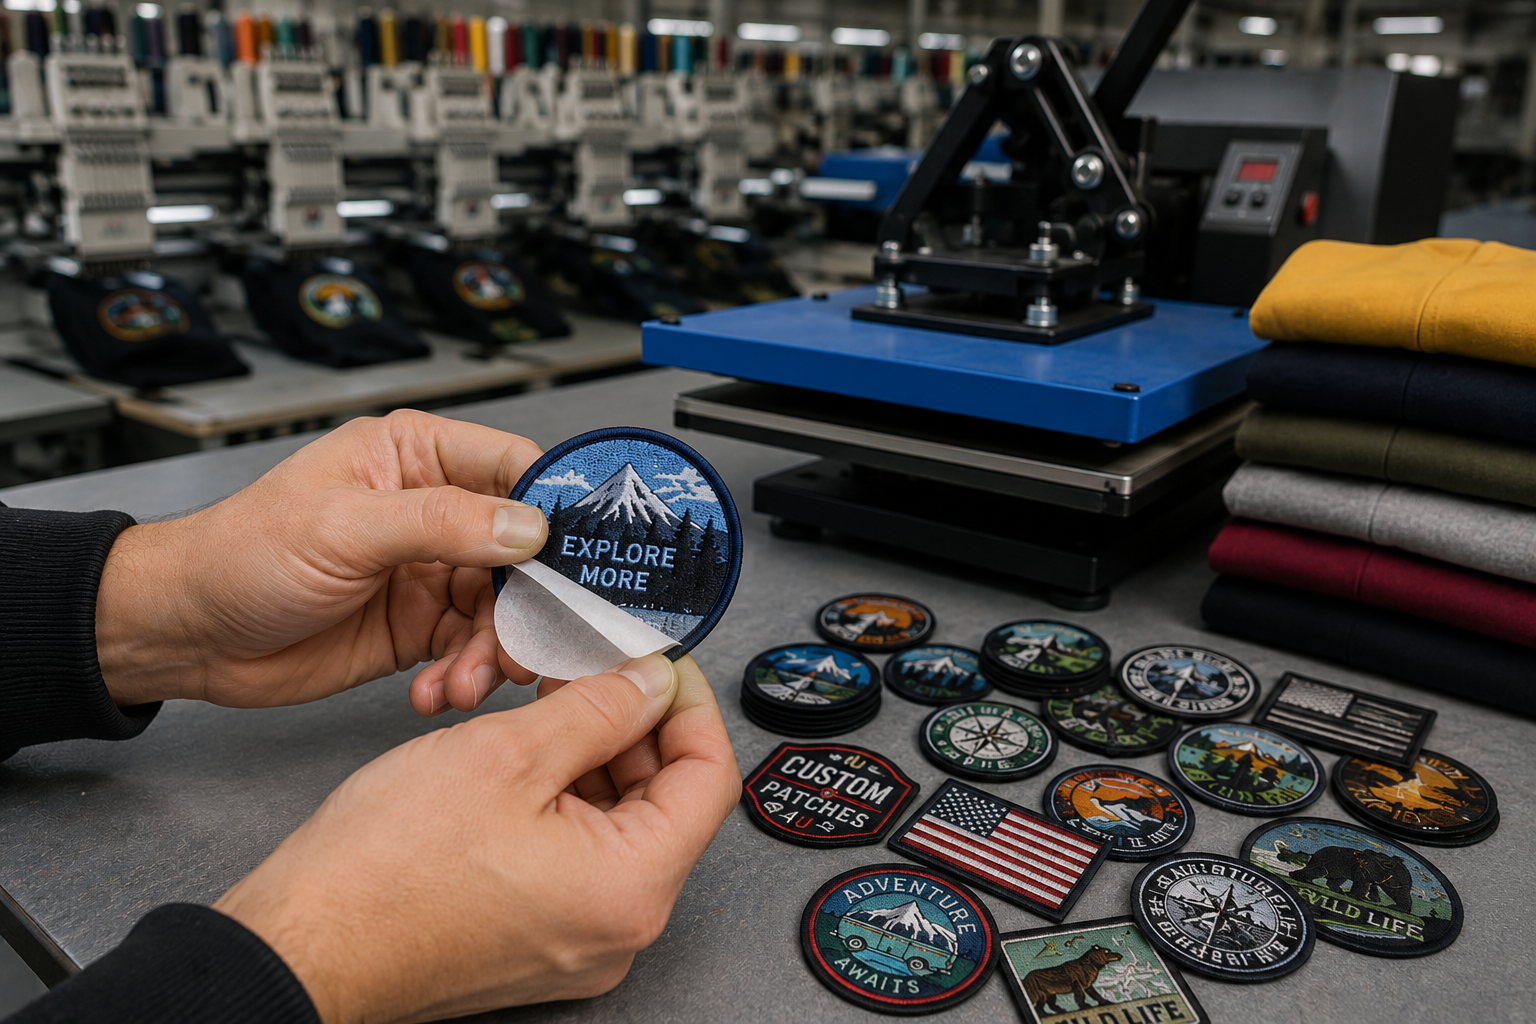
Why Applying Iron On Patches Correctly Matters for Businesses
Do iron on patches stay on after washing? Yes. When applied with the right heat, pressure, and time, iron on patches stay attached through normal wash cycles. Most failures happen because of weak heat or a skipped cooling step, not a weak adhesive.
For businesses producing uniforms or merchandise at scale, a poor application process leads to returns and wasted patches. Getting the technique right the first time protects your brand and avoids the cost of reprints.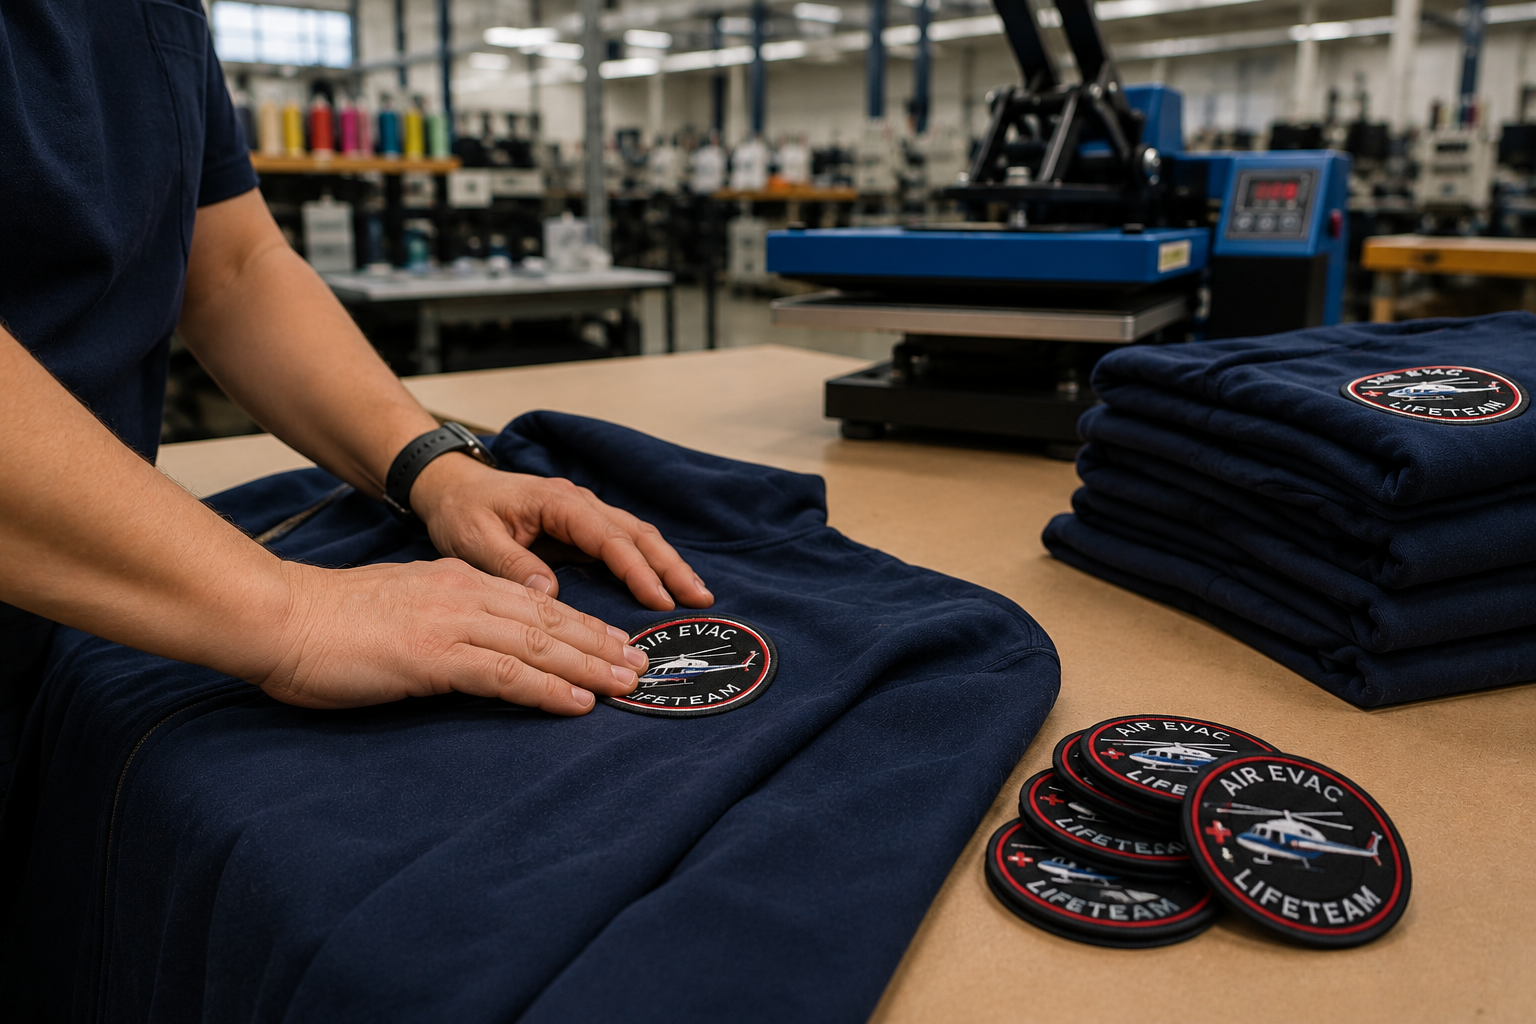
Key Features and Specifications of Iron On Patches
Before applying patches in bulk, it helps to understand what affects how well a patch bonds to fabric.
Patch Adhesive
Iron on patches use a heat activated backing film. This film is usually a polyester or polyurethane based adhesive. It softens under heat, then hardens again as it cools, forming a strong bond with the fabric fibers.
Patch Backing Types
- Iron on backing. A pre applied adhesive film, ready for heat application with no extra materials needed.
- Sew on backing. No adhesive. This type needs stitching around the full edge.
- Combination backing. Iron on adhesive paired with a merrow border, which also accepts stitching for extra hold.
Can you sew an iron on patch for extra durability? Yes. Adding stitches around the edge after heat application creates a mechanical bond on top of the adhesive bond. This is a smart choice for items with heavy daily wear, such as work jackets or bags.
Fabric Compatibility
Can you iron on patches to any fabric? No. Iron on patches bond best to cotton, denim, canvas, and heat tolerant polyester blends. They are not recommended for nylon, leather, or waterproof shells, since these materials can melt or warp under direct heat.
Request a Quote and our team can advise on the right backing type for your garment materials.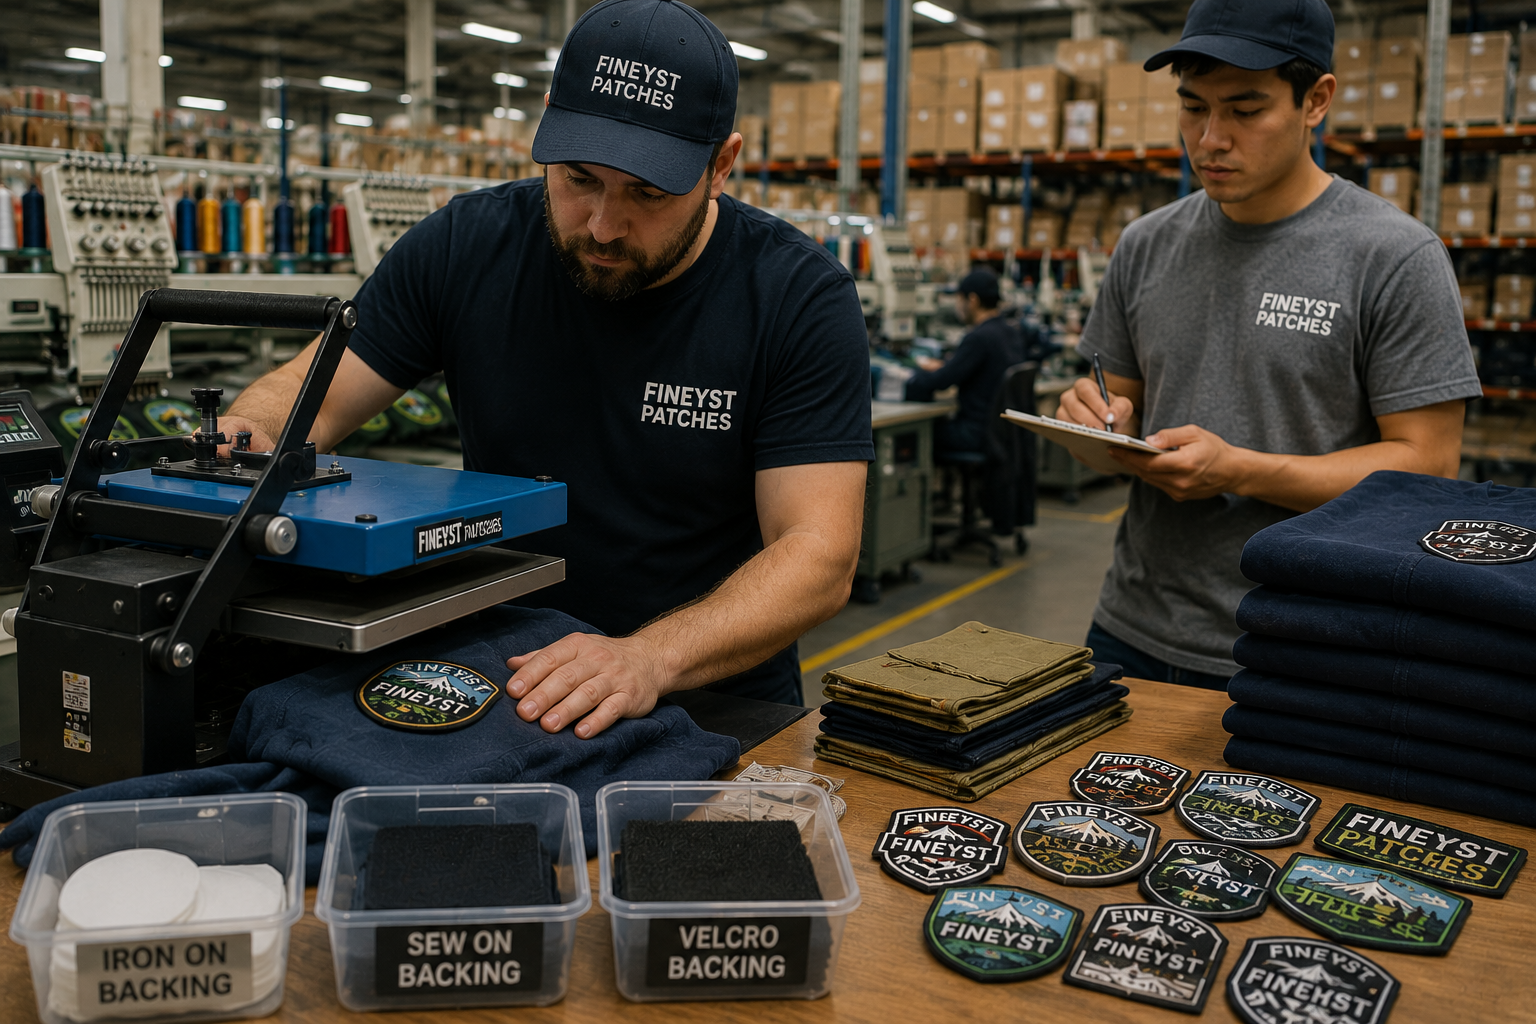
How to Apply Iron On Patches Step by Step
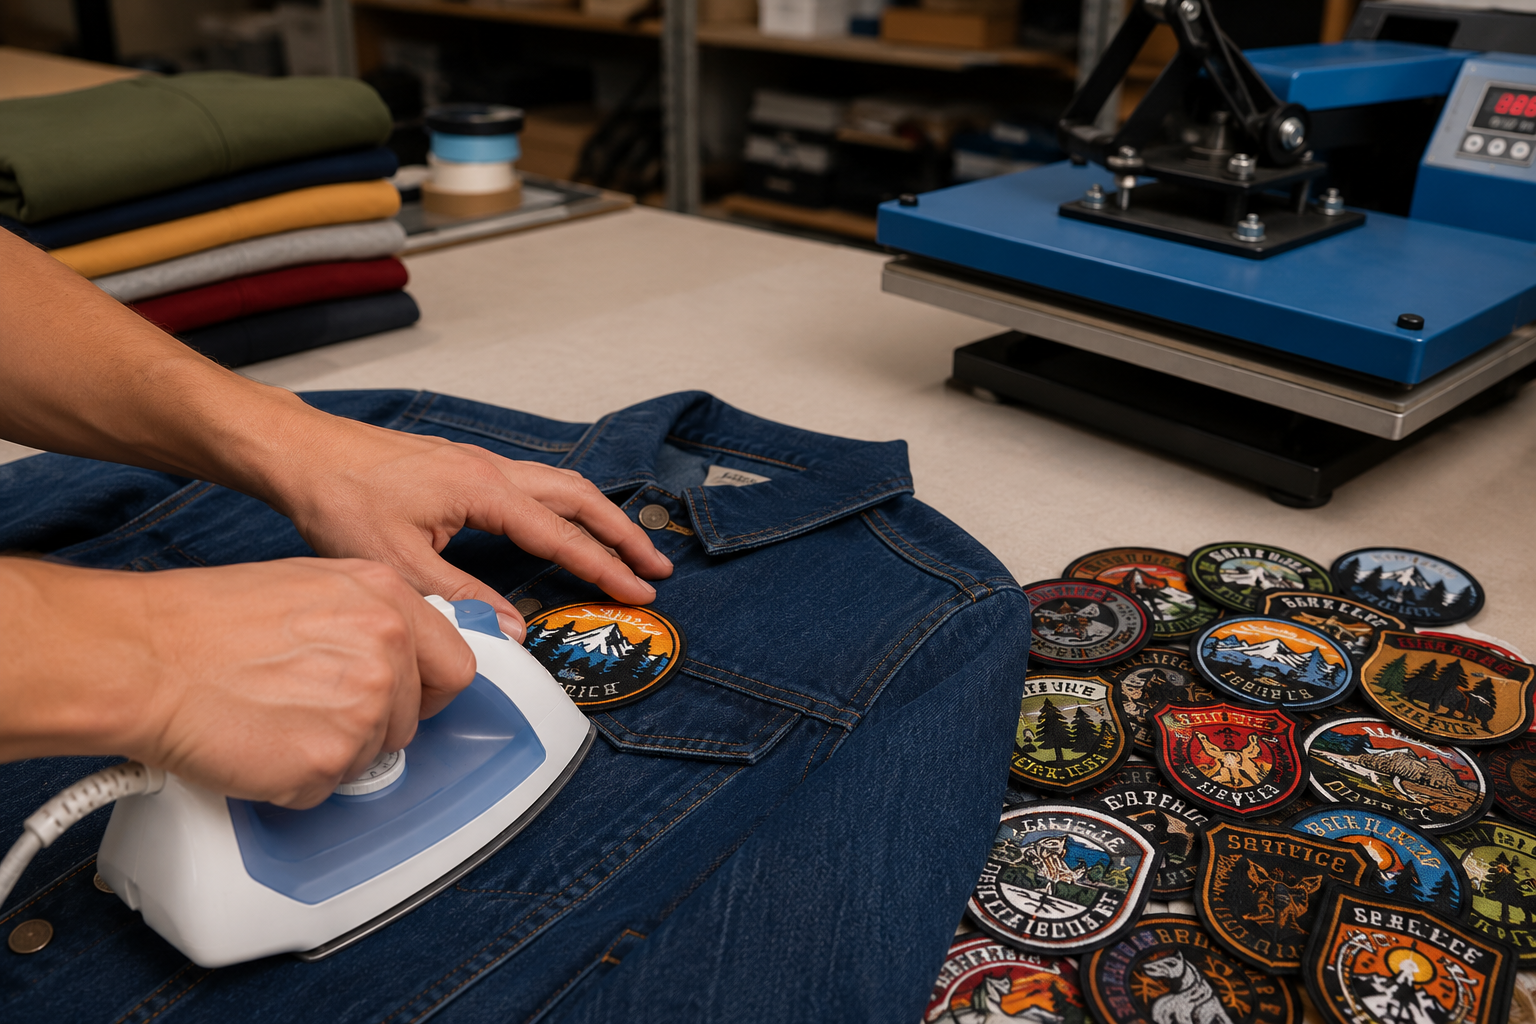
How do you apply iron on patches correctly? Preheat the iron on a cotton setting with no steam. Place the patch adhesive side down on the fabric. Cover it with a thin cloth, then press firmly for 20 to 30 seconds per section without sliding the iron. Let it cool fully before handling the garment.
Applying With a Household Iron
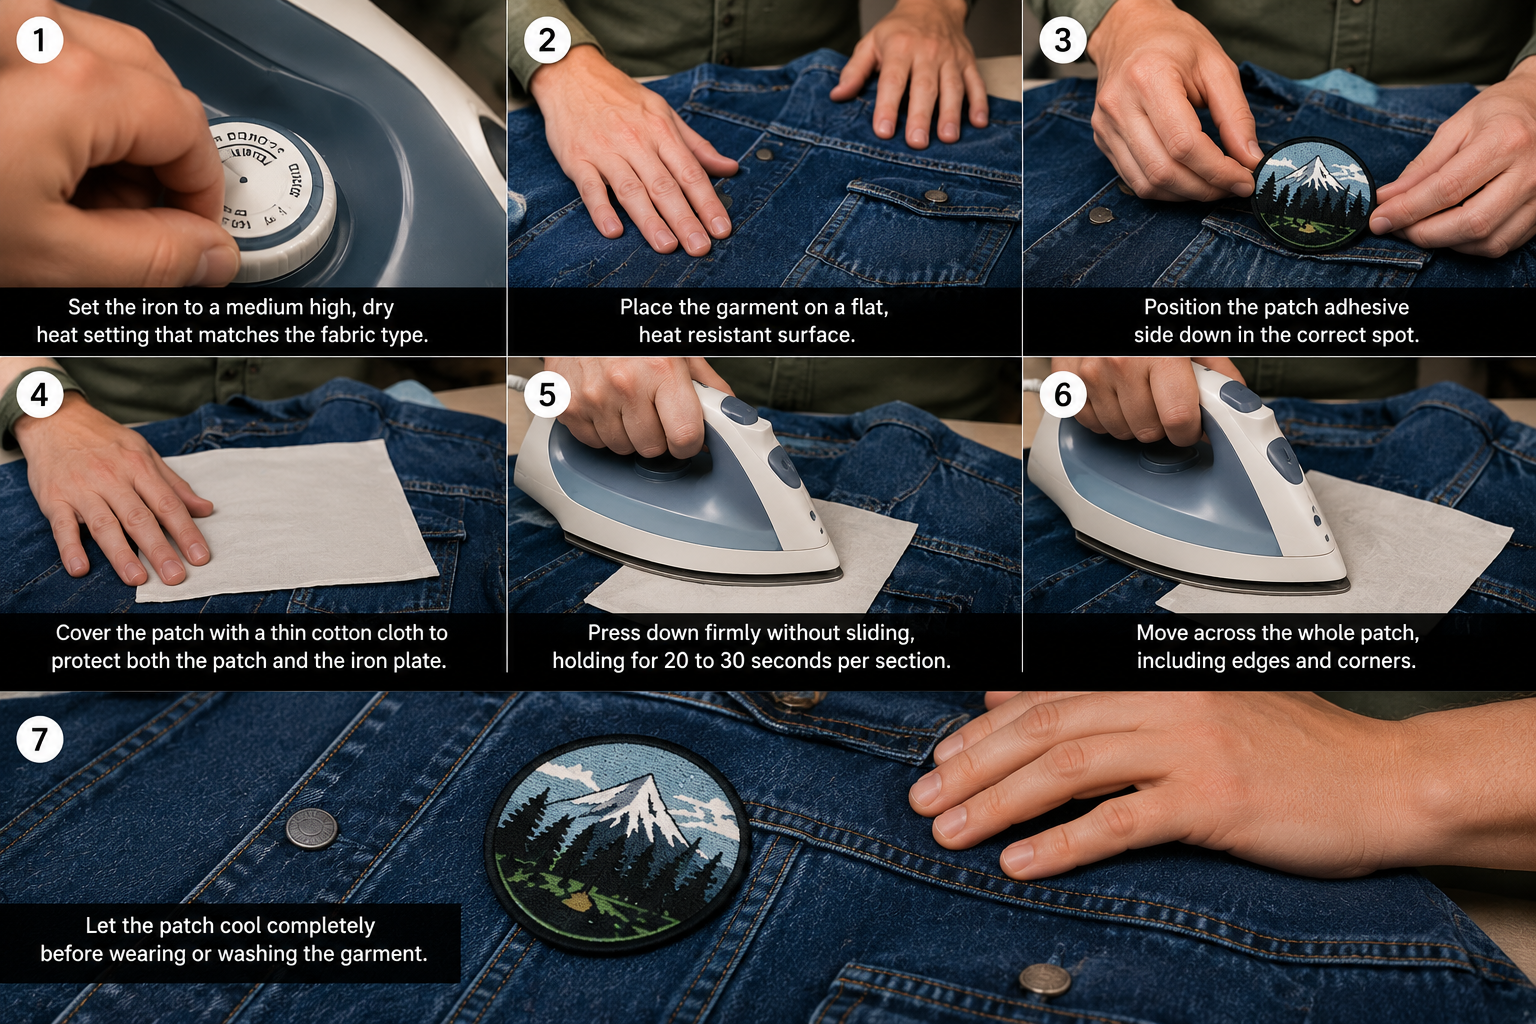
Follow these steps for a clean, lasting bond:
- Set the iron to a medium high, dry heat setting that matches the fabric type.
- Place the garment on a flat, heat resistant surface such as an ironing board.
- Position the patch adhesive side down in the correct spot.
- Cover the patch with a thin cotton cloth to protect both the patch and the iron plate.
- Press down firmly without sliding, holding for 20 to 30 seconds per section.
- Move across the whole patch, including edges and corners.
- Let the patch cool completely before wearing or washing the garment.
How long to iron on patches? Most patches need 20 to 30 seconds of firm heat per section. Larger patches need a few overlapping presses to cover the full surface. Total time is usually under two minutes per patch.
What is the best temperature for iron on patches? A medium high, dry heat setting works best for most patches. This is usually the cotton or wool setting on a household iron. Turn steam off, since moisture can weaken the adhesive during application.
Applying With a Heat Press
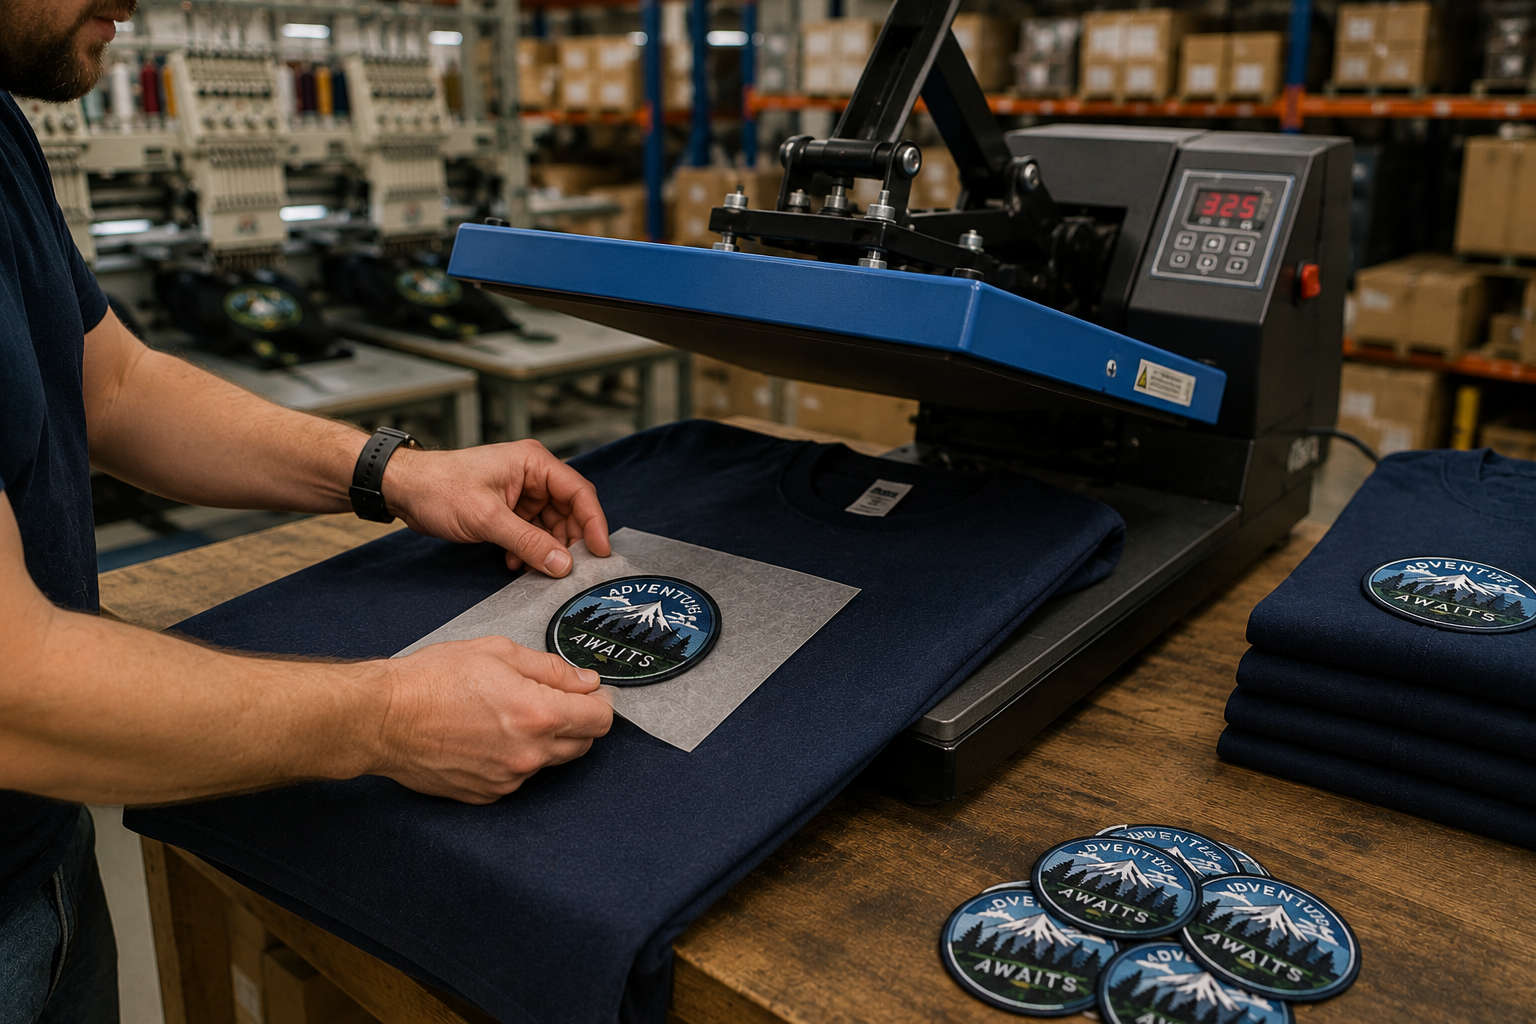
A heat press gives more consistent results than a household iron, which matters for large production runs.
- Set the heat press to 300 to 350 degrees Fahrenheit, based on the patch and fabric type.
- Place the garment flat on the press bed.
- Position the patch adhesive side down and cover with a protective sheet.
- Close the press and apply firm, even pressure for 10 to 15 seconds.
- Remove the garment and let the patch cool before handling.
How to apply iron on patches with a heat press? A heat press applies even heat and pressure across the whole patch at once. This cuts application time to 10 to 15 seconds per patch and gives more consistent results across large batches than a household iron.
How to Iron On Patches Without Damaging Fabric
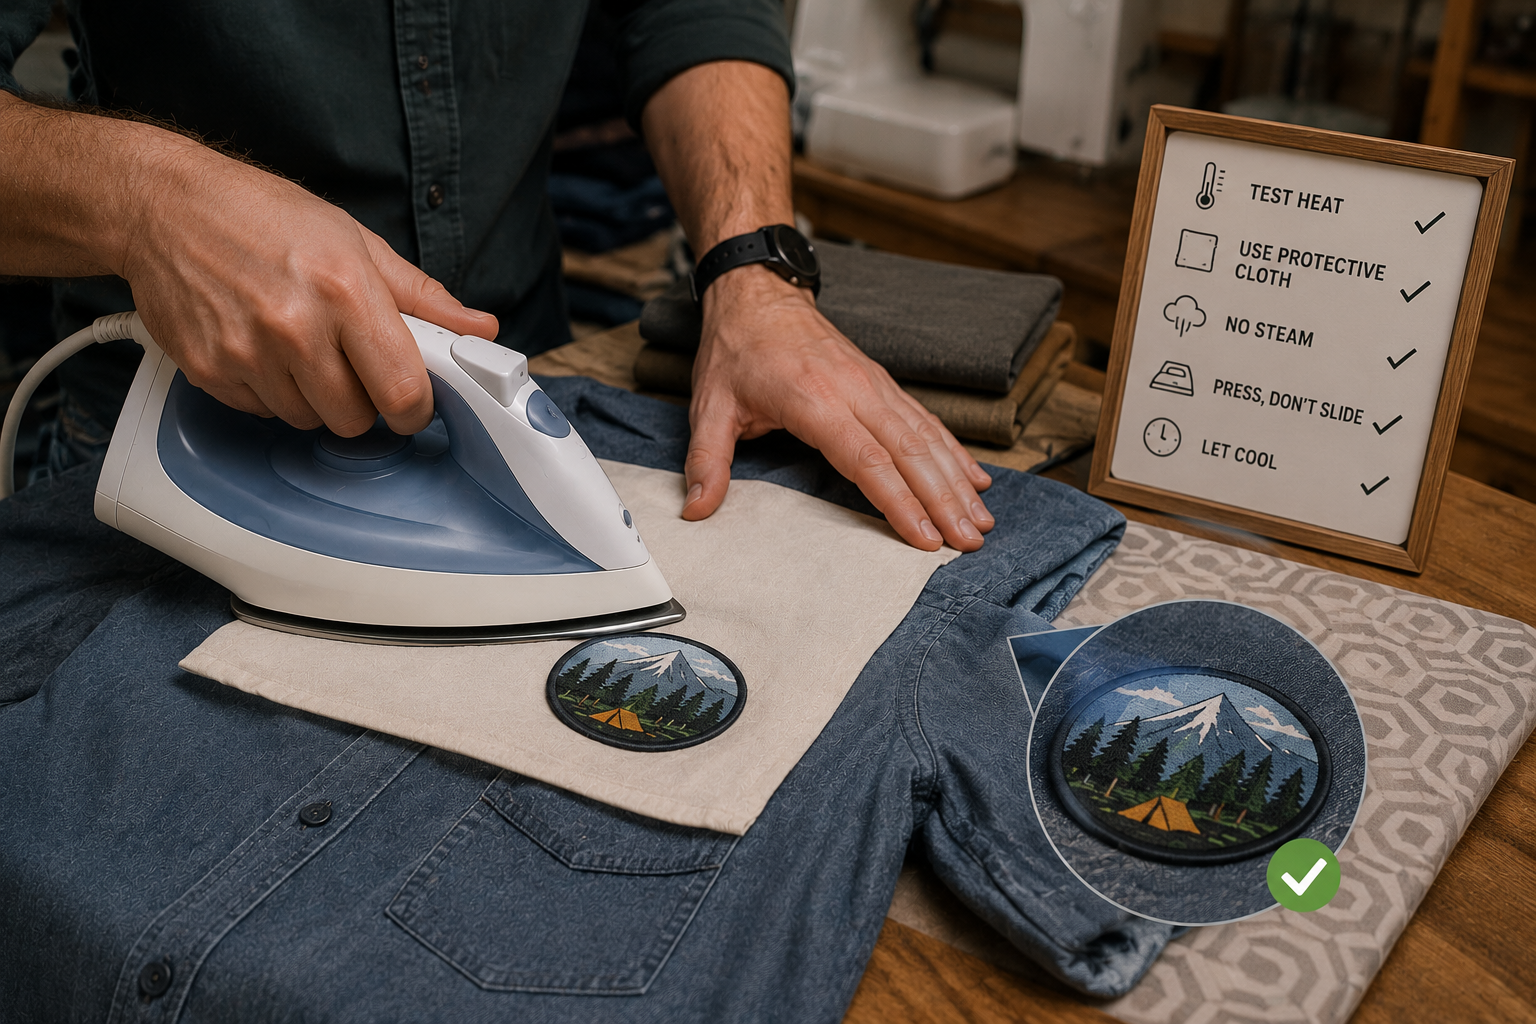
How do you iron on patches without damaging fabric? Use a protective cloth between the iron and the patch. Skip the steam. Test the heat setting on a hidden area of the garment first. Sliding the iron across the patch, instead of pressing and lifting, is the most common cause of scorch marks.
A few extra precautions help protect the fabric:
- Test the iron temperature on an inside seam before applying it to the visible area.
- Never place an iron directly on synthetic fabric without a protective cloth.
- Skip steam, since trapped moisture can stop the adhesive from bonding well.
- Press in sections instead of sliding the iron across the patch.
- Let the garment cool undisturbed for at least one minute after application.
How to Make Iron On Patches Last Longer
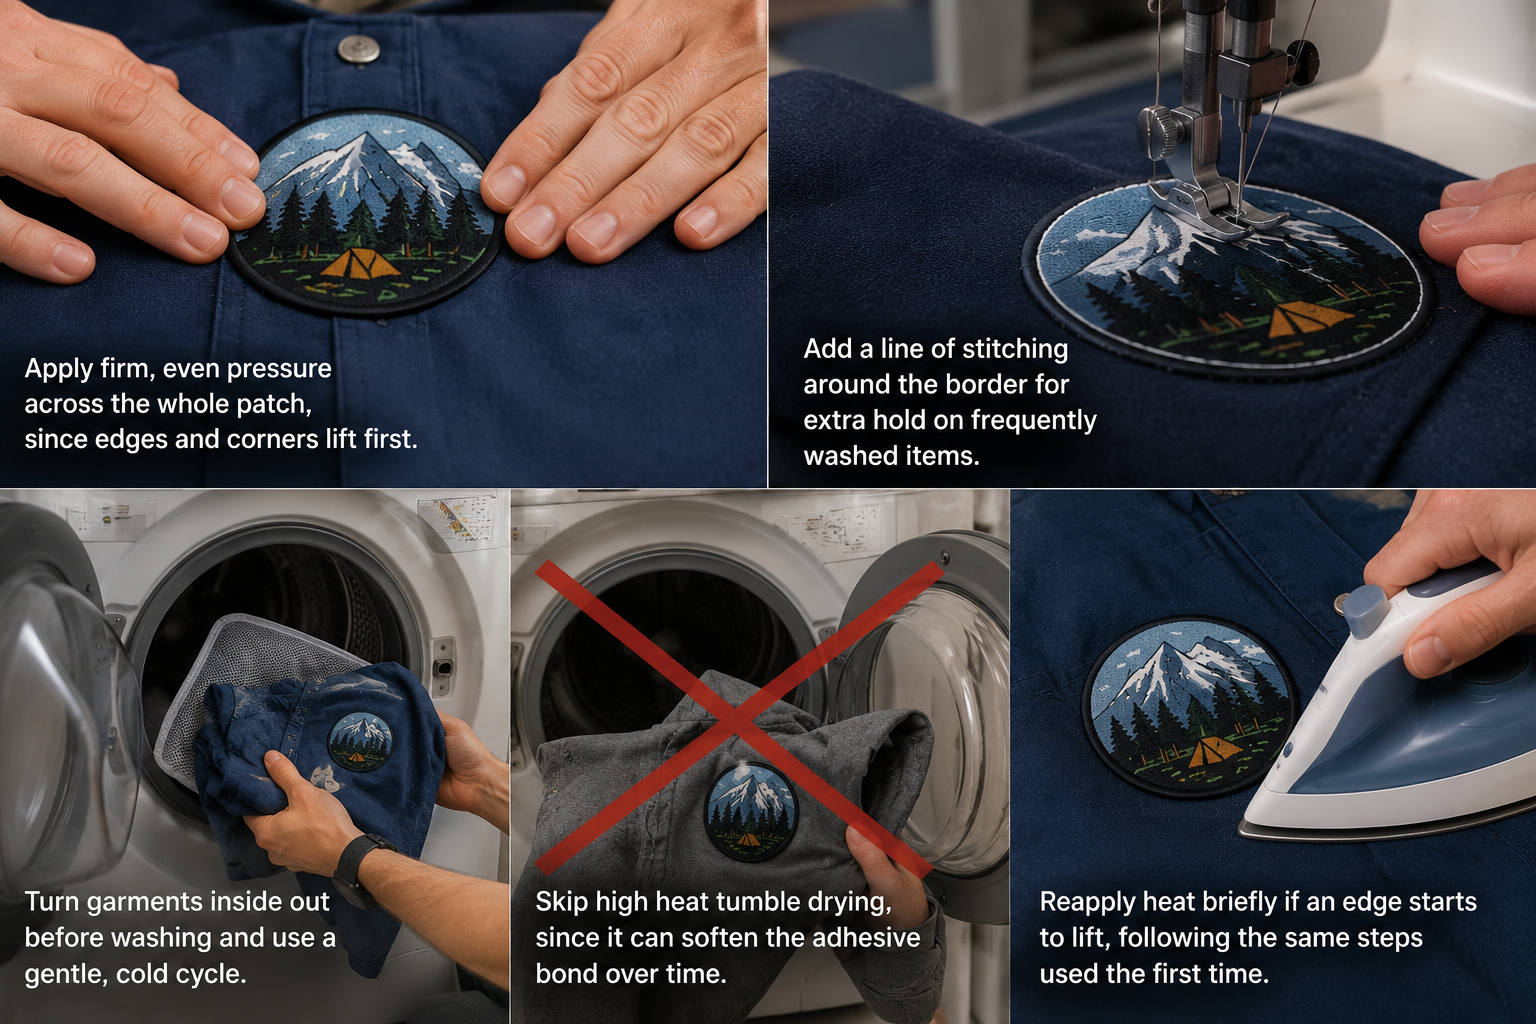
A few habits make a big difference in how long a patch stays attached:
- Apply firm, even pressure across the whole patch, since edges and corners lift first.
- Add a line of stitching around the border for extra hold on frequently washed items.
- Turn garments inside out before washing and use a gentle, cold cycle.
- Skip high heat tumble drying, since it can soften the adhesive bond over time.
- Reapply heat briefly if an edge starts to lift, following the same steps used the first time.
Benefits of Iron On Patches for B2B Buyers
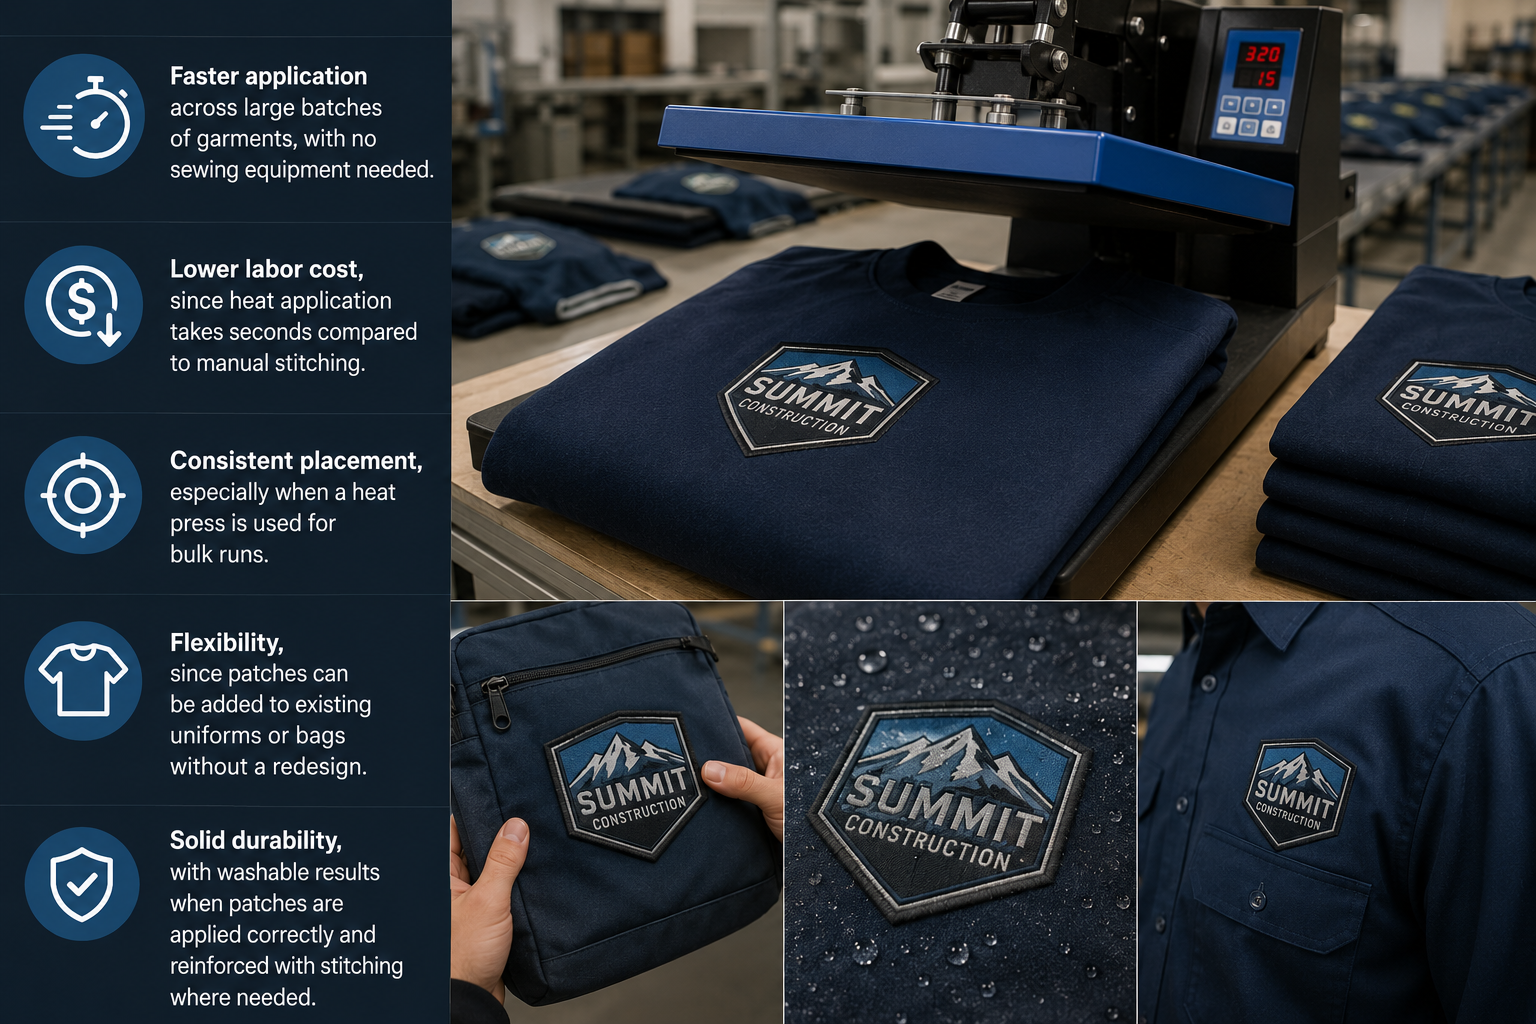
Businesses often choose iron on patches over sew only options for a few clear reasons:
- Faster application across large batches of garments, with no sewing equipment needed.
- Lower labor cost, since heat application takes seconds compared to manual stitching.
- Consistent placement, especially when a heat press is used for bulk runs.
- Flexibility, since patches can be added to existing uniforms or bags without a redesign.
- Solid durability, with washable results when patches are applied correctly and reinforced with stitching where needed.
Industry Use Cases and Applications
Iron on patches are used across several business categories where speed and consistency matter most.
- Jacket and denim patches. Common on workwear and casual jackets, usually applied with a heat press and reinforced with edge stitching.
- Backpack and bag patches. Often paired with light stitching, since bags see frequent handling and rubbing.
- T shirt and hoodie patches. Typically applied with a household iron or small heat press for event merchandise or team apparel.
- Uniform and workwear patches. Suited to heat press application at scale, giving companies a fast way to brand large batches of shirts or jackets.
Contact for Bulk Orders if you are outfitting a team or staff with branded iron on patches.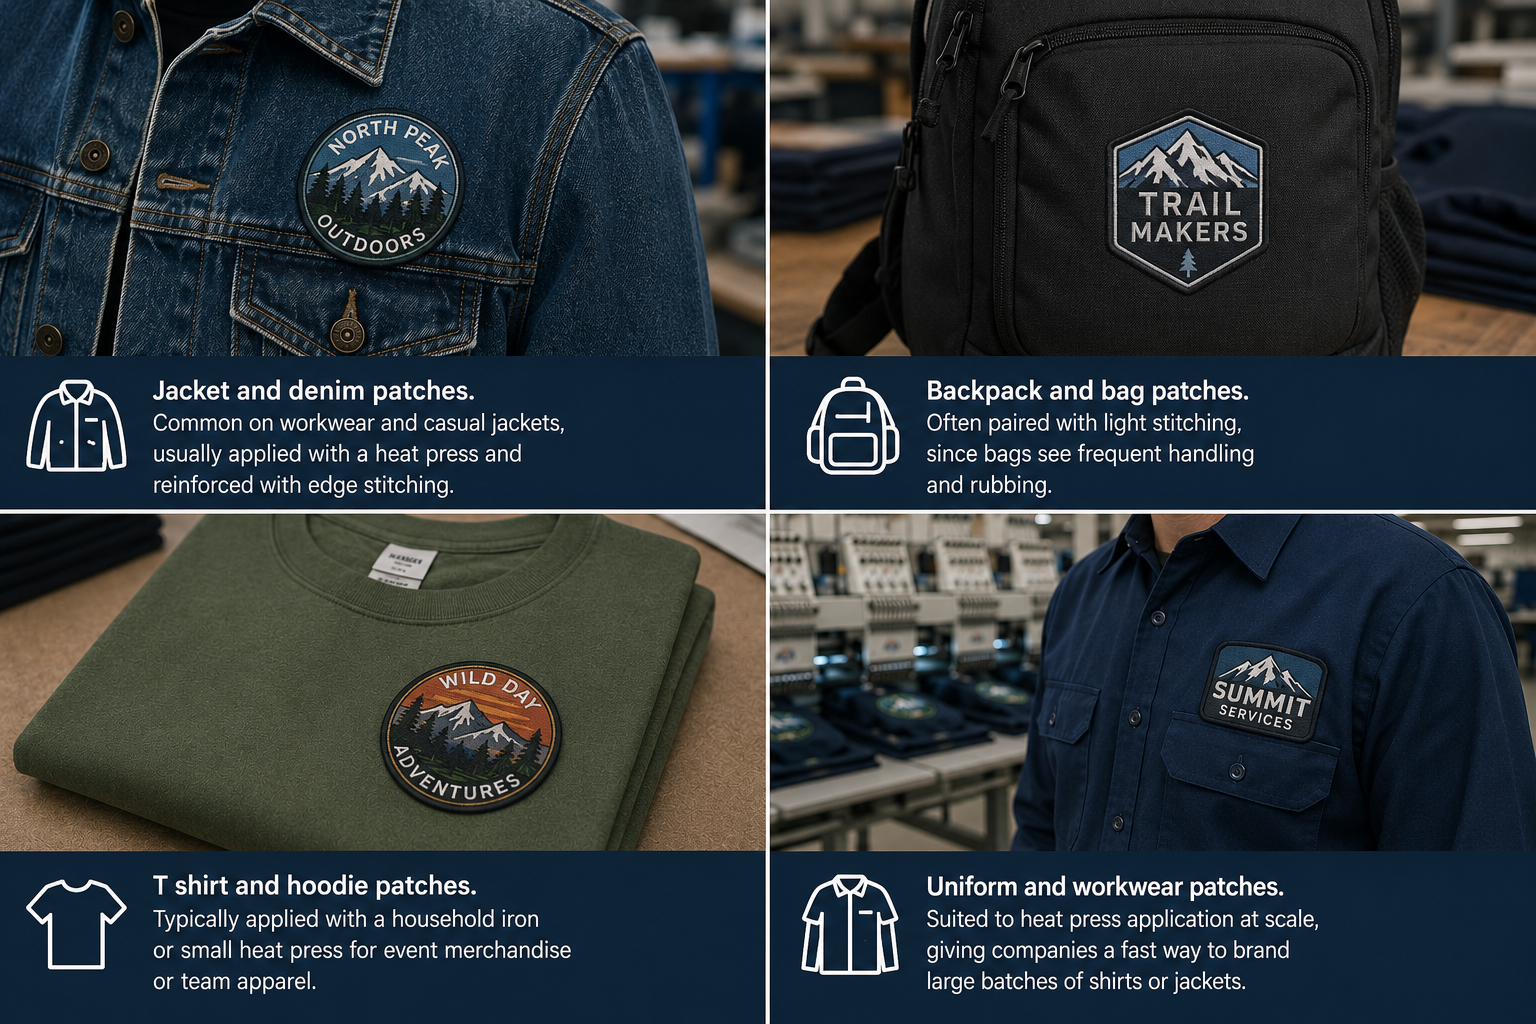
Customization and Ordering Process
Ordering custom iron on patches for a business usually follows four steps:
- Submit your logo or design as vector artwork where possible.
- Choose your patch type, embroidered, woven, or printed, along with iron on backing.
- Approve a digital mockup before the full production run begins.
- Receive your finished patches, ready for application with a household iron or heat press.
How to apply iron on patches with a household iron? Set the iron to a dry, medium high heat. Place the patch adhesive side down, cover it with a thin cloth, and press firmly for 20 to 30 seconds per section. Let it cool fully before handling the garment.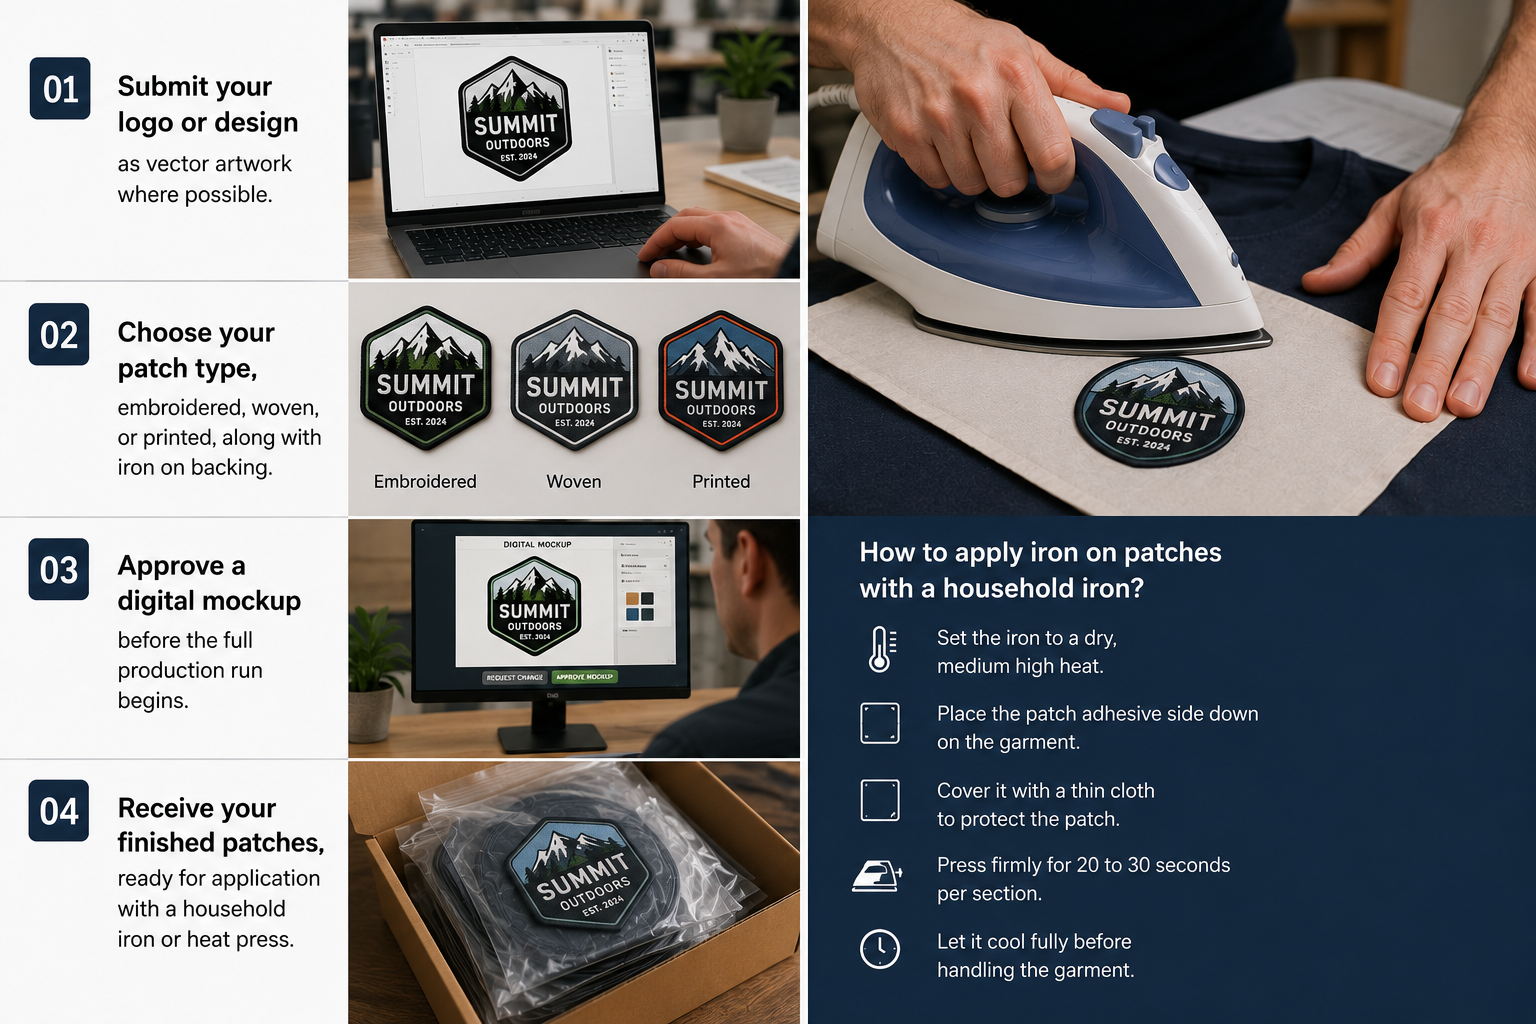
Why Choose Custom Patches 4U
Custom Patches 4U supplies B2B buyers with iron on patches built for reliable, repeatable application across bulk orders. Our patches use a consistent, heat activated adhesive backing that holds up through normal washing when applied with standard heat and pressure.
We work with businesses producing uniforms, promotional merchandise, and branded apparel. Our team offers embroidered, woven, and printed iron on patches in the sizes and backing types your production line needs, along with application guidance so your staff gets consistent results on every garment.
Contact for Bulk Orders and get a dedicated point of contact for ongoing patch supply and application support.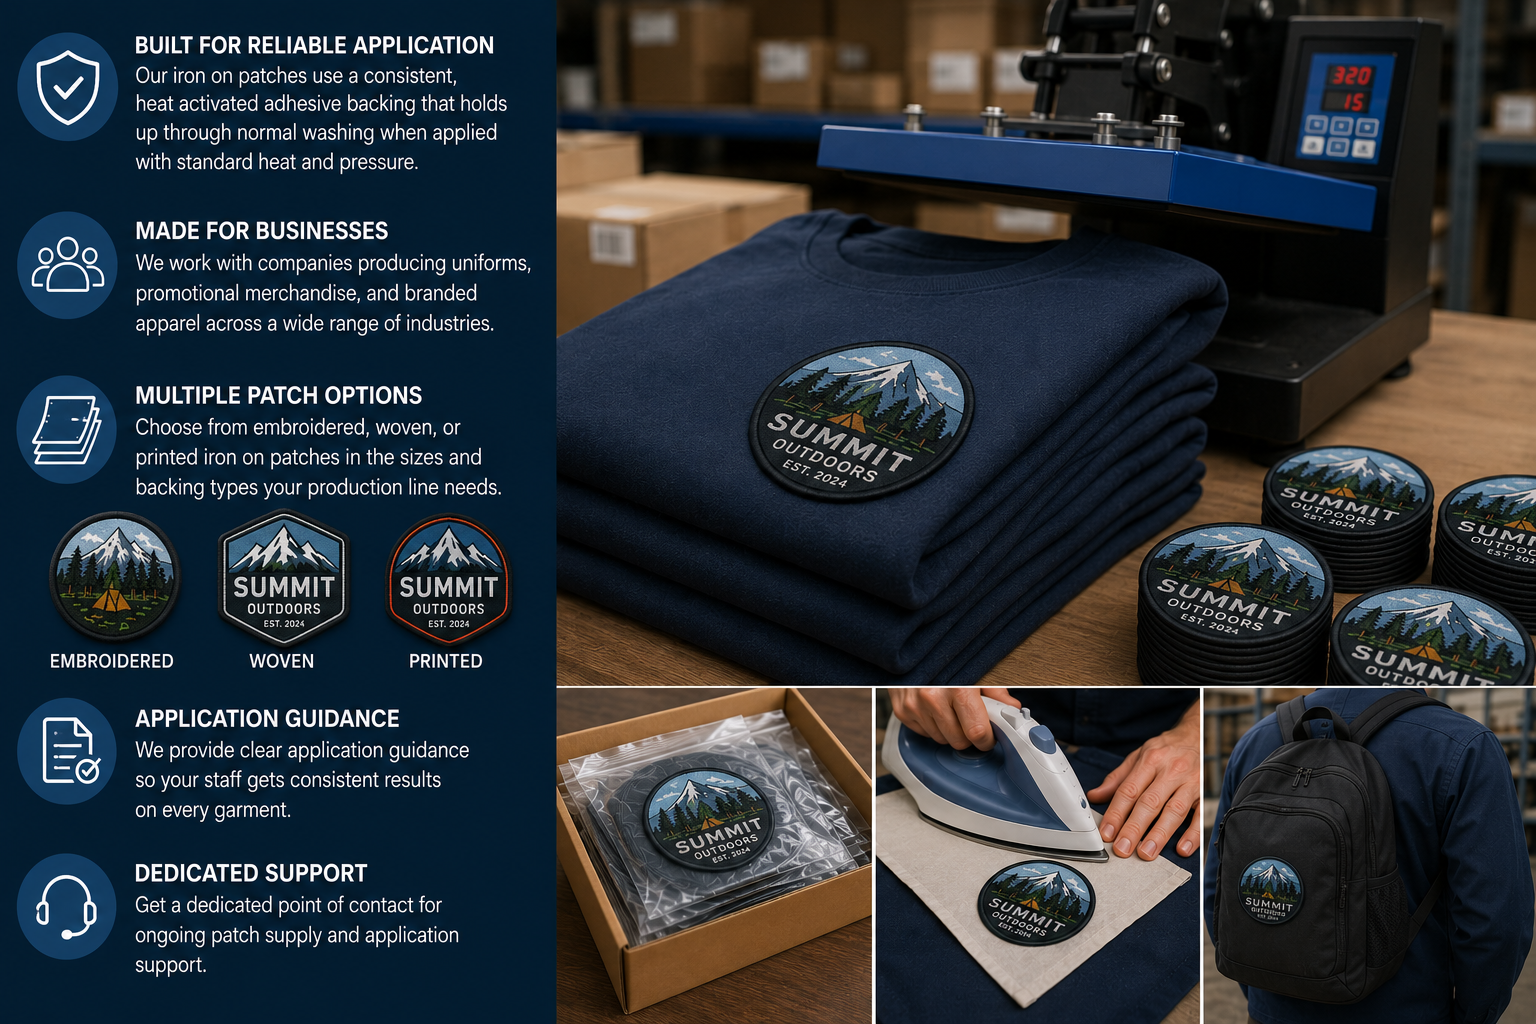
Common Mistakes to Avoid When Applying Iron On Patches
- Using steam, which adds moisture and weakens the adhesive bond.
- Sliding the iron instead of pressing and lifting in sections.
- Skipping the protective cloth, which risks scorch marks.
- Skipping the cooling period before handling or washing the garment.
- Applying patches to unsuitable fabrics, such as nylon or waterproof shells, without testing first.
- Rushing the press time on thick or heavily embroidered patches, leaving the edges unbonded.
Frequently Asked Questions
How do you apply iron on patches correctly?
Preheat the iron to a dry, medium high setting. Place the patch adhesive side down, cover it with a thin cloth, and press firmly for 20 to 30 seconds per section without sliding the iron.
How long to iron on patches?
Most patches need 20 to 30 seconds of firm heat per section. Larger patches need several overlapping presses to cover the full surface.
Can you iron on patches to any fabric?
No. Iron on patches work best on cotton, denim, canvas, and heat tolerant polyester blends. Nylon, leather, and waterproof fabrics can melt or warp under direct heat.
Do iron on patches stay on after washing?
Yes. When applied with the right heat, pressure, and time, iron on patches stay attached through normal wash cycles, especially when reinforced with edge stitching.
Can you sew an iron on patch for extra durability?
Yes. Adding stitches around the edge after heat application creates a mechanical bond alongside the adhesive, which extends durability on frequently washed or heavily used items.
What is the best temperature for iron on patches?
A medium high, dry heat setting works best. This is usually the cotton or wool setting on a household iron. Steam should be avoided, since moisture can weaken the adhesive.
How to apply iron on patches with a heat press?
Set the heat press to 300 to 350 degrees Fahrenheit. Place the patch adhesive side down with a protective sheet, apply firm pressure for 10 to 15 seconds, then let it cool before handling.
How do you iron on patches without damaging fabric?
Use a protective pressing cloth, skip the steam, and test the heat setting on a hidden area first. Press in sections instead of sliding the iron across the patch.
How to make iron on patches last longer?
Apply firm, even pressure across the whole patch, add reinforcing stitches around the border, wash on a gentle cold cycle, and skip high heat tumble drying.
How to apply iron on patches with a household iron?
Set the iron to a dry, medium high heat. Place the patch adhesive side down, cover it with a thin cloth, and press firmly for 20 to 30 seconds per section before letting it cool.