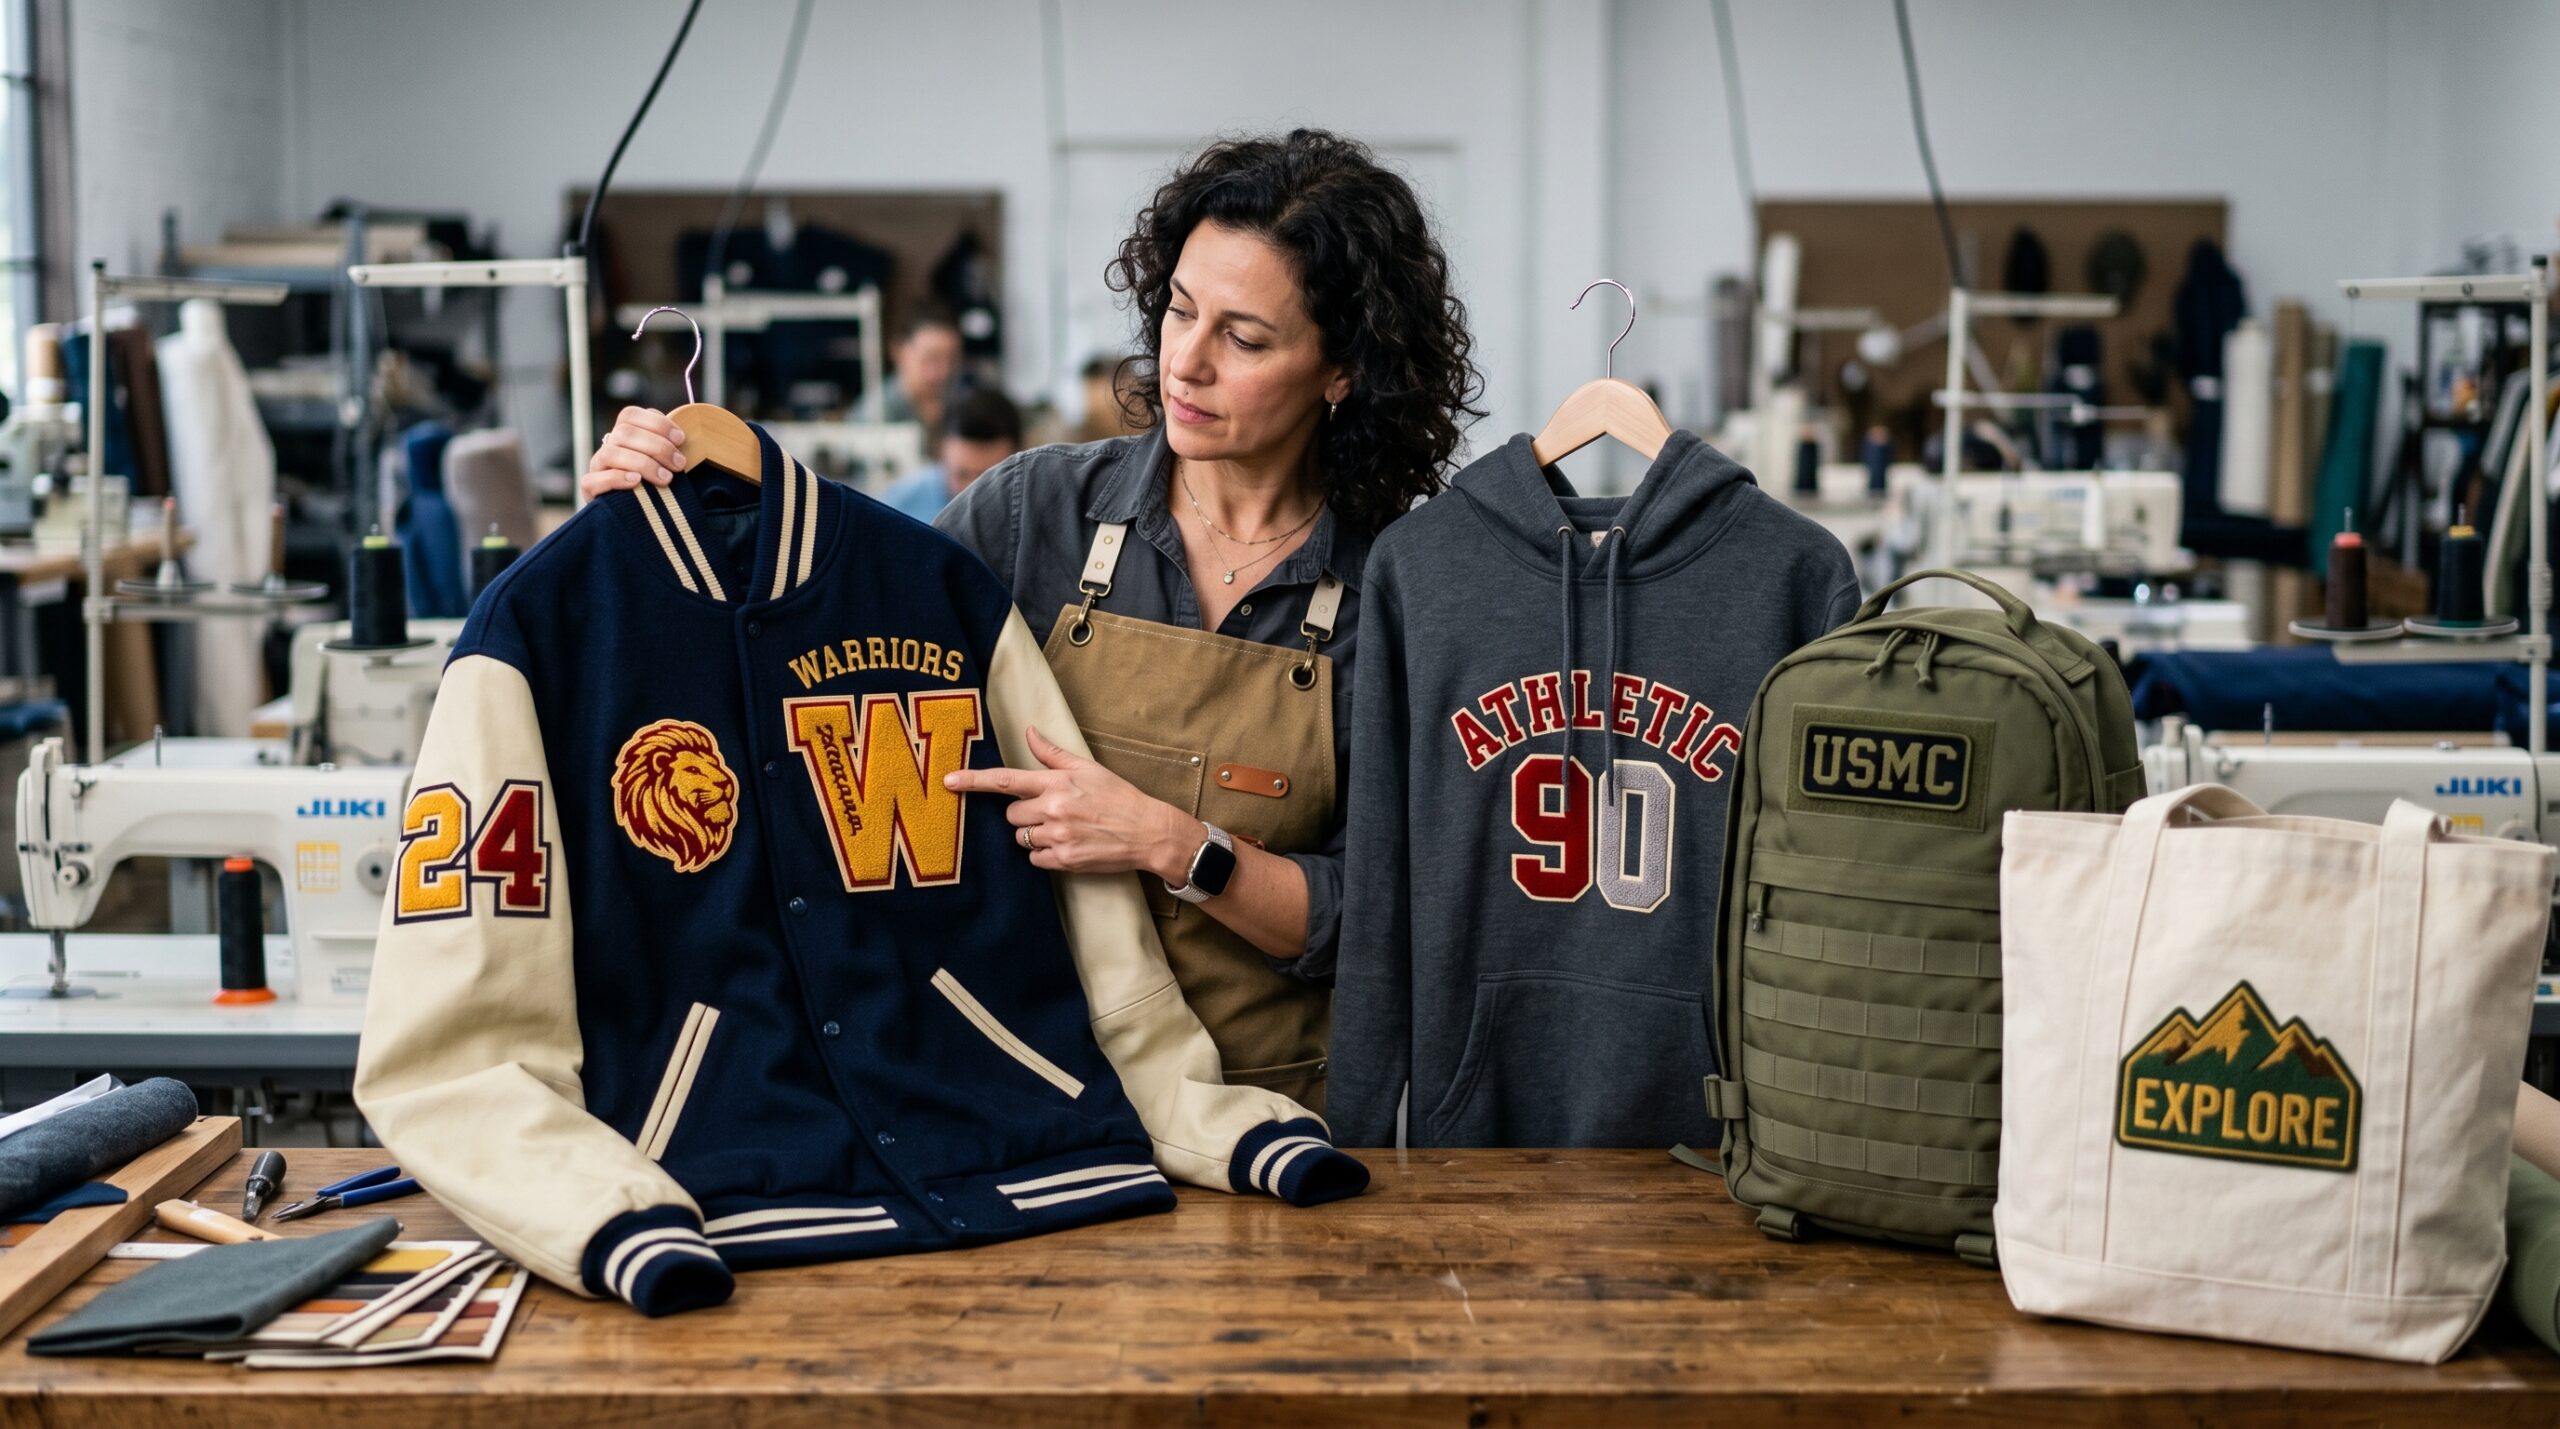
Chenille patches are one of the most textured, visually distinctive patch formats available. They carry an immediate association with varsity athletics and high school letterman jackets, but today they appear on hoodies, tote bags, denim, backpacks, hats, and a wide range of custom merchandise. If you have ordered custom chenille patches or purchased them retail and are now wondering how to get them properly attached without damaging the patch or the base material, this guide covers every method in detail.
Whether you are working on a single jacket or managing bulk apparel decoration for a sports program, school, or brand, the attachment method you choose directly affects how long the patch holds and how it looks over time.
What Makes Chenille Patches Different From Other Patch Types
Before getting into the application process, it helps to understand what chenille patches are and why their construction affects how they attach.
Chenille patches are made by looping thick, velvety chenille yarn through a twill or felt base fabric to create a raised, dense, soft-textured surface. The texture is the defining characteristic. Most chenille patches also incorporate a felt or twill border that frames the design, and many include embroidered detail elements layered on top of the chenille fill.
Because of this layered construction, chenille patches are thicker and heavier than woven or printed patches. That weight affects which attachment methods work reliably and which are likely to fail over time with regular use and washing.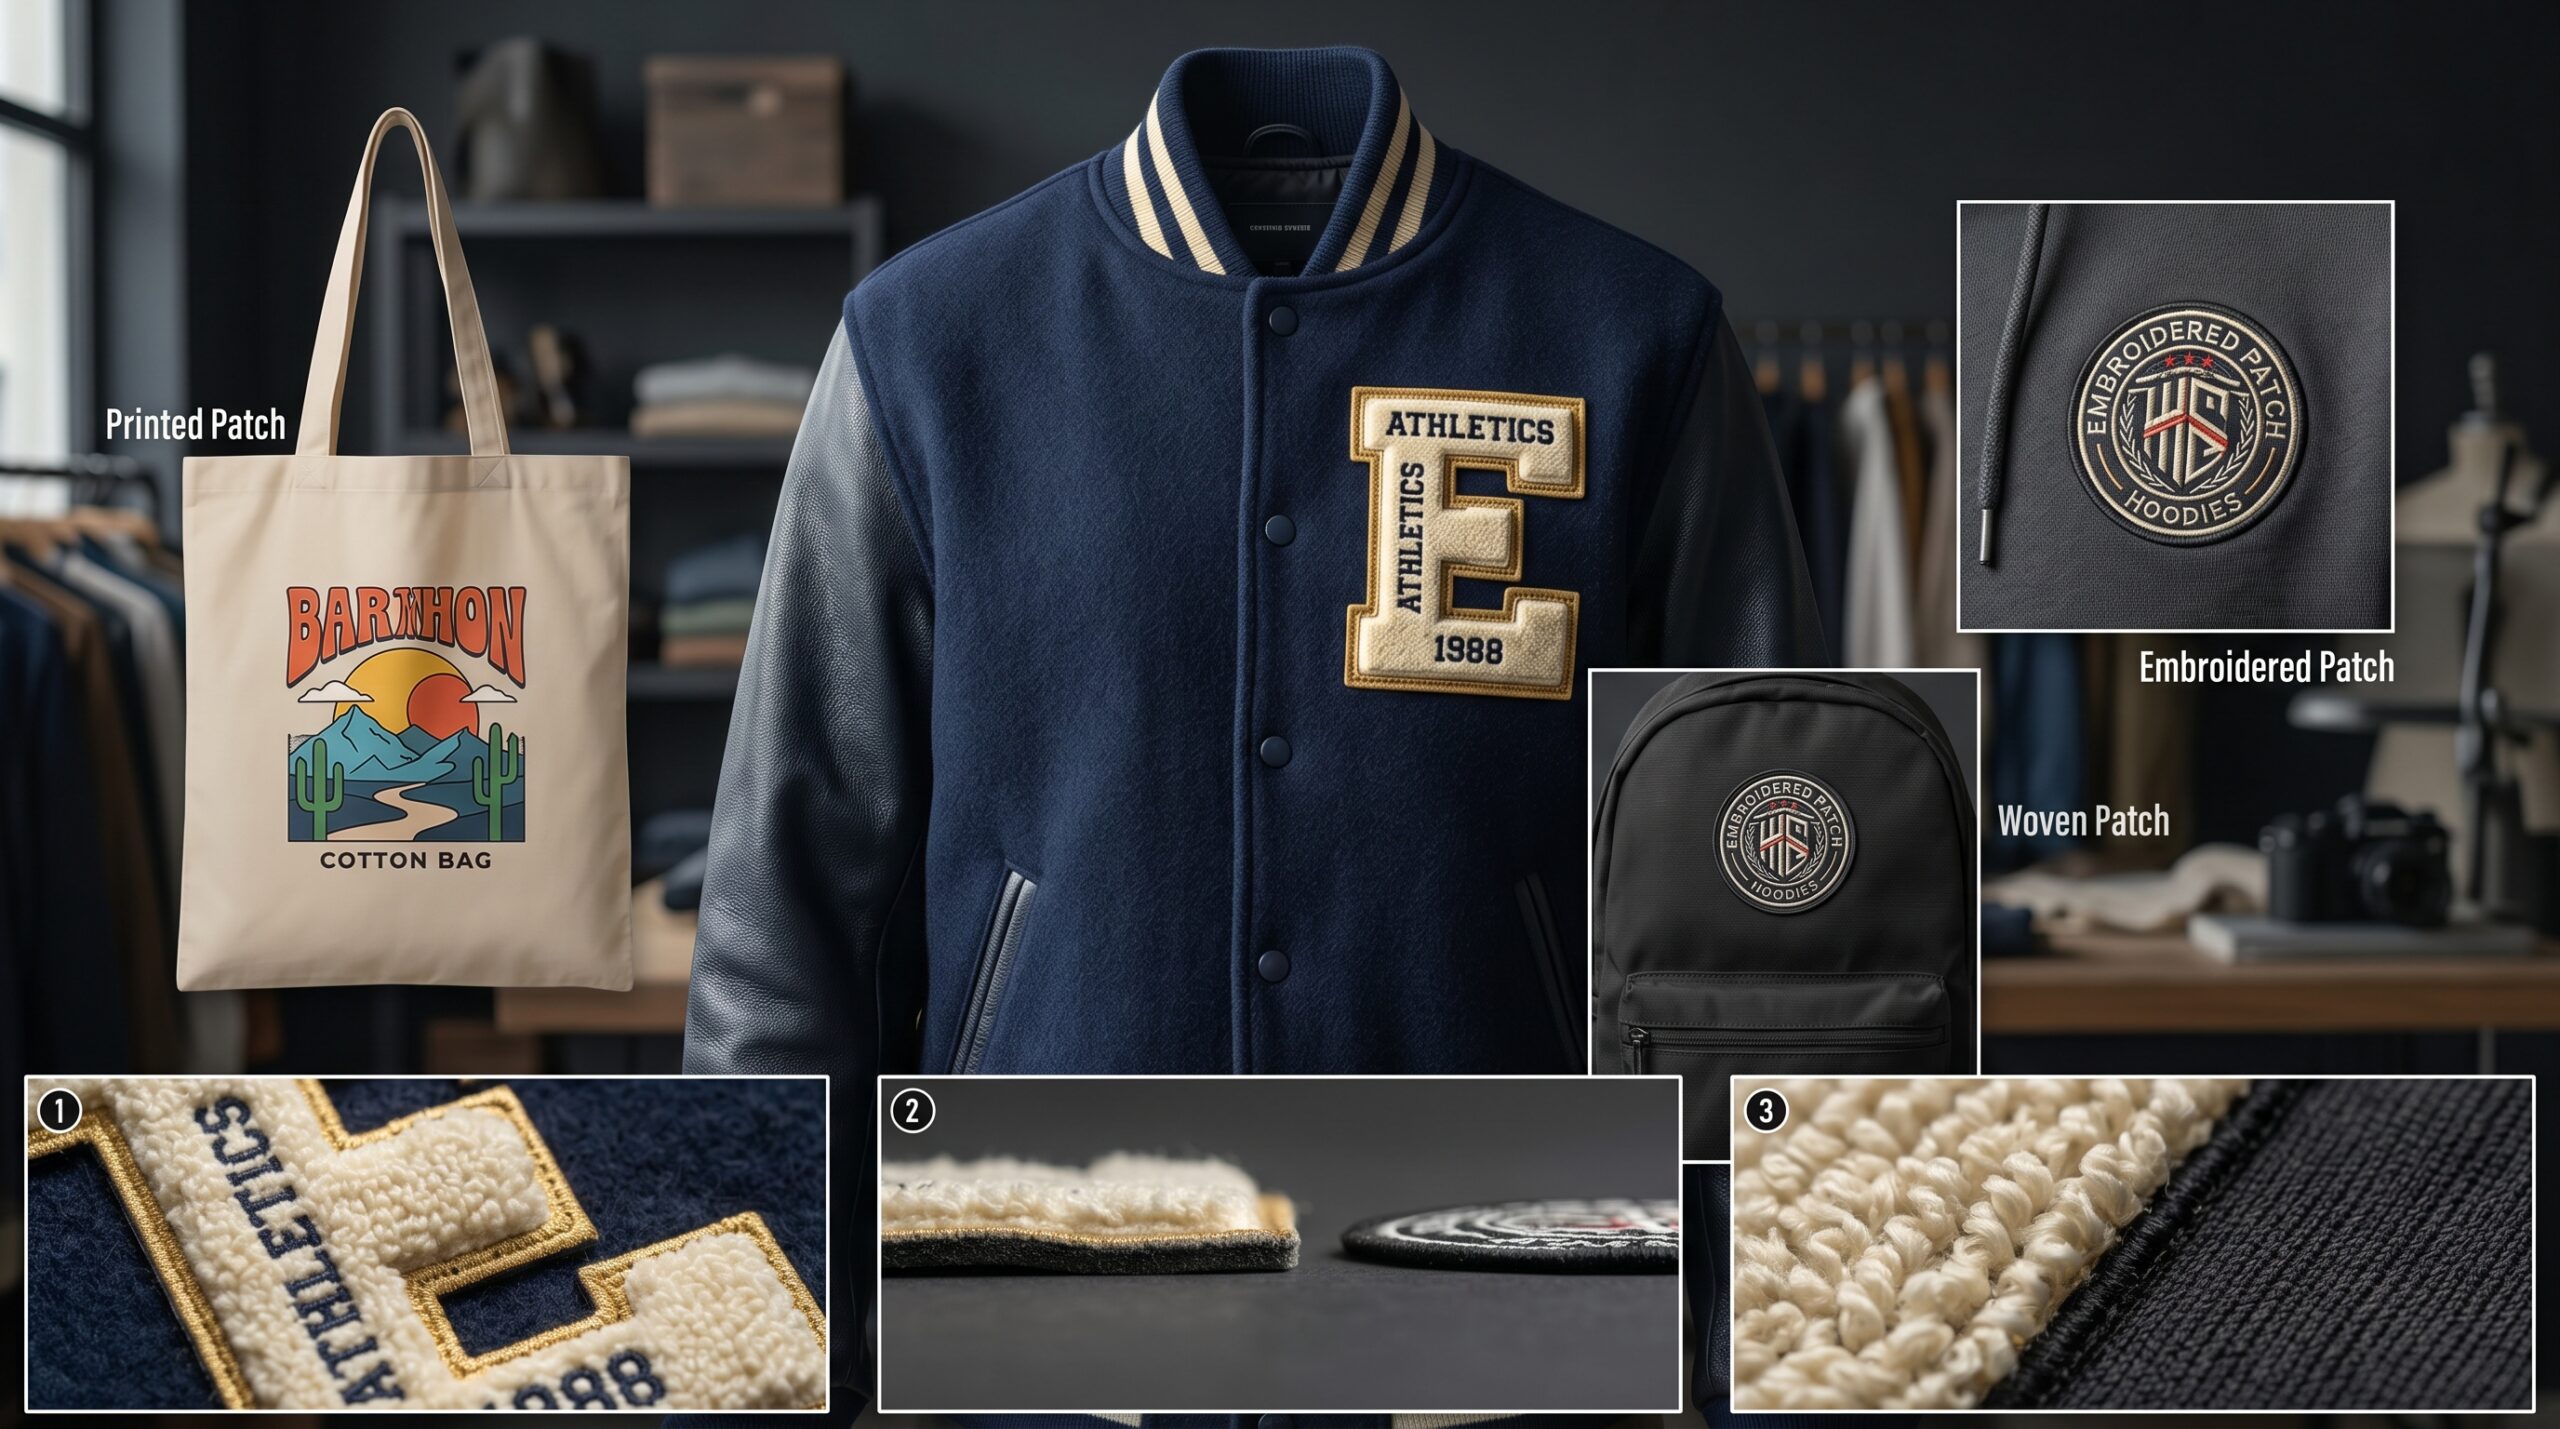
The Four Main Methods To Attach Chenille Patches
1. Sewing: The Most Secure Attachment Method
Sewing is the most reliable way to attach a chenille patch to any fabric, and it is the method recommended for patches that will go through repeated machine washing or heavy daily use.
How to sew chenille patches step by step:
Start by positioning the patch on the garment exactly where you want it. Use straight pins to hold it in place, or apply a small amount of fabric glue or fusible tape around the edges temporarily so the patch does not shift while you sew.
Thread a needle with thread that matches either the patch border color or the base fabric color, depending on whether you want the stitches to be visible or blend in. For machine sewing, use a heavy-duty needle (size 90/14 or 100/16) to handle the thickness of the patch.
Sew along the outer edge of the patch using a straight stitch or a whip stitch. Keep stitches close together, approximately 3 to 5mm apart, so there are no gaps where the edge could lift. Go around the full perimeter, not just the corners.
For machine sewing, a zigzag stitch along the patch border gives strong edge coverage and is faster than hand stitching for bulk applications.
After completing the perimeter, knot the thread securely on the back side and trim the excess.
Best for: Jackets, hoodies, bags, uniforms, and any item where the patch will face regular washing or physical stress. Sewing is the standard method for letterman jacket chenille applications and team uniform patches.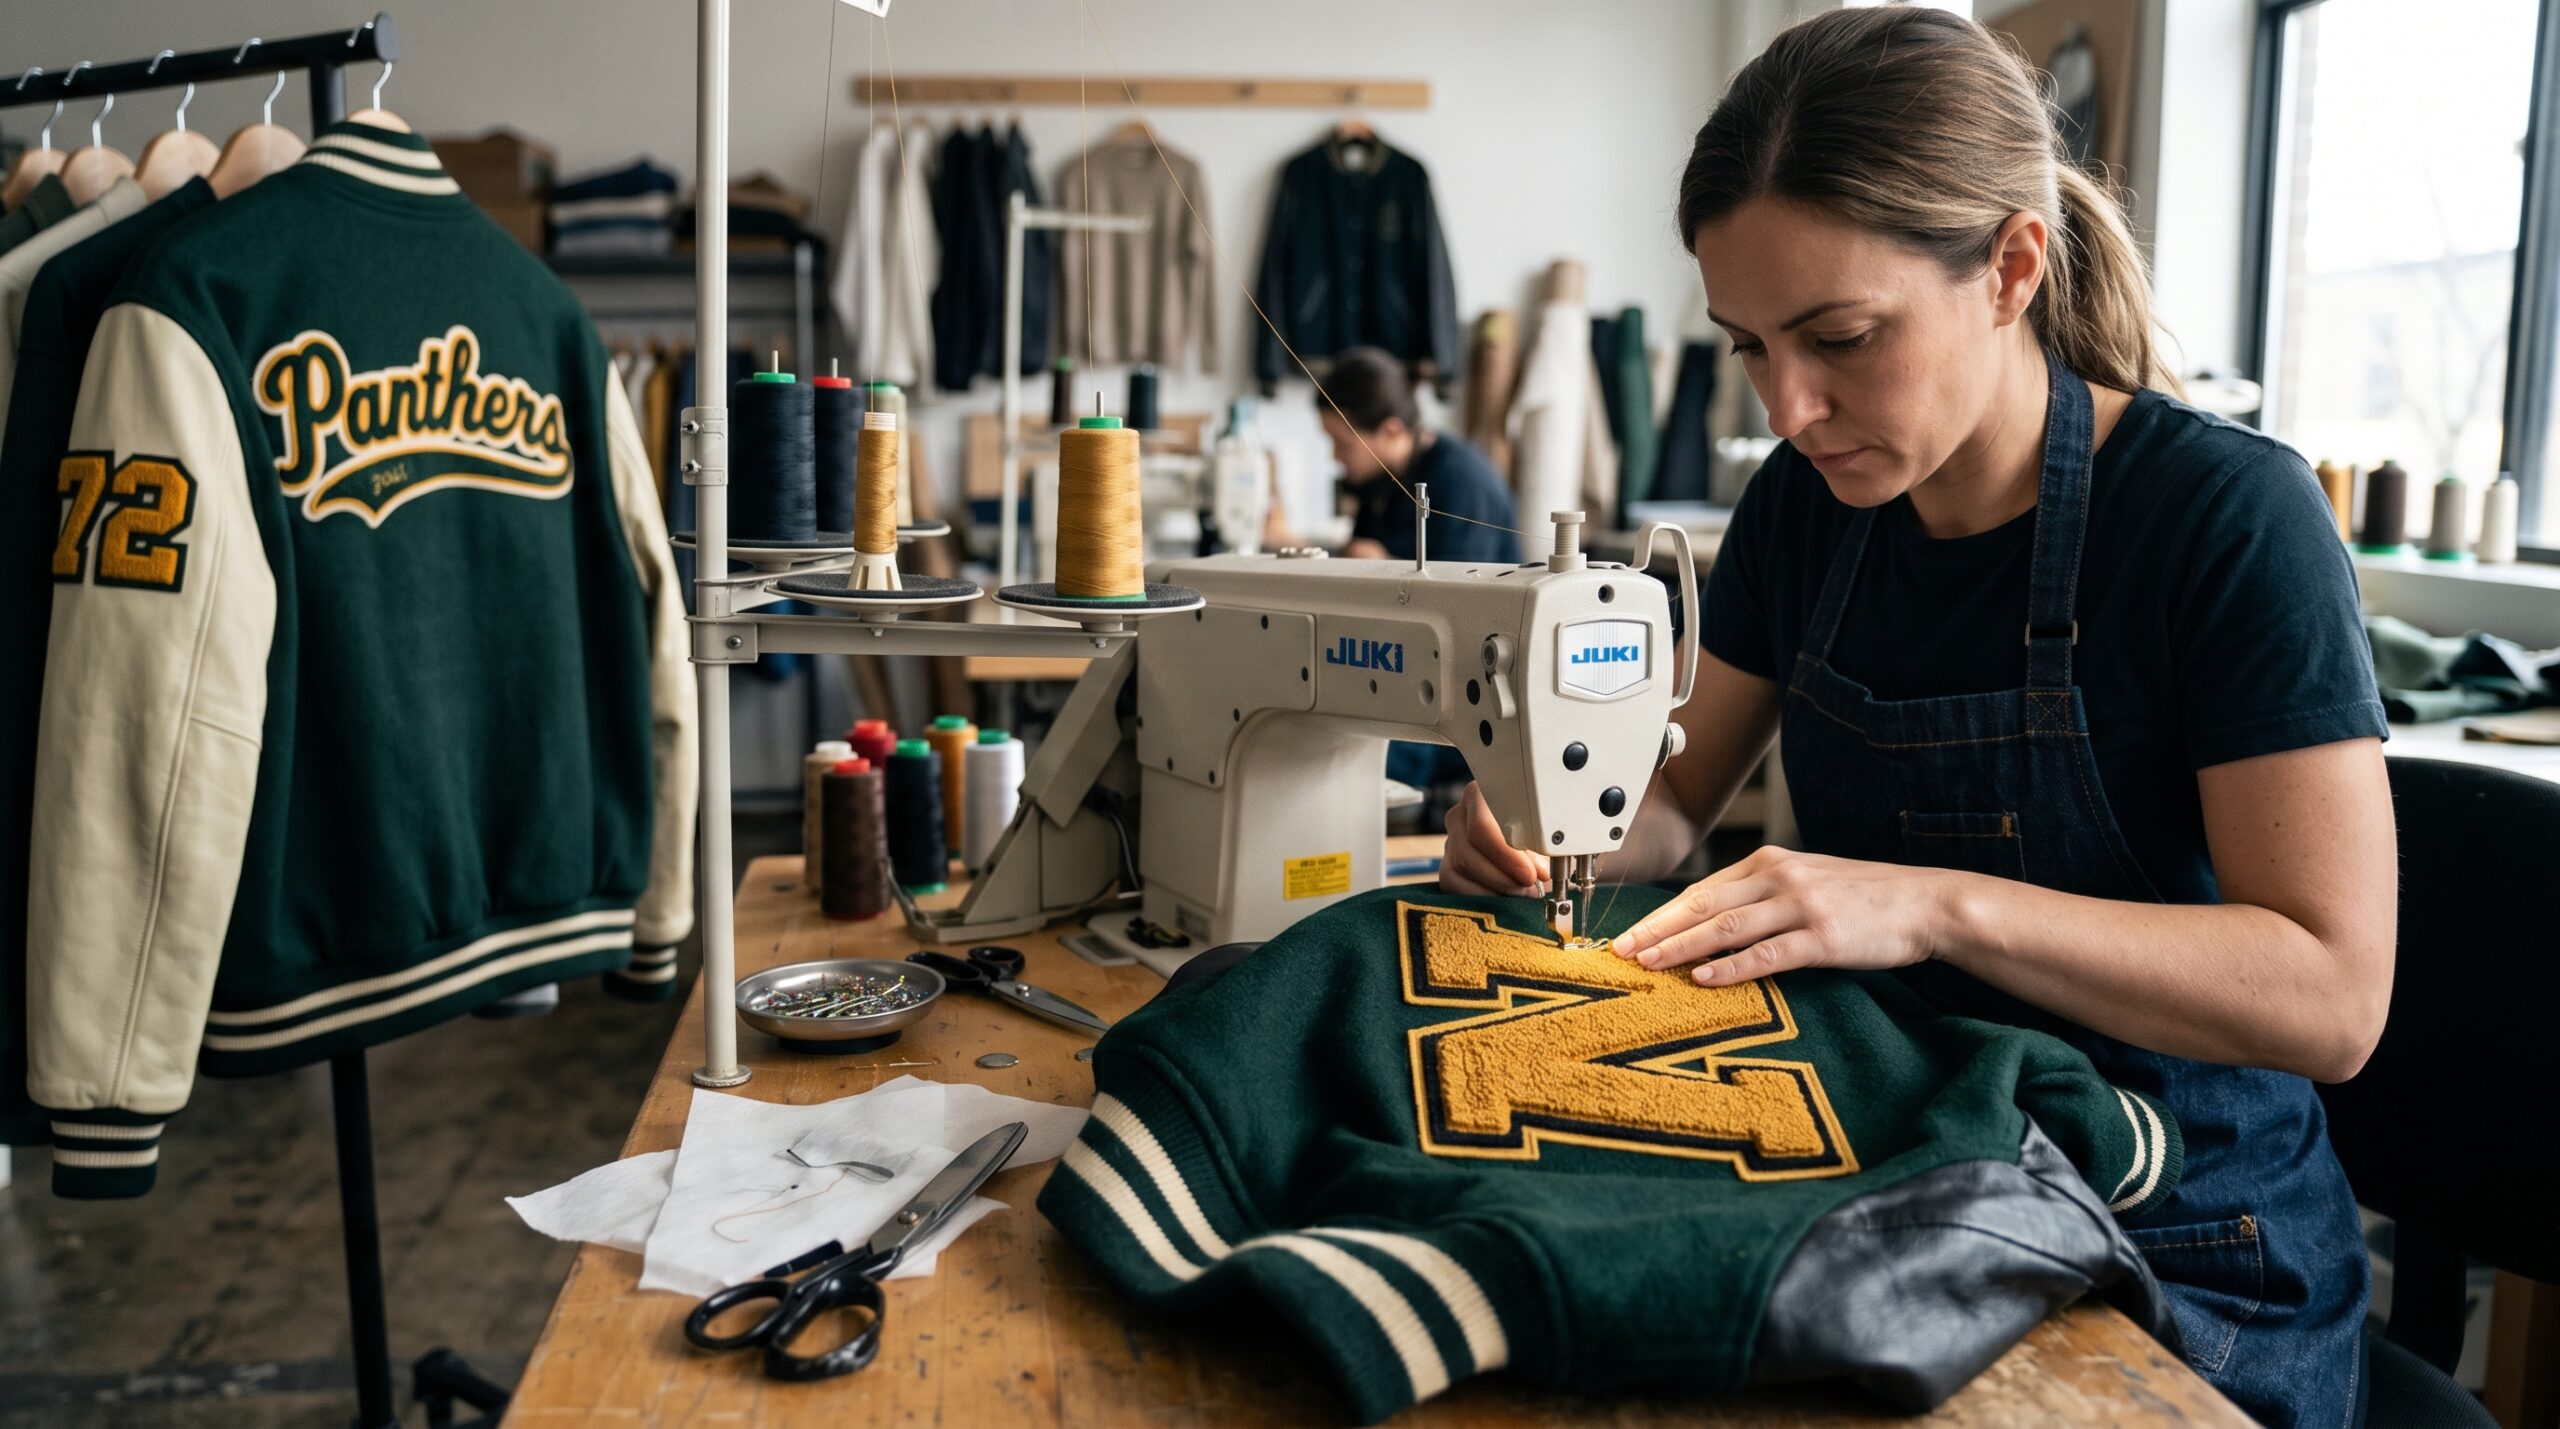
2. Iron-On Attachment: Fast and Practical for Many Applications
Many custom chenille patches come with a heat-activated adhesive backing already applied during production. This is called an iron-on backing, and when applied correctly to the right fabric, it creates a solid bond that holds through normal wear and washing.
How to apply iron-on chenille patches correctly:
Set your iron to the appropriate temperature for the base fabric. Cotton and cotton blends can handle higher heat. Synthetic fabrics like nylon or polyester require lower settings to avoid scorching or melting the material.
Do not use the iron’s steam function. Steam introduces moisture that interferes with the heat seal adhesive curing properly.
Place the garment on a hard, flat surface. A padded ironing board can absorb pressure and reduce bond strength. A firm surface transfers heat and pressure more effectively.
Position the patch where you want it. Place a thin pressing cloth or parchment paper over the patch before applying the iron. This protects the chenille texture from direct iron contact, which can flatten or damage the loops.
Press the iron firmly onto the patch and hold it in place for 25 to 30 seconds without moving it. Apply consistent downward pressure. Do not slide or rock the iron.
Lift the iron and allow the patch to cool completely before touching it. Picking at the edges while the adhesive is still warm will break the bond.
Once cool, try to lift a corner of the patch gently. If it lifts easily, repeat the pressing process with slightly more pressure or heat.
Turn the garment inside out and press from the back for an additional 15 to 20 seconds to reinforce the bond.
Important limitation: Iron-on adhesive alone is not recommended as a permanent solution for thick, heavy, or frequently washed items. For chenille patches on jackets or hoodies that will be machine washed regularly, a combination of iron-on activation followed by perimeter sewing is the most reliable approach.
Best for: Initial positioning, light-use items, items that will be dry cleaned rather than machine washed, and applications where sewing is not practical.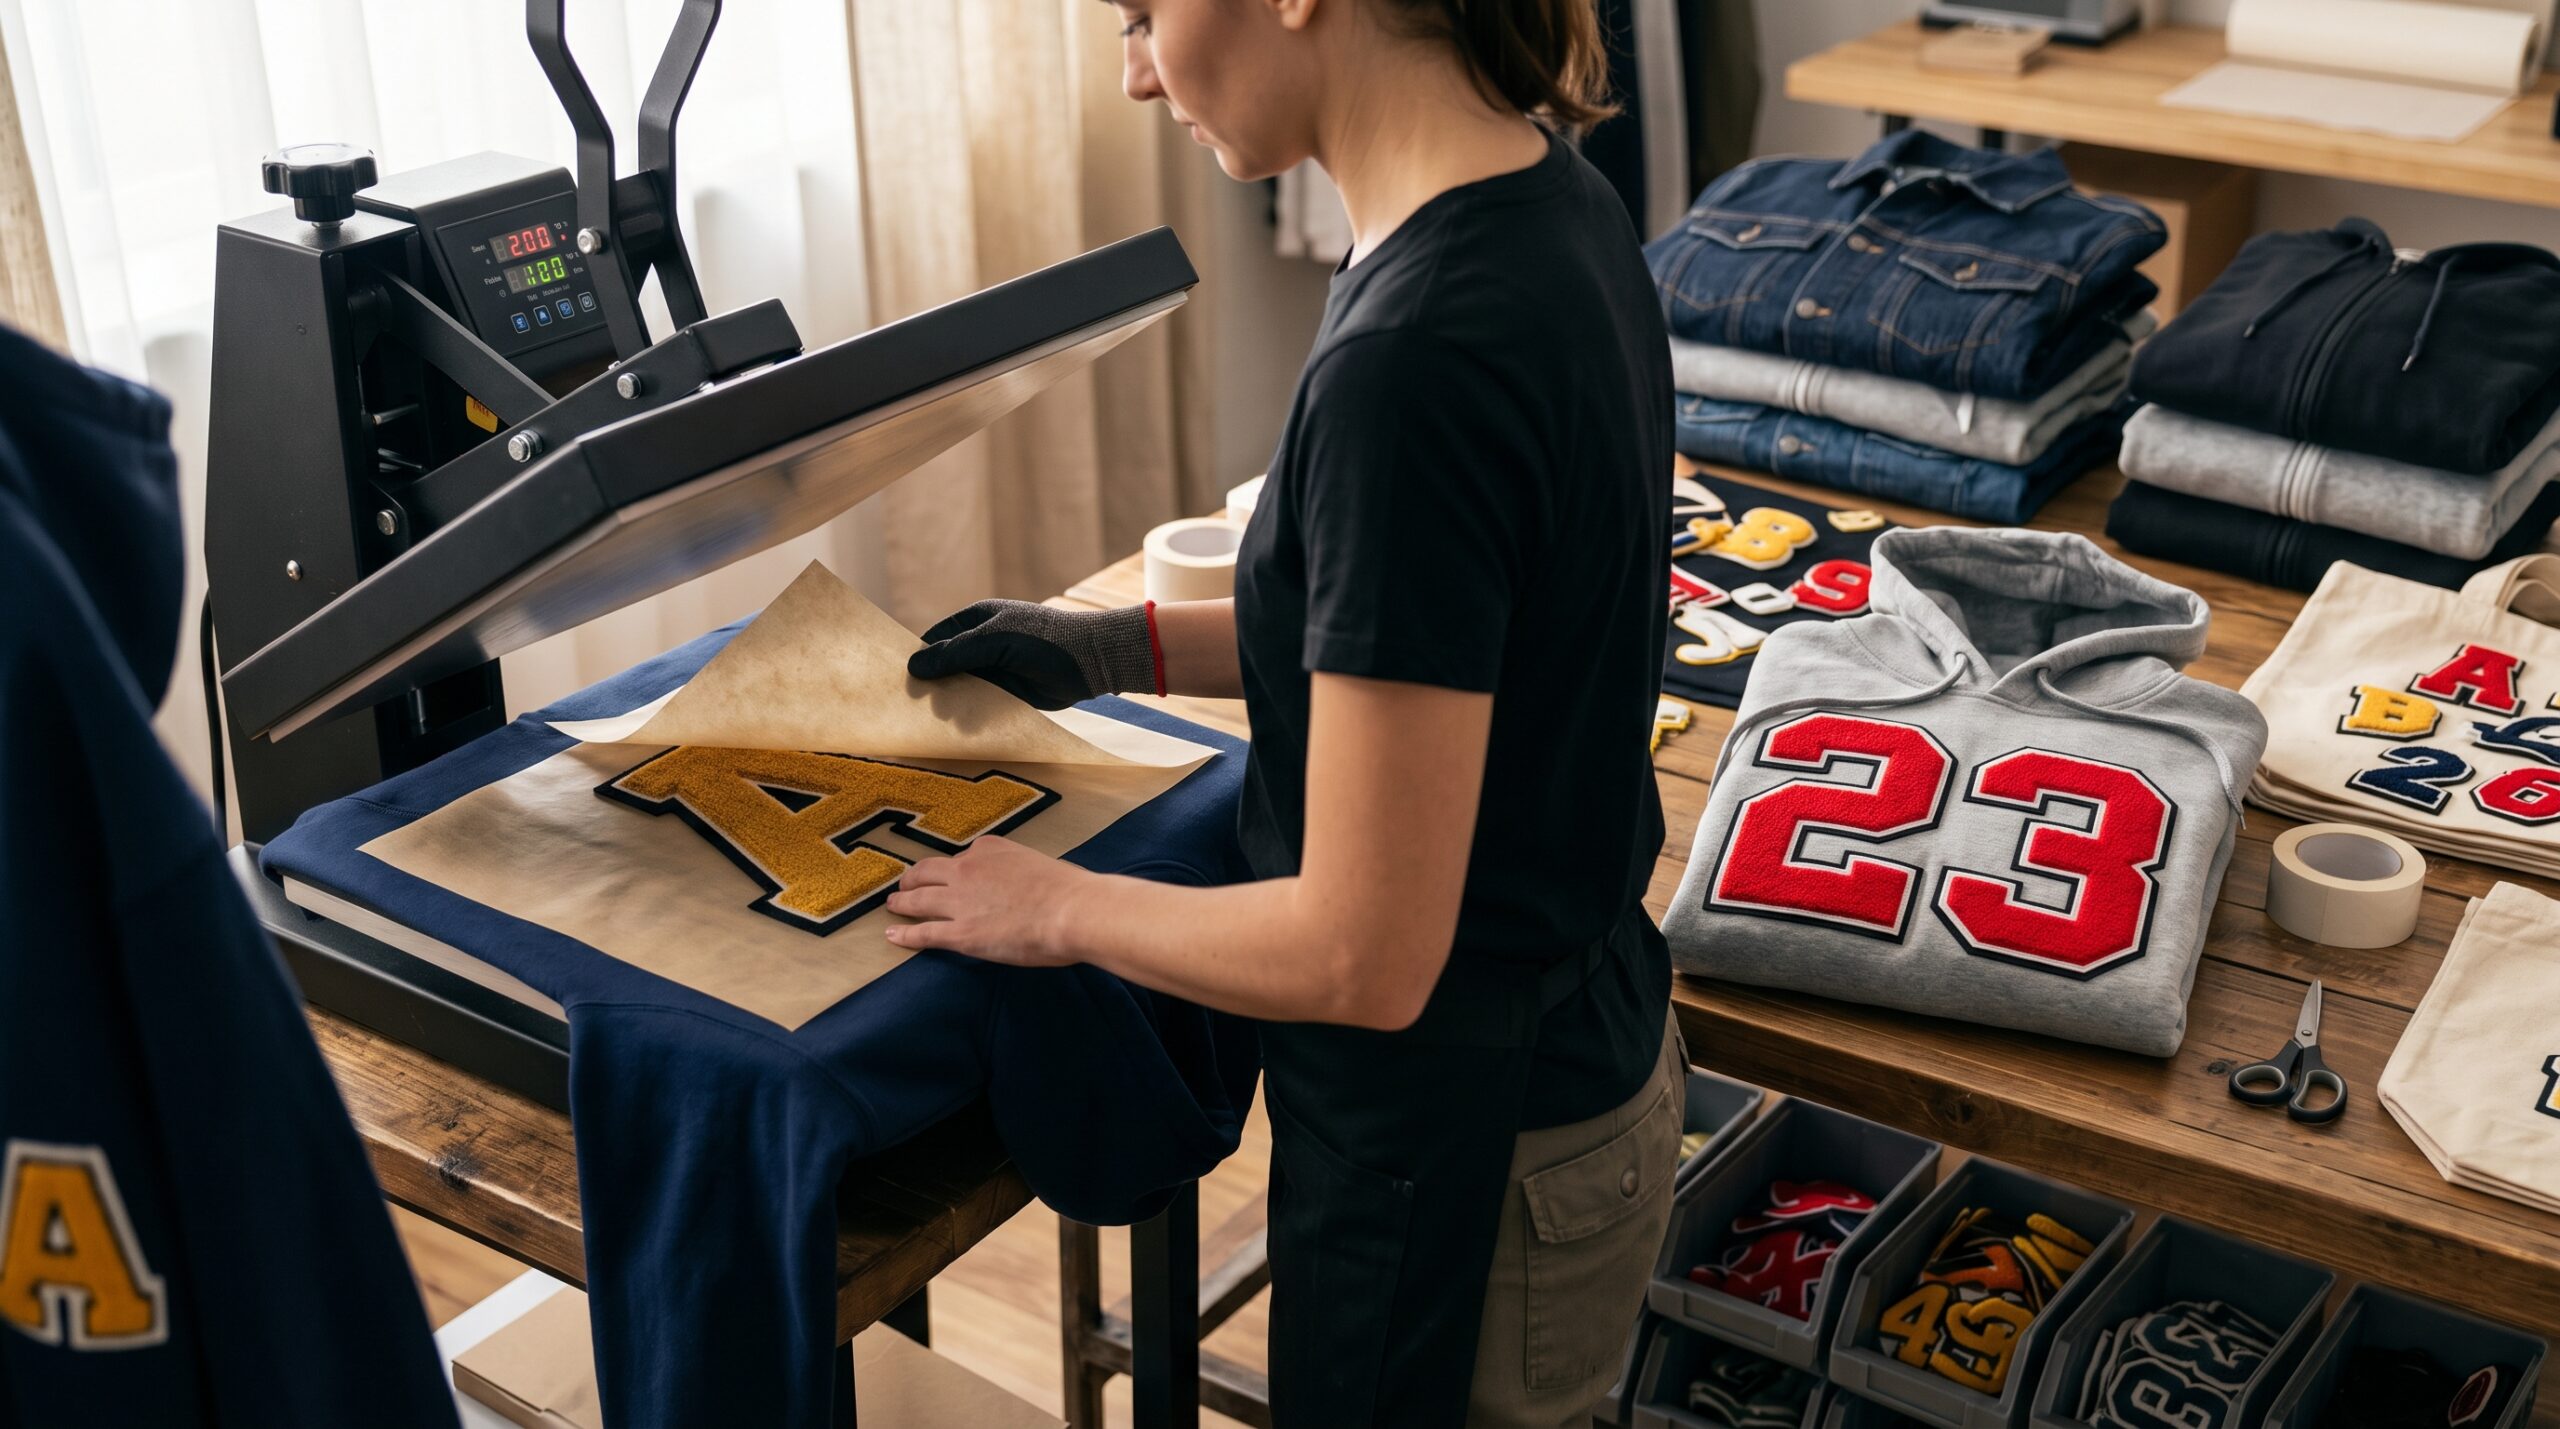
3. Fabric Glue: An Alternative for Non-Sewable Surfaces
For objects where sewing is not practical, such as structured bags, accessories with foam backing, or hard-surface items, fabric glue is an option worth considering.
Not all fabric adhesives work equally well with the weight of chenille patches. Use a permanent, flexible fabric adhesive designed for heavy materials. Thin craft glue and standard white glue are not strong enough to hold a chenille patch reliably.
Apply a thin, even layer of adhesive to the back of the patch, covering the full surface including the edges. Press the patch firmly onto the surface and hold it with consistent pressure for the duration specified by the adhesive manufacturer. Allow full curing time before using the item.
For bags and accessories that will not be washed, fabric glue can hold effectively long-term. For any item that will go through laundering, fabric glue alone is not sufficient. The bond softens with water exposure and repeated cycles.
Best for: Bags, totes, display items, accessories, and objects where sewing is not feasible and the item will not be washed.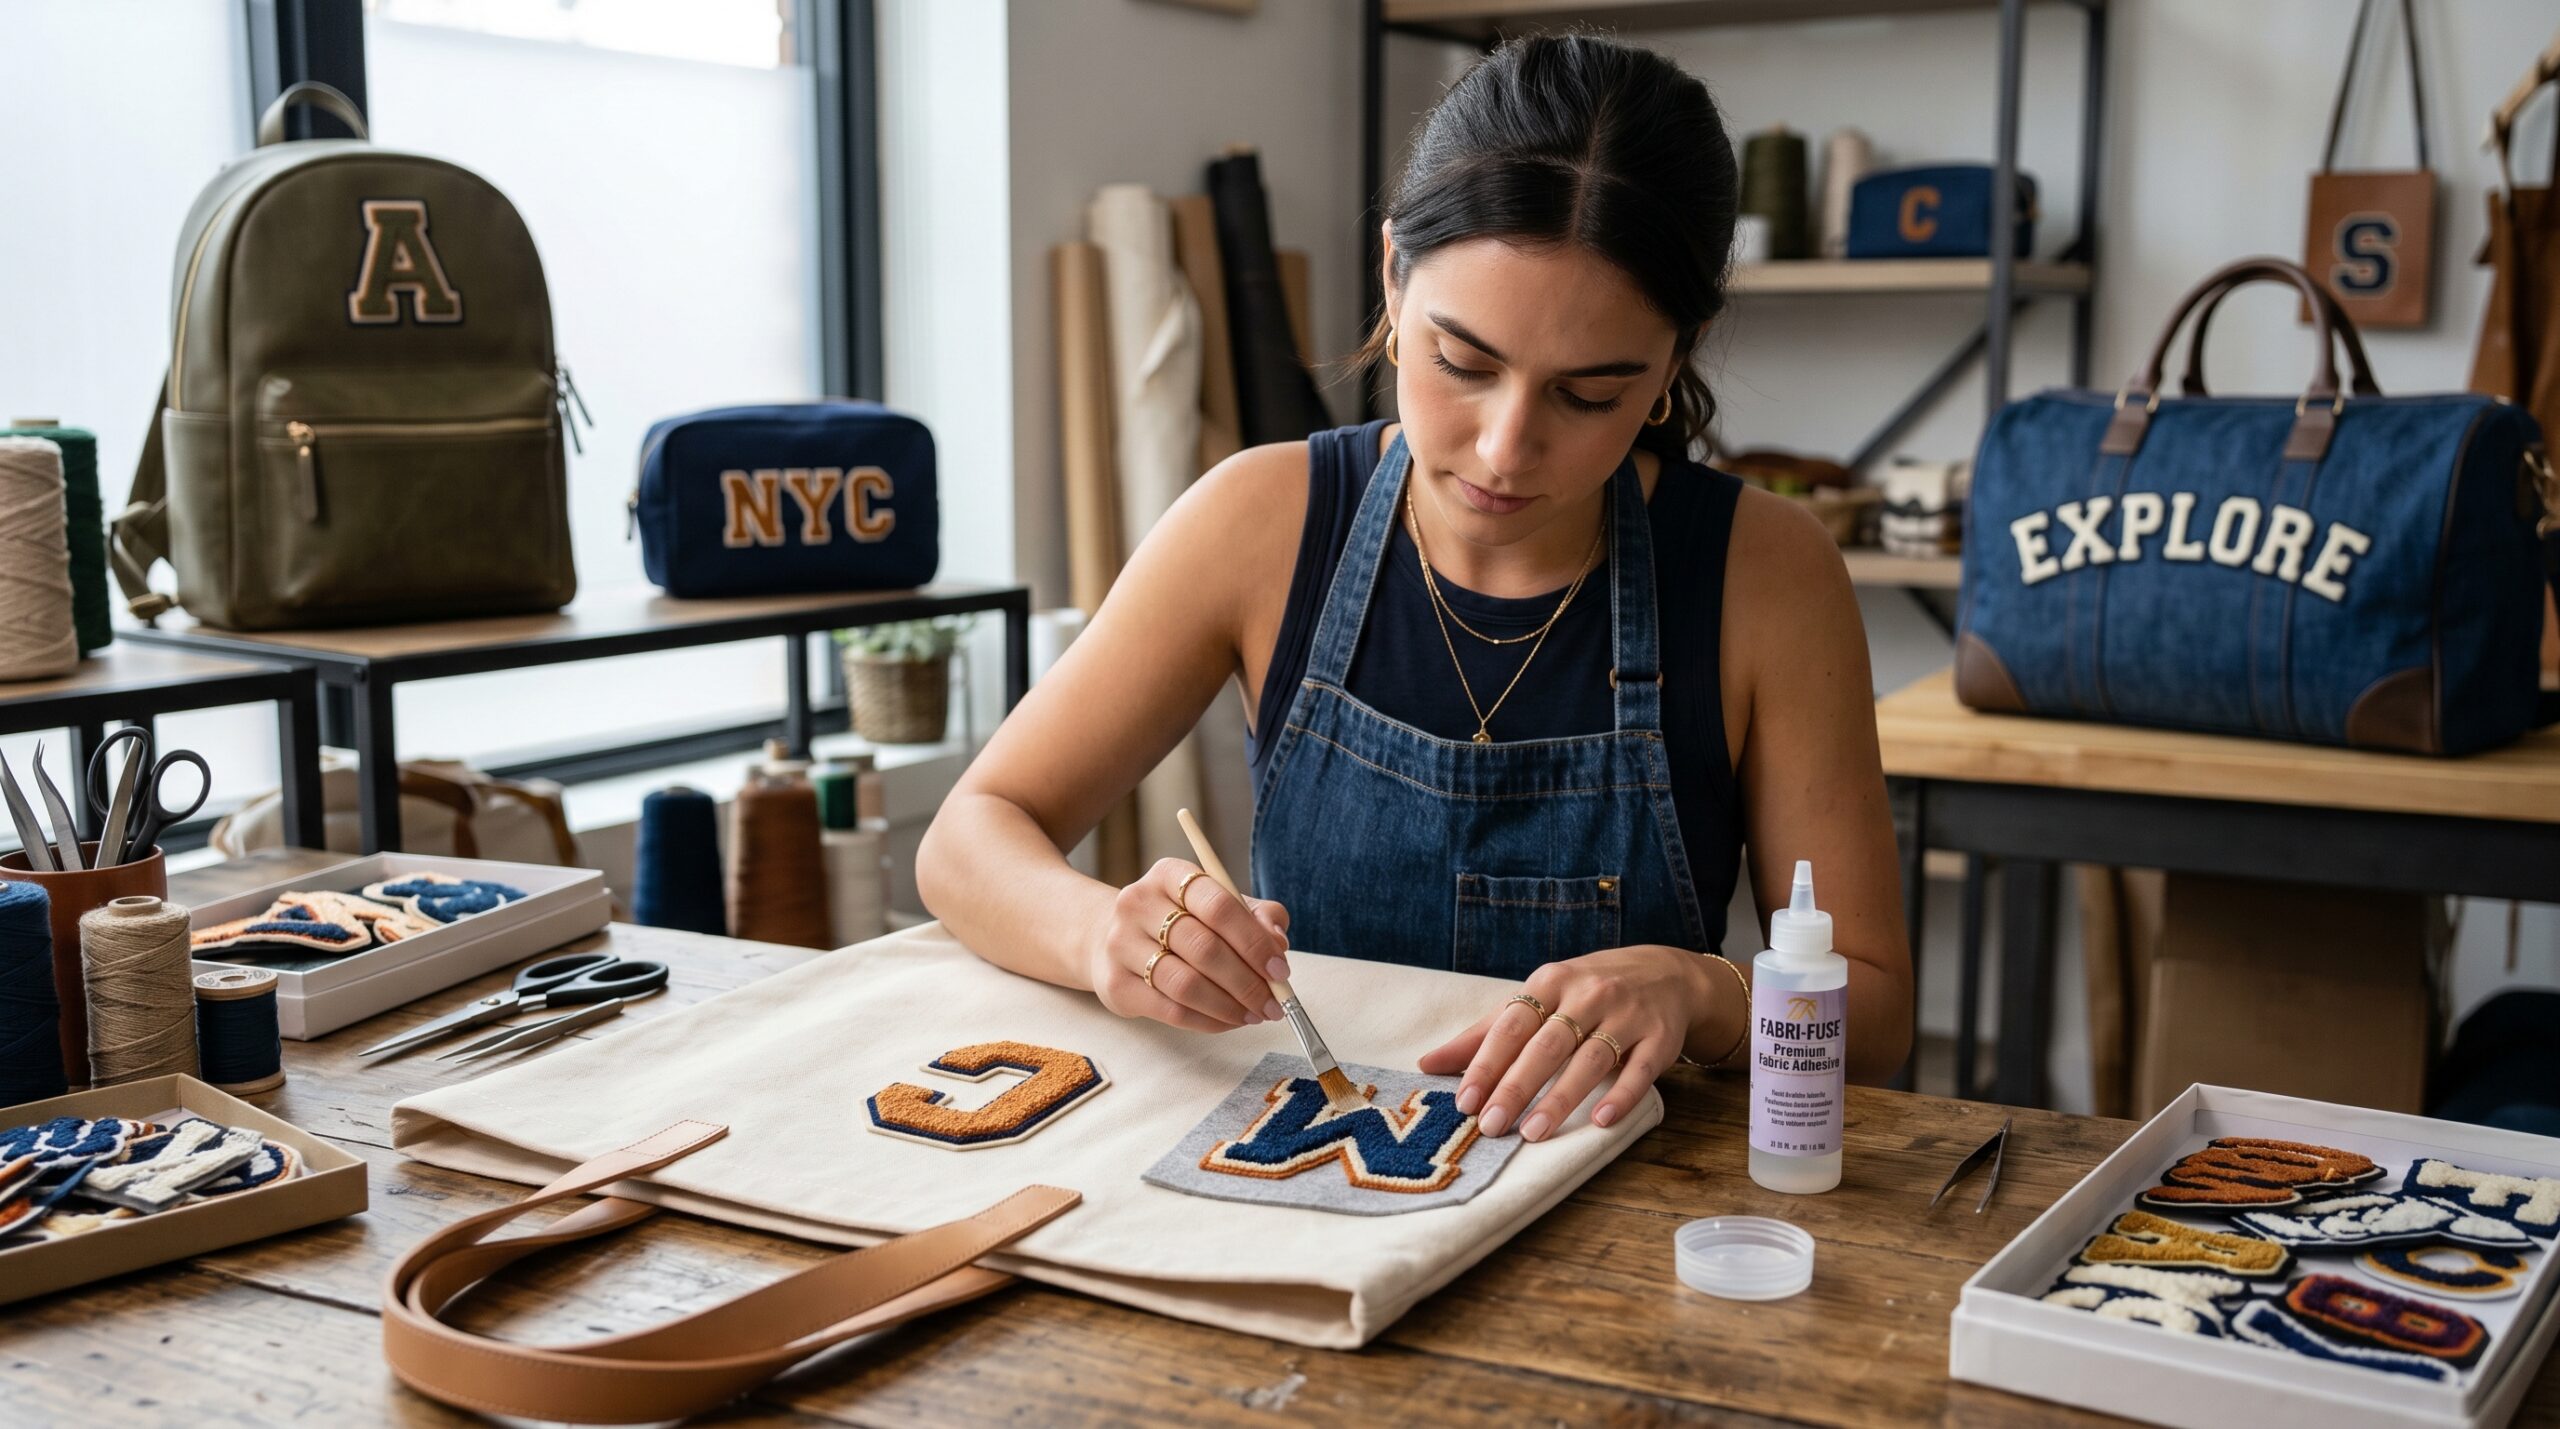
4. Velcro Backing: Removable and Repositionable
Velcro-backed chenille patches are produced with a hook and loop fastener system that allows the patch to be attached and removed without damaging either the patch or the base material. This is particularly useful for tactical gear, bags with Velcro panel systems (MOLLE-compatible gear), and applications where patches are swapped or repositioned regularly.
To attach Velcro patches, the base material needs either a pre-installed loop panel or a separate loop strip sewn or adhered to the surface. Once the loop panel is in place, the hook-backed patch presses on securely and releases cleanly when pulled.
Velcro backing is not standard on most chenille patches because it adds thickness to an already substantial patch. It is typically specified as a custom backing option when ordering.
Best for: Gear, bags, uniform applications where patches change per season or role, and any use case where repositionability has practical value.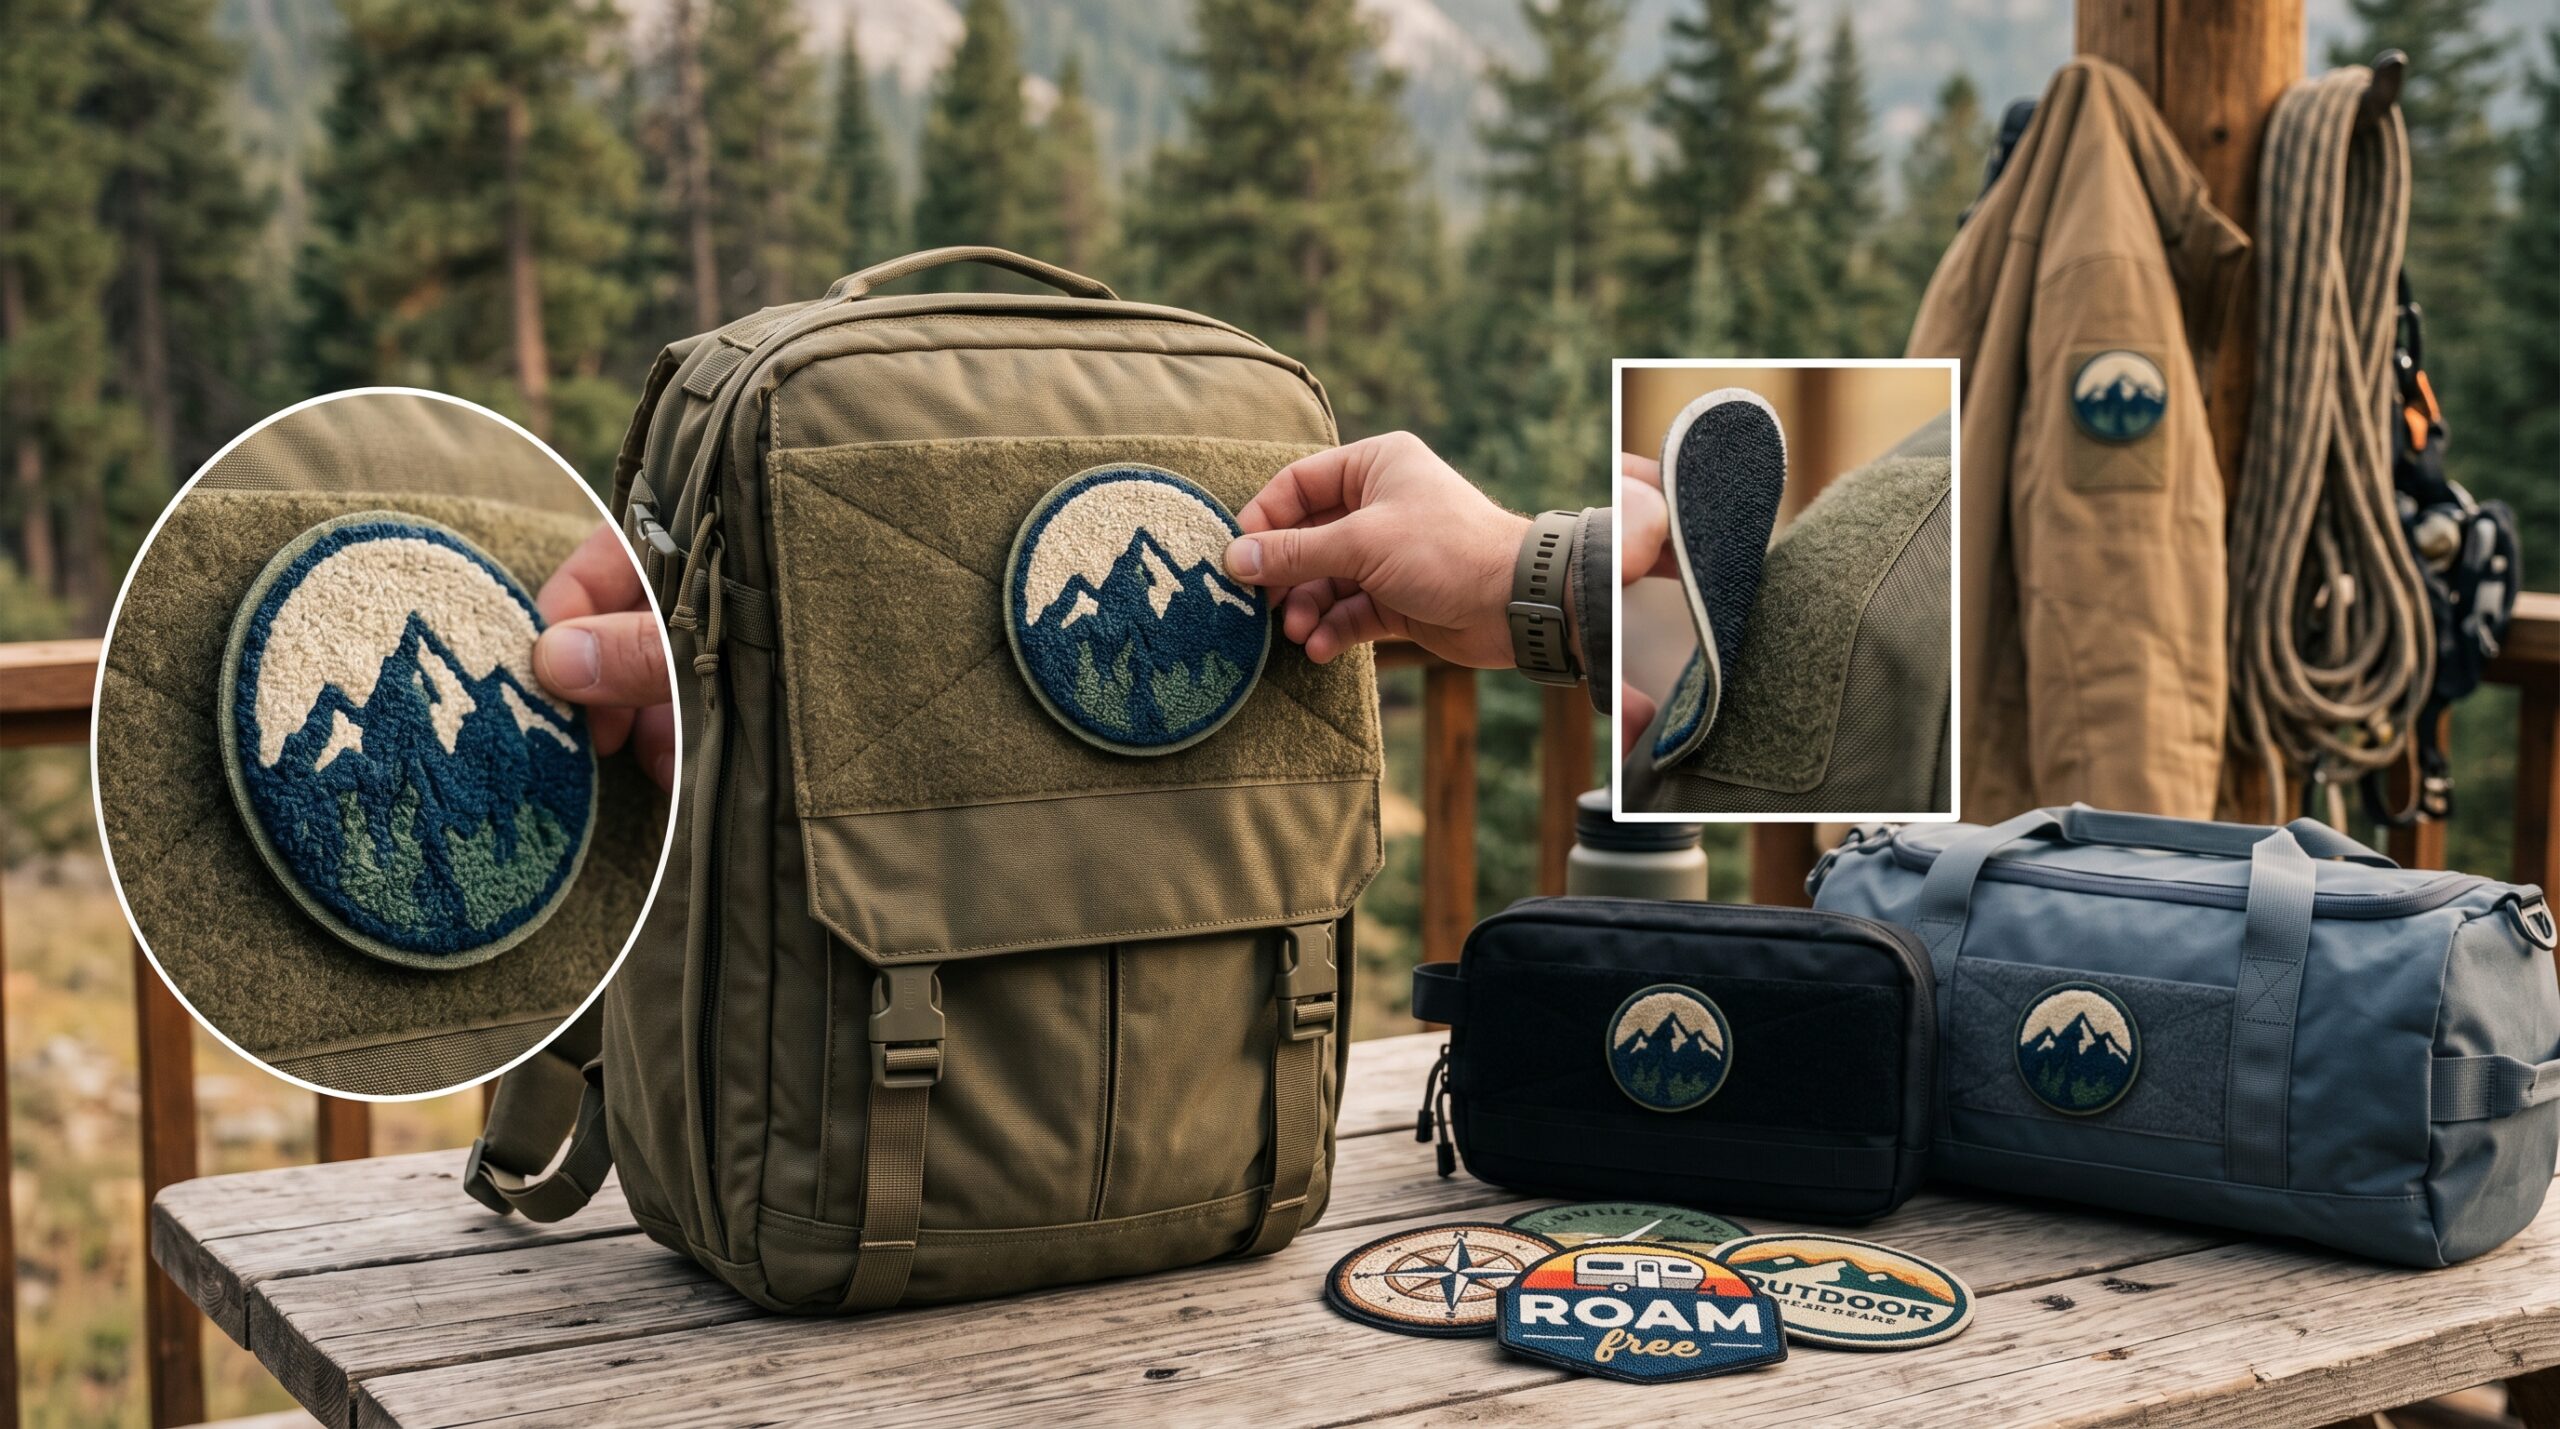
How To Attach Chenille Patches to Specific Items
How To Attach Chenille Patches to Jackets
Jackets, particularly wool letterman jackets, are the most traditional chenille patch application. The thick wool or melton fabric holds stitches well and provides a stable base.
For a jacket, sewing is strongly recommended. Use a heavy-duty needle and doubled thread for added strength. If the jacket lining makes it difficult to sew through all layers, remove the lining temporarily at the patch location, sew the patch to the outer shell only, then re-secure the lining.
For iron on chenille patches on synthetic or lighter jacket materials, combine iron-on application with perimeter stitching for a lasting hold.
Position the patch on the jacket before attaching. Common placement locations include the chest (left side), upper sleeve, and center back. Use pins or temporary adhesive to confirm placement before committing.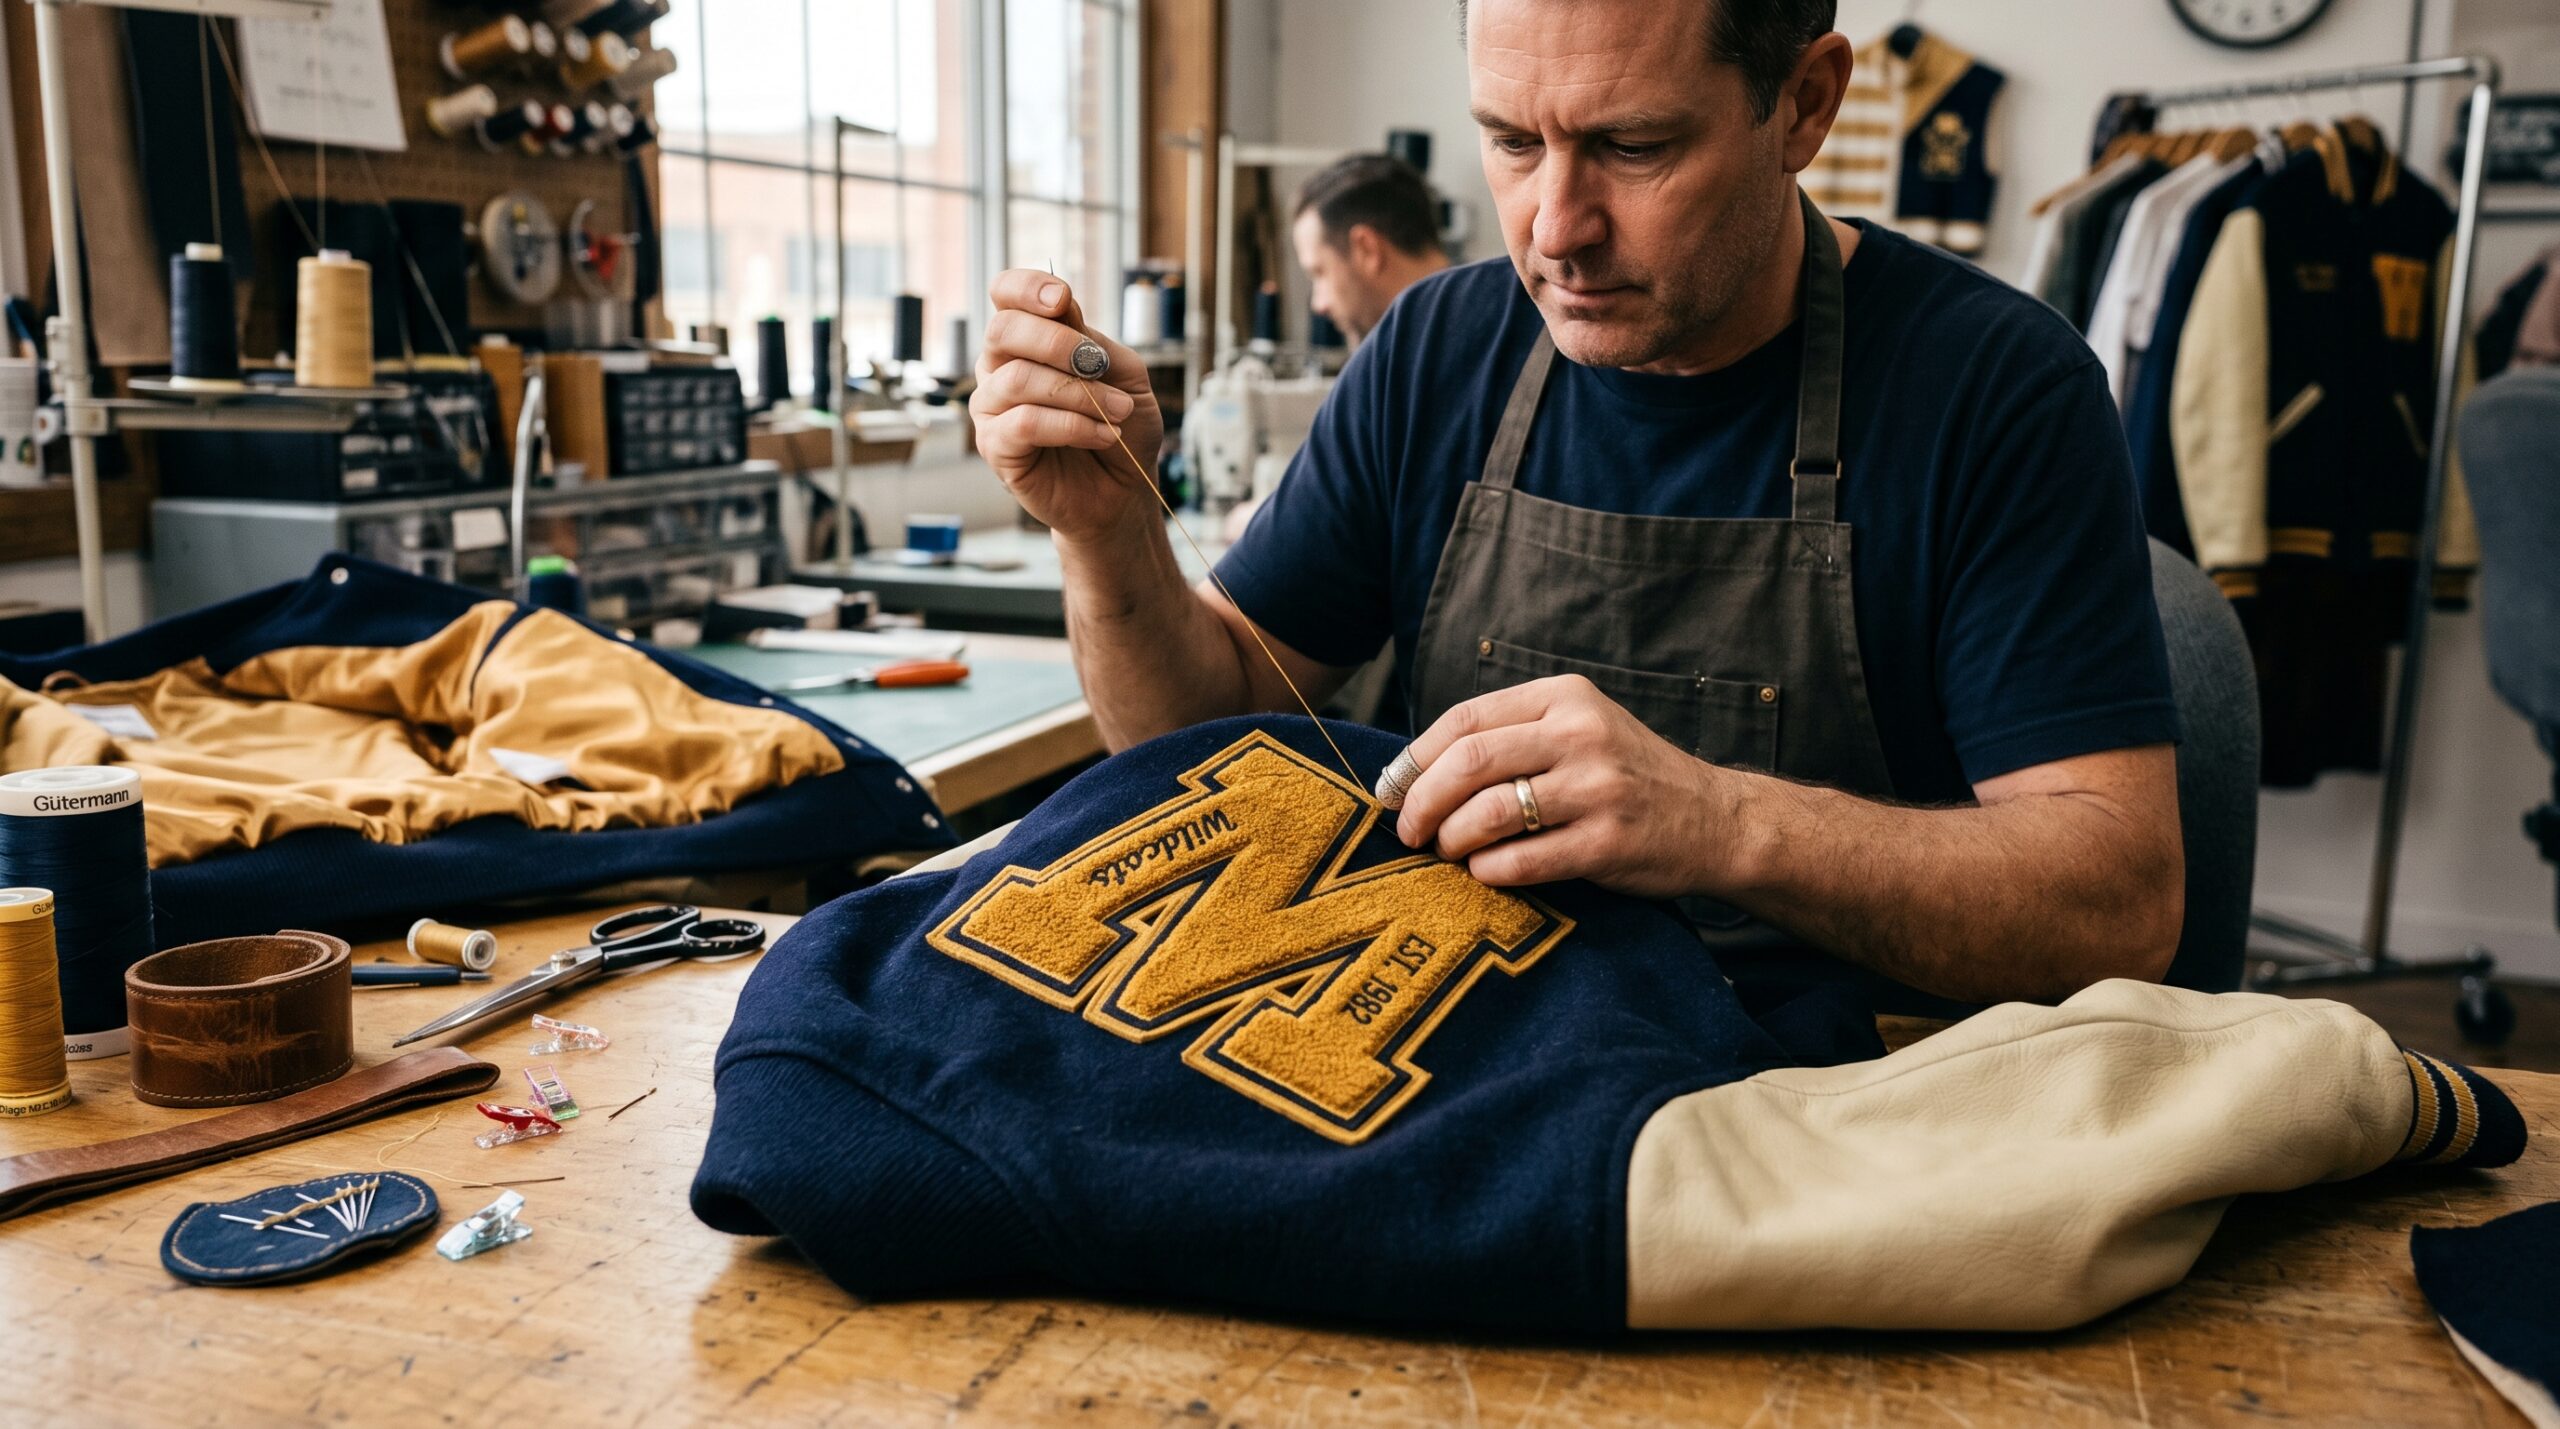
How To Attach Chenille Letter Patches to Hoodies
Hoodies are a very popular base for chenille letter patches, particularly for varsity-style merchandise and school apparel. The stretch of hoodie fabric introduces a consideration that rigid jackets do not have.
When sewing a patch onto a hoodie, place a piece of stabilizer or interfacing on the inside of the fabric at the patch location. This prevents the fabric from stretching out of shape during sewing and ensures the patch lies flat after completion.
For iron-on application on hoodies, the fleece interior means less direct heat reaches the outer fabric. Apply from the outside with firm pressure and supplement with sewing around the border.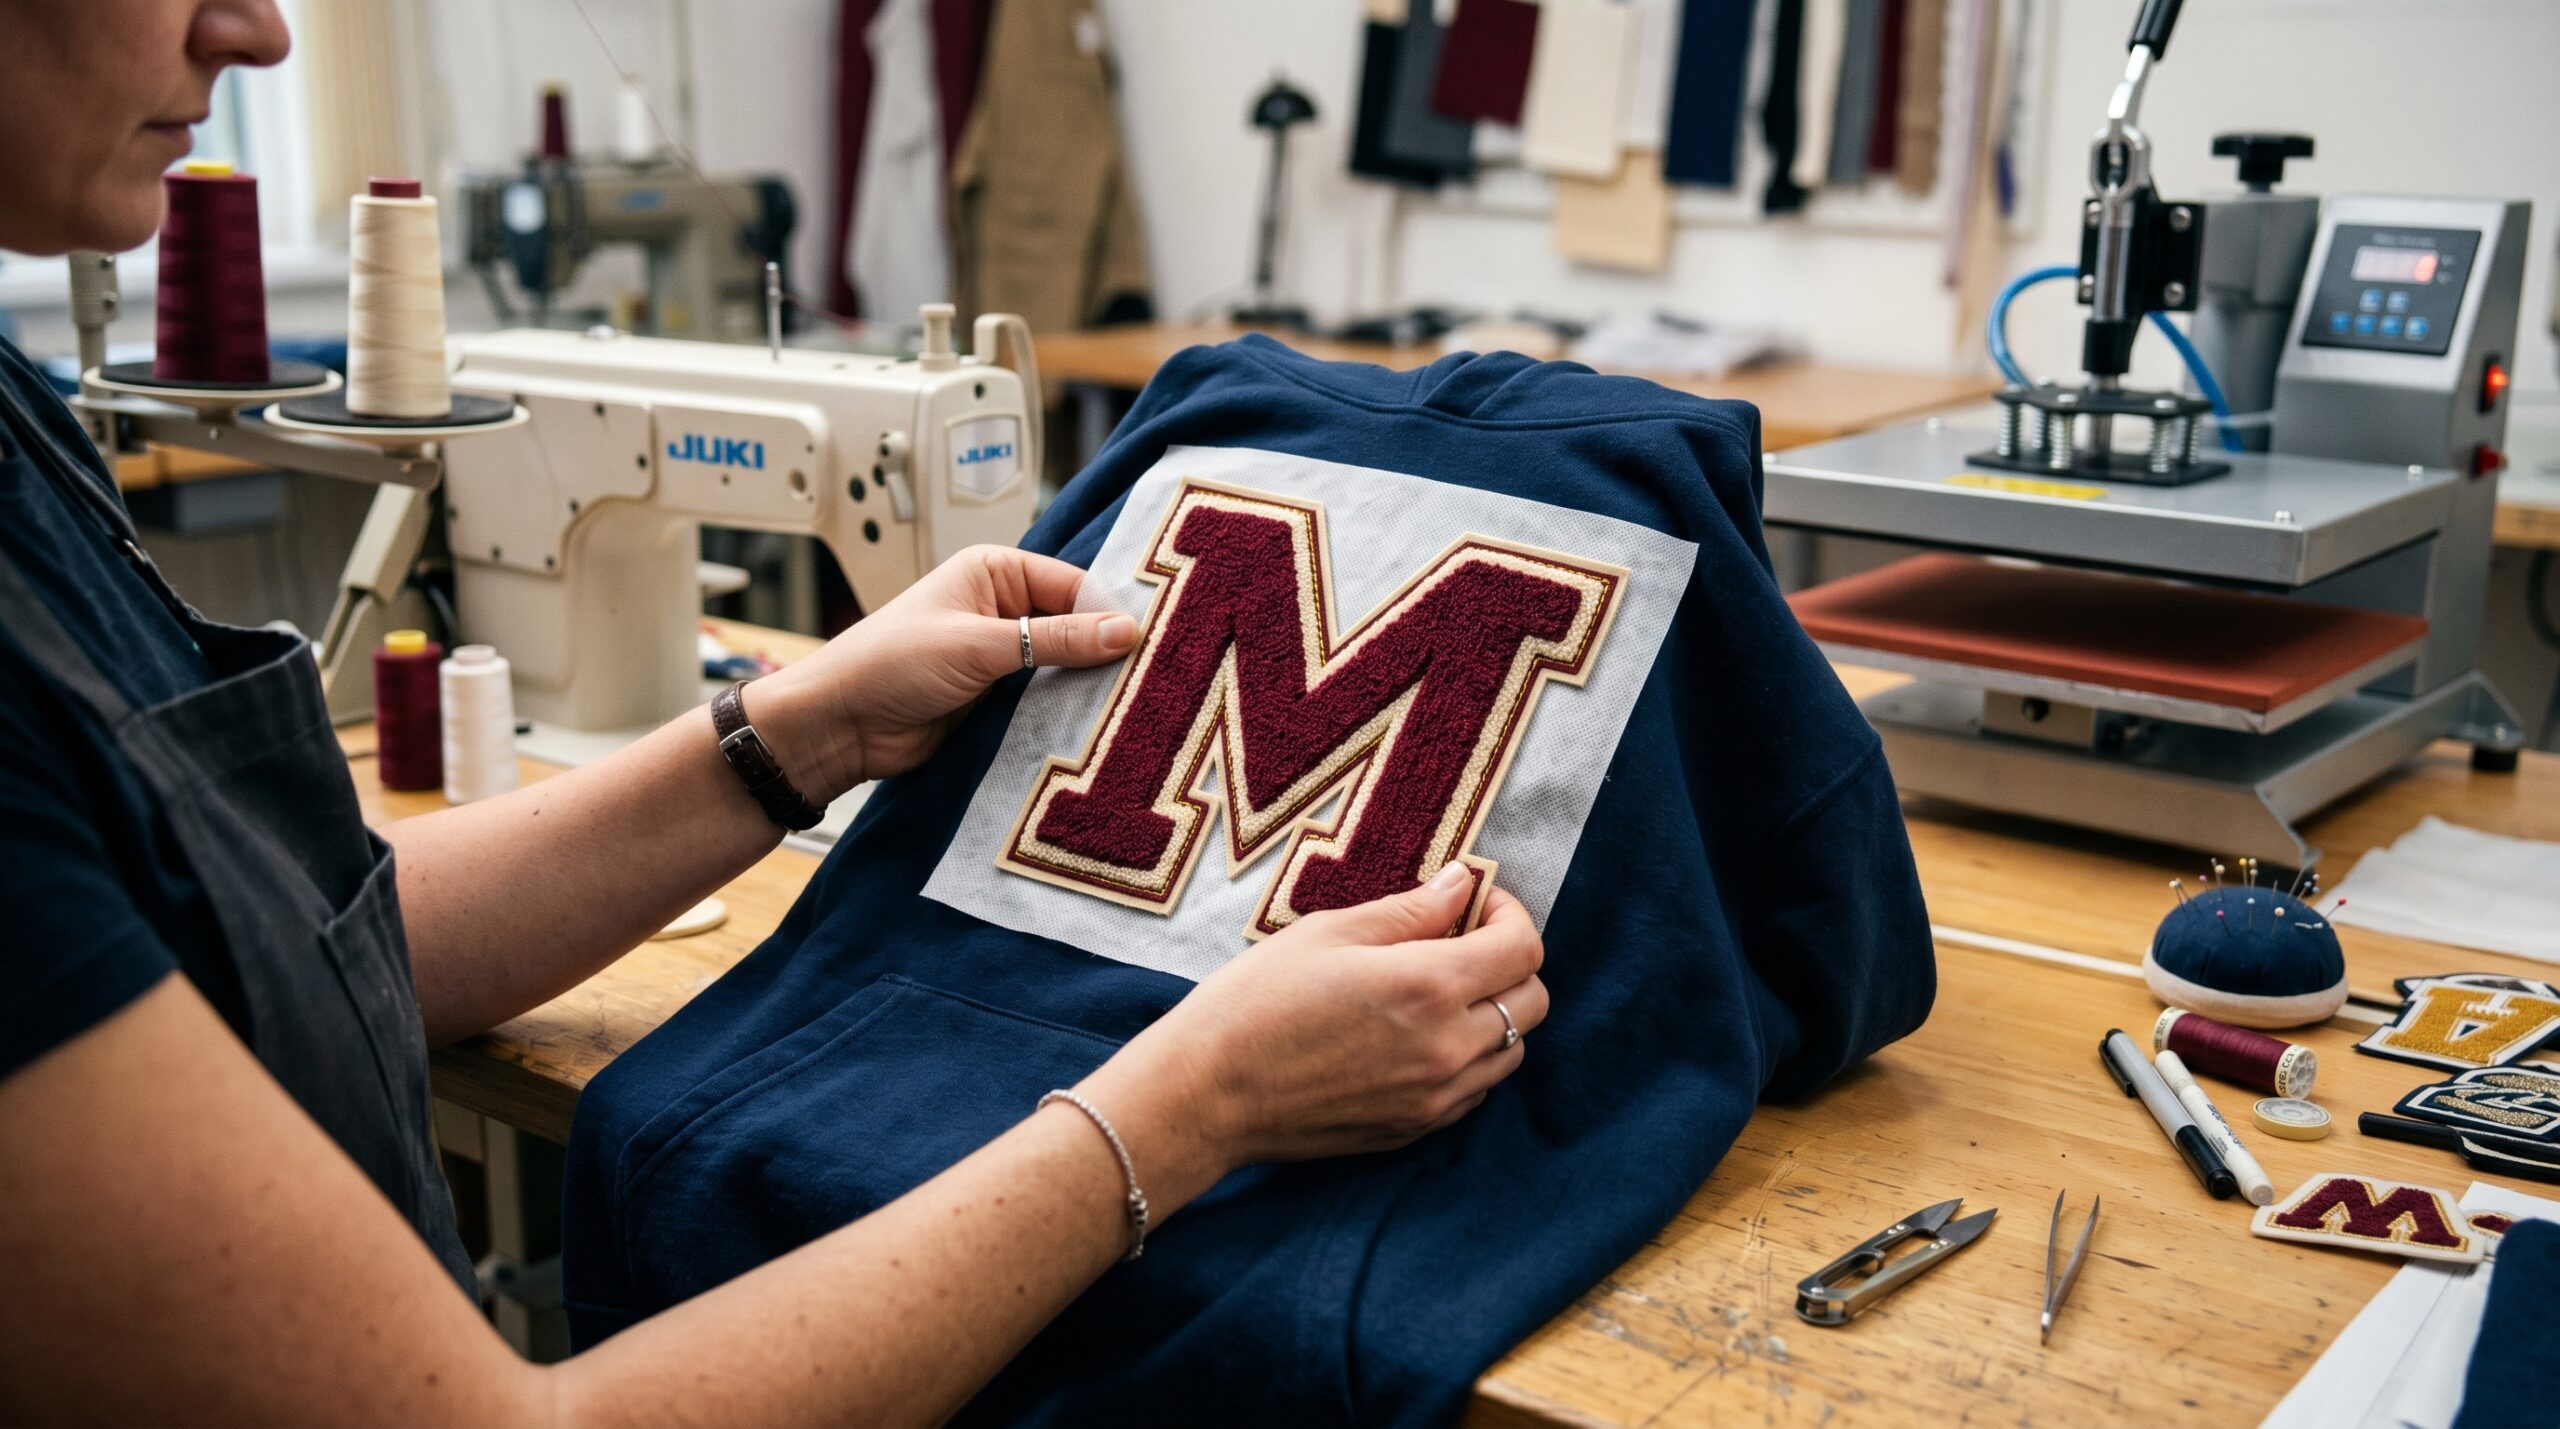
Easy Way To Attach Chenille Patches to Bags
Bags present varied surfaces including canvas, nylon, leather, and synthetic materials. For canvas tote bags, sewing is the most practical and secure method.
For nylon or structured bags where sewing through the material is difficult, fabric glue combined with edge stitching where accessible gives reasonable durability. If the bag has a flat panel area, Velcro backing is a clean solution that avoids adhesive or needle penetration entirely.
For leather bags, hand stitching with a leather needle and waxed thread works well. Pre-punch stitch holes with an awl before sewing to avoid cracking the leather.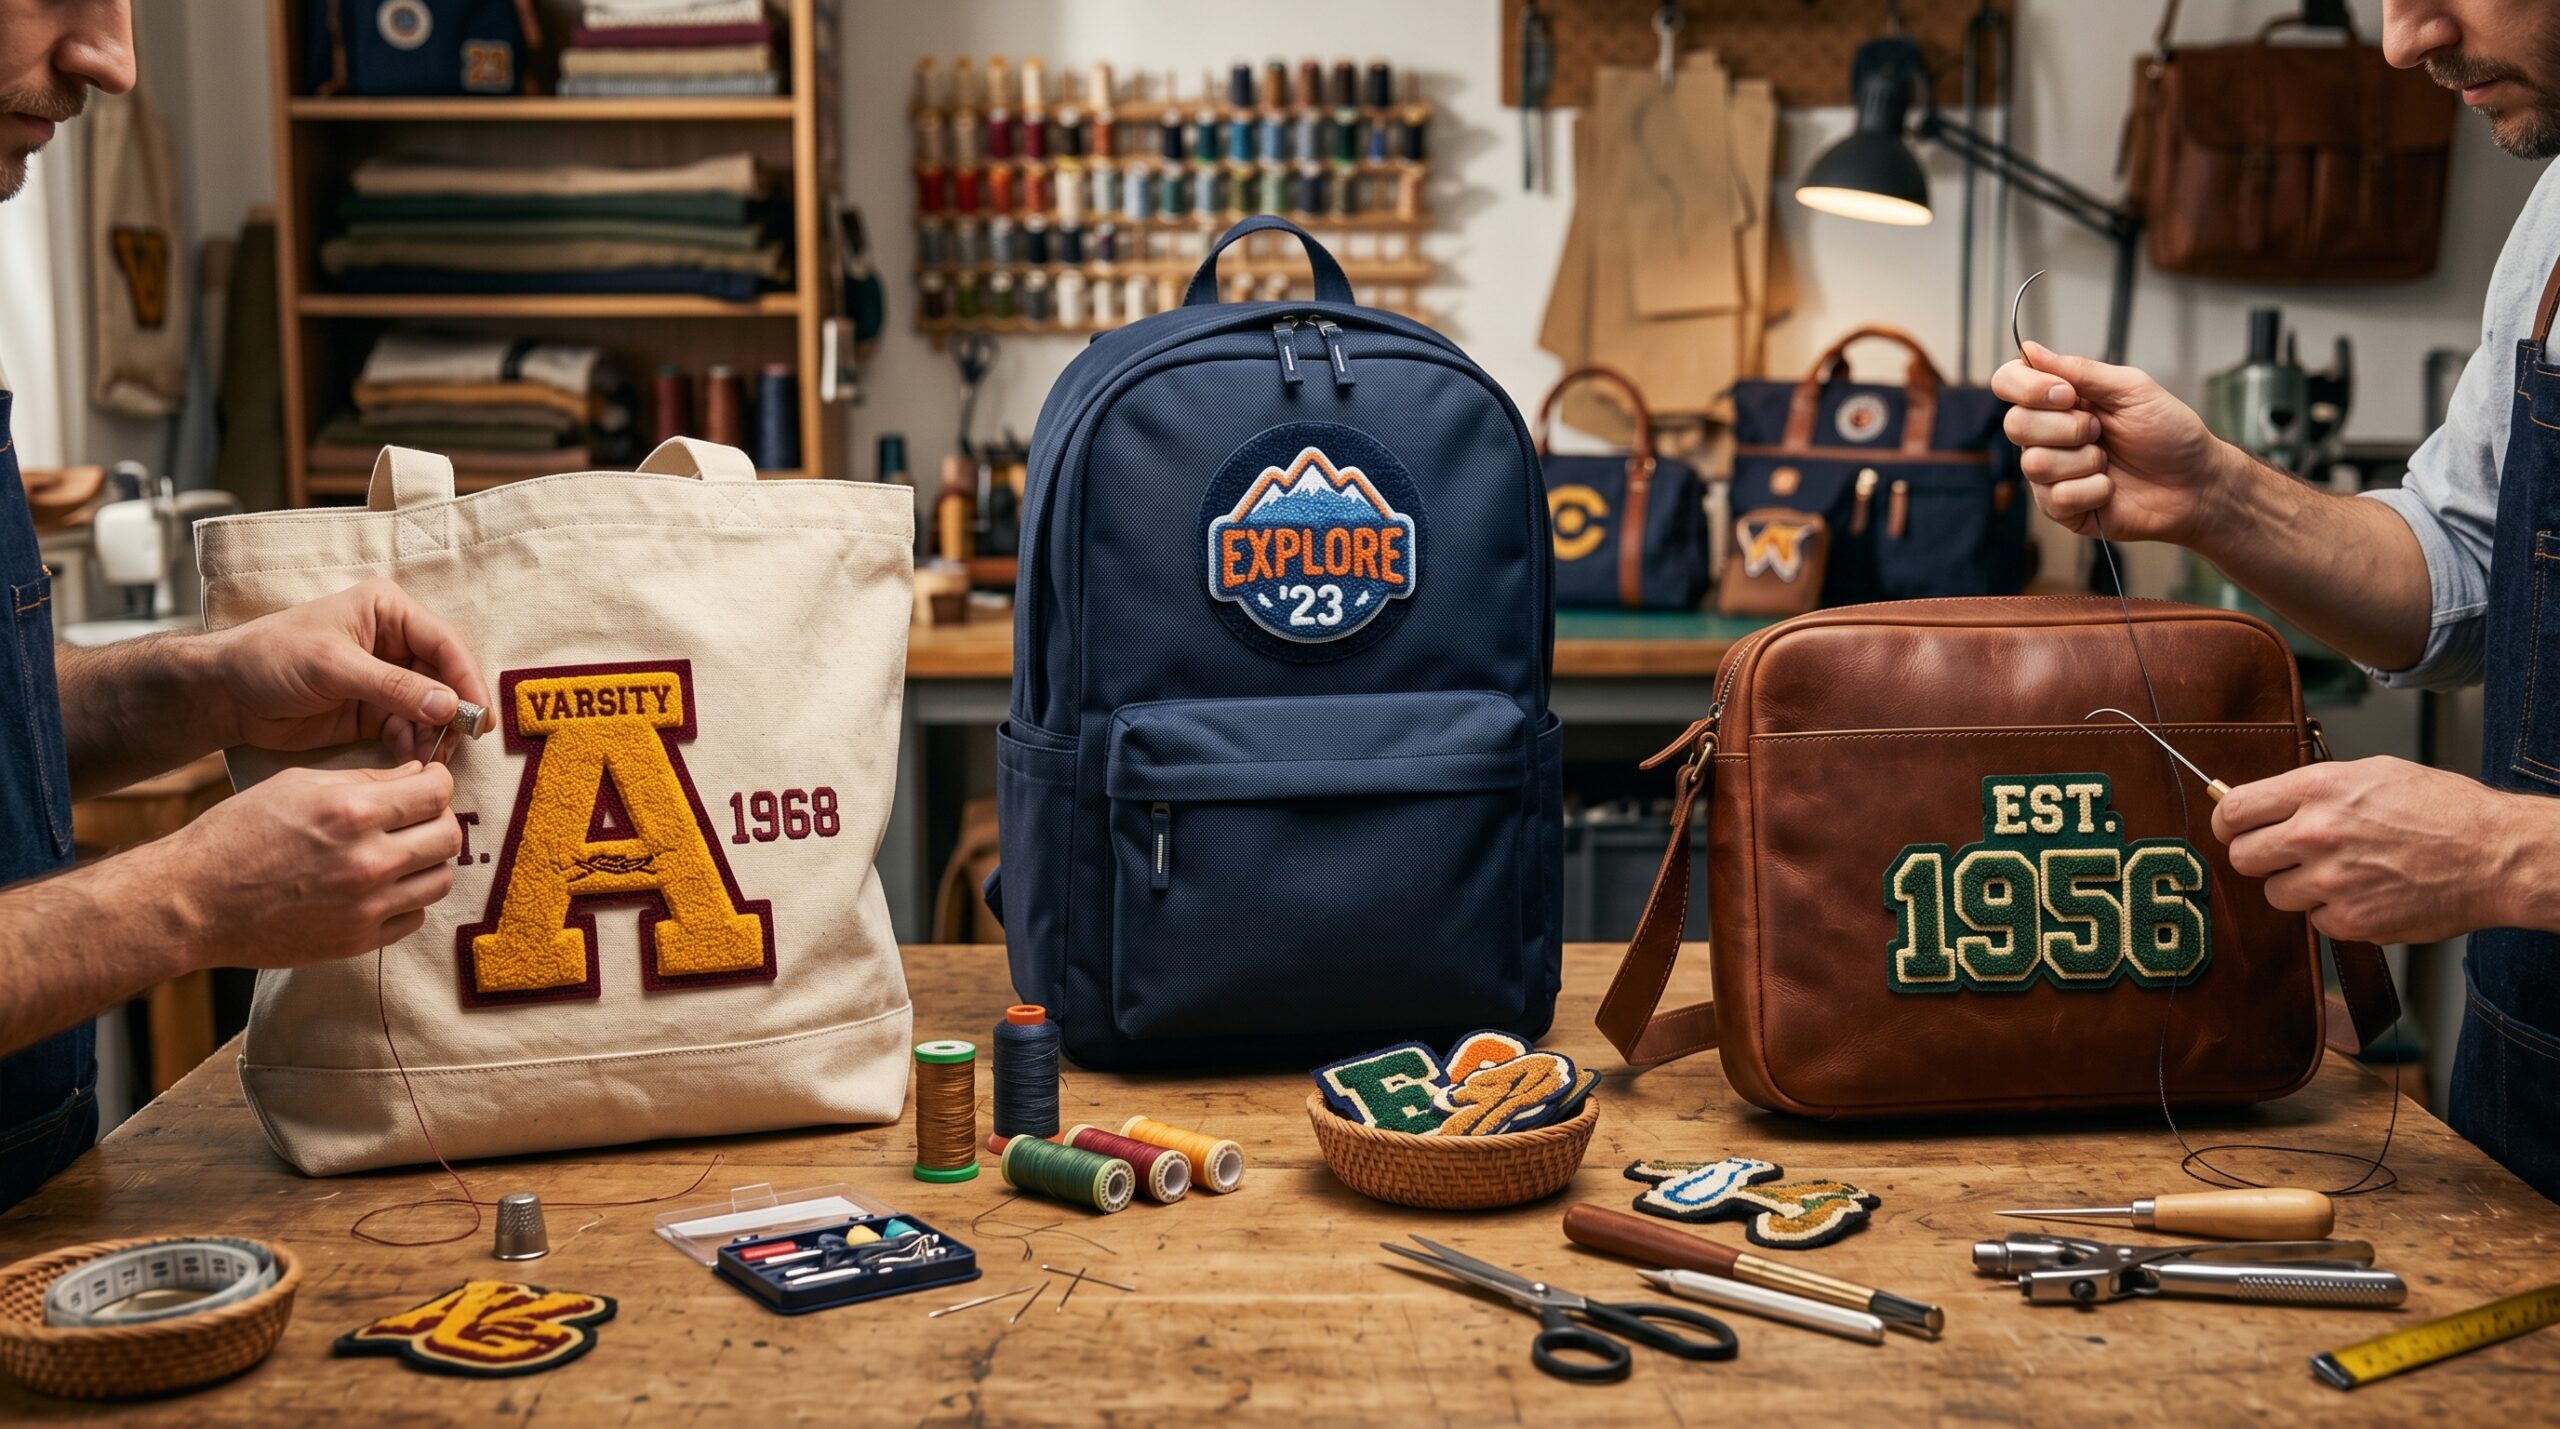
Attaching Chenille Patches to Hats
Hats are one of the more challenging surfaces for chenille patches because of the curved structure and the limited fabric access inside the hat. Flat-bill caps are more accommodating than structured fitted caps.
For flat panels on snapbacks or dad hats, iron-on application works if the internal foam or sizing does not block heat transfer. For structured caps with buckram backing, sewing by hand through the front panel only (not through the buckram) is the most controlled approach.
Keep patch size proportional to the hat panel. Large chenille patches on small hat panels can warp the structure of the hat.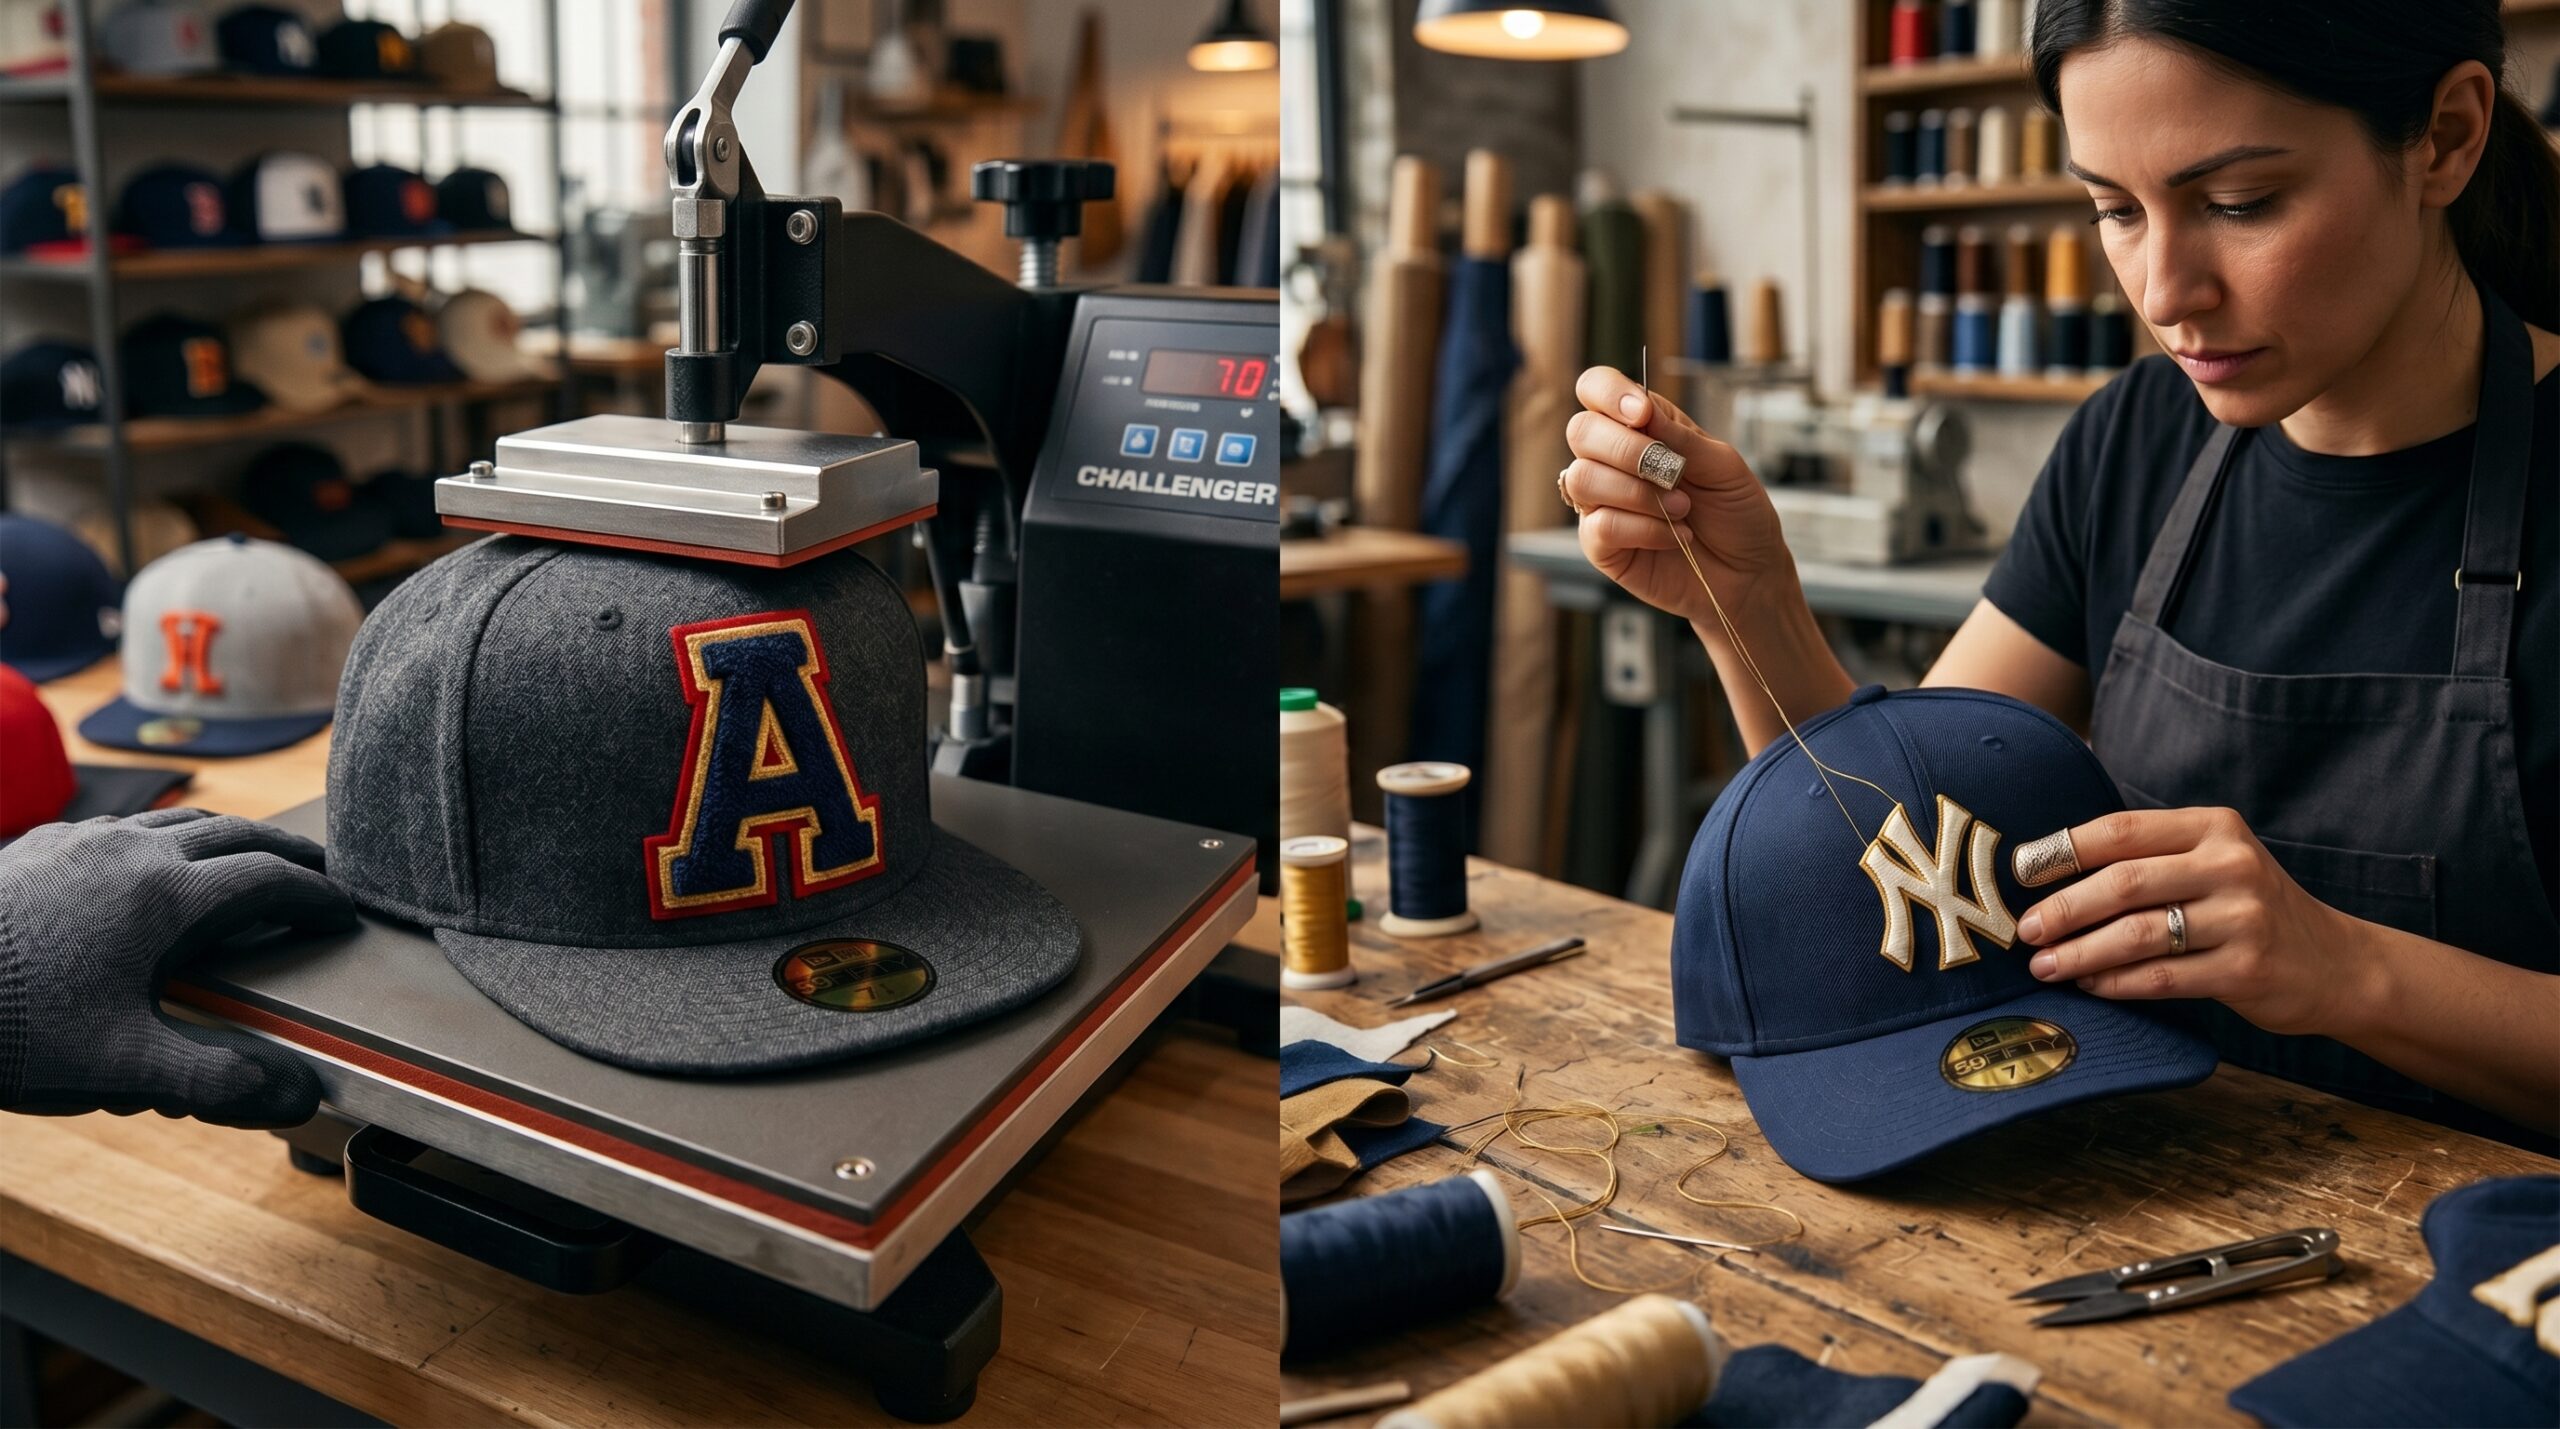
Common Mistakes When Attaching Chenille Patches
Using an iron directly on the chenille surface: The textured loops of a chenille patch will flatten or melt under direct iron contact. Always use a pressing cloth.
Not applying enough pressure during iron-on activation: Light pressure produces a weak bond. Firm, sustained pressure is required for the heat seal adhesive to cure properly.
Sewing only at the corners: Corner-only stitching leaves long stretches of unsecured edge that peel and catch. Stitch the full perimeter.
Using the wrong needle for machine sewing: A standard universal needle is not heavy enough for the combined thickness of a chenille patch and jacket fabric. Use a denim or heavy-duty needle.
Skipping the stabilizer on stretch fabrics: Sewing onto hoodies, T-shirts, or any knit fabric without a stabilizer allows the fabric to pucker around the patch and distort the base material.
Rushing the cooling period after iron-on application: The adhesive needs to cool and set completely. Handling the patch or testing the bond while it is still warm breaks the seal.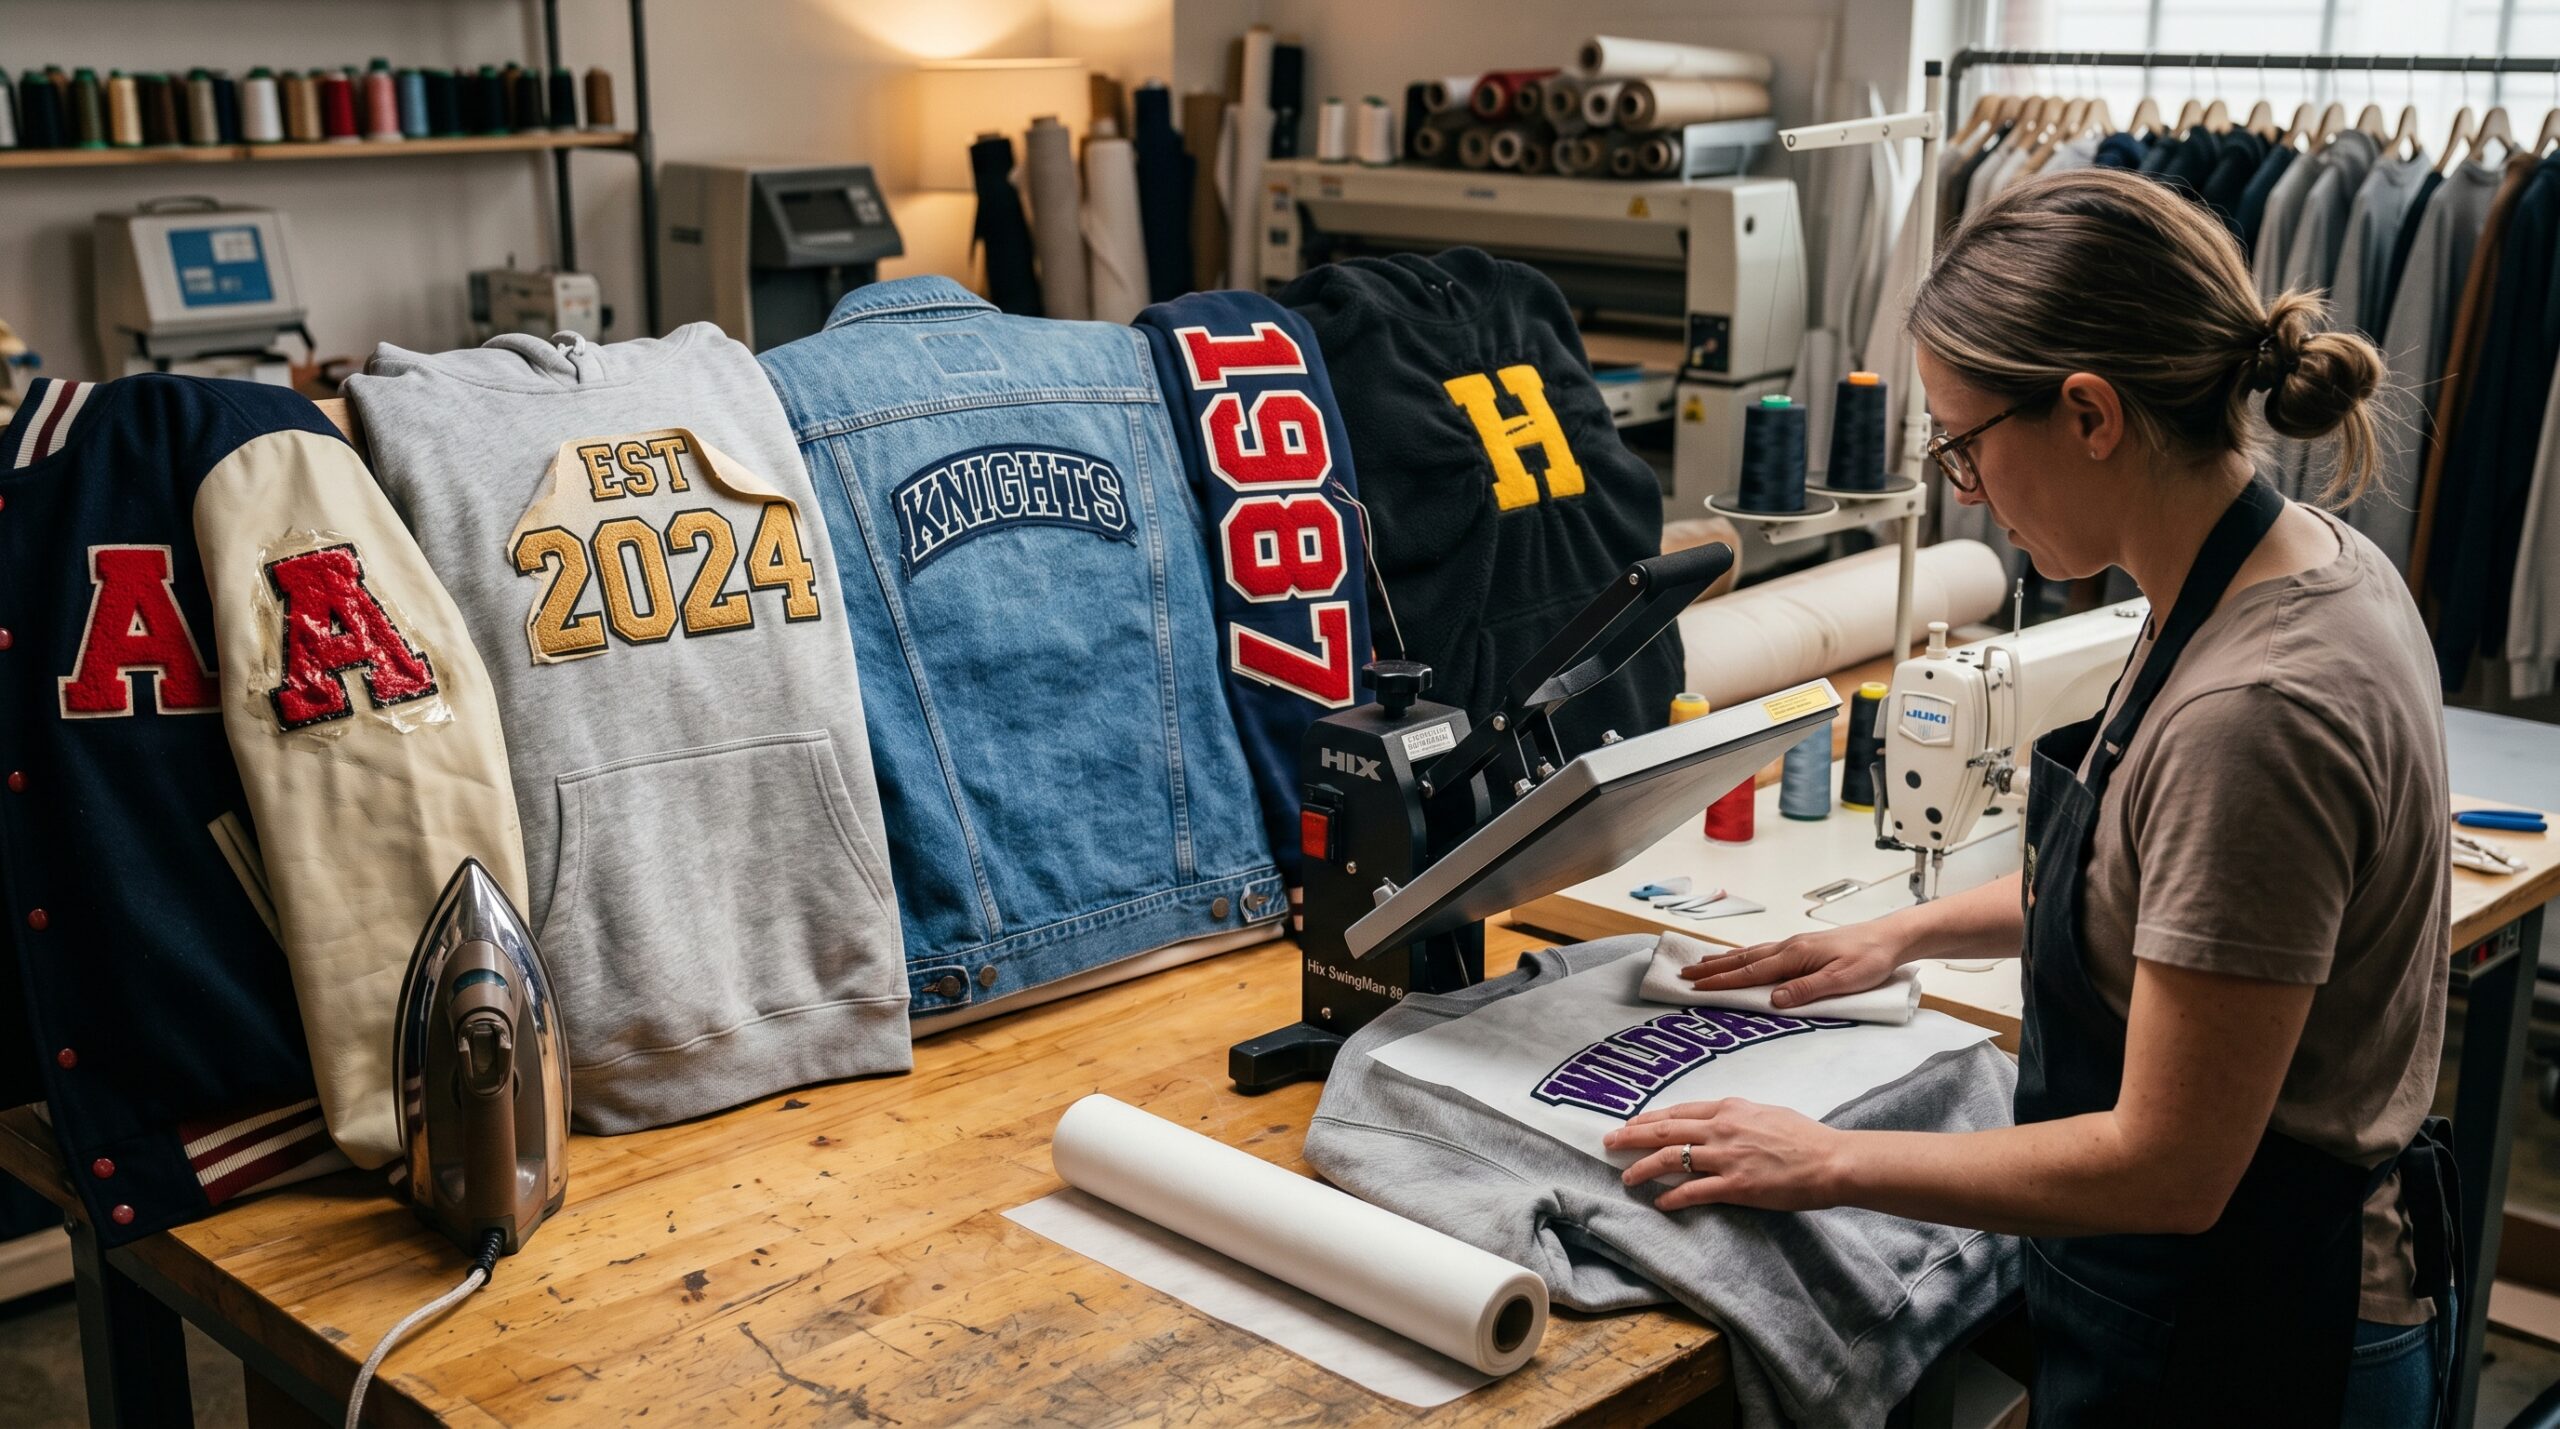
Caring for Garments After Attaching Chenille Patches
Once a patch is properly attached, a few care practices extend the life of both the patch and the bond.
Turn the garment inside out before machine washing. This reduces direct agitation on the patch surface and protects the chenille texture.
Wash in cold water on a gentle cycle. Hot water and high-agitation cycles stress adhesive bonds and can loosen thread over time.
Do not put chenille-patched garments in a high-heat dryer. Air drying or a low-heat tumble setting is safer. High heat can reactivate and compromise iron-on adhesive.
Dry clean is the safest option for wool letterman jackets and premium outerwear with chenille patches.
If a patch edge starts to lift after washing, re-press with an iron using a pressing cloth or reinforce with a few hand stitches around the affected area.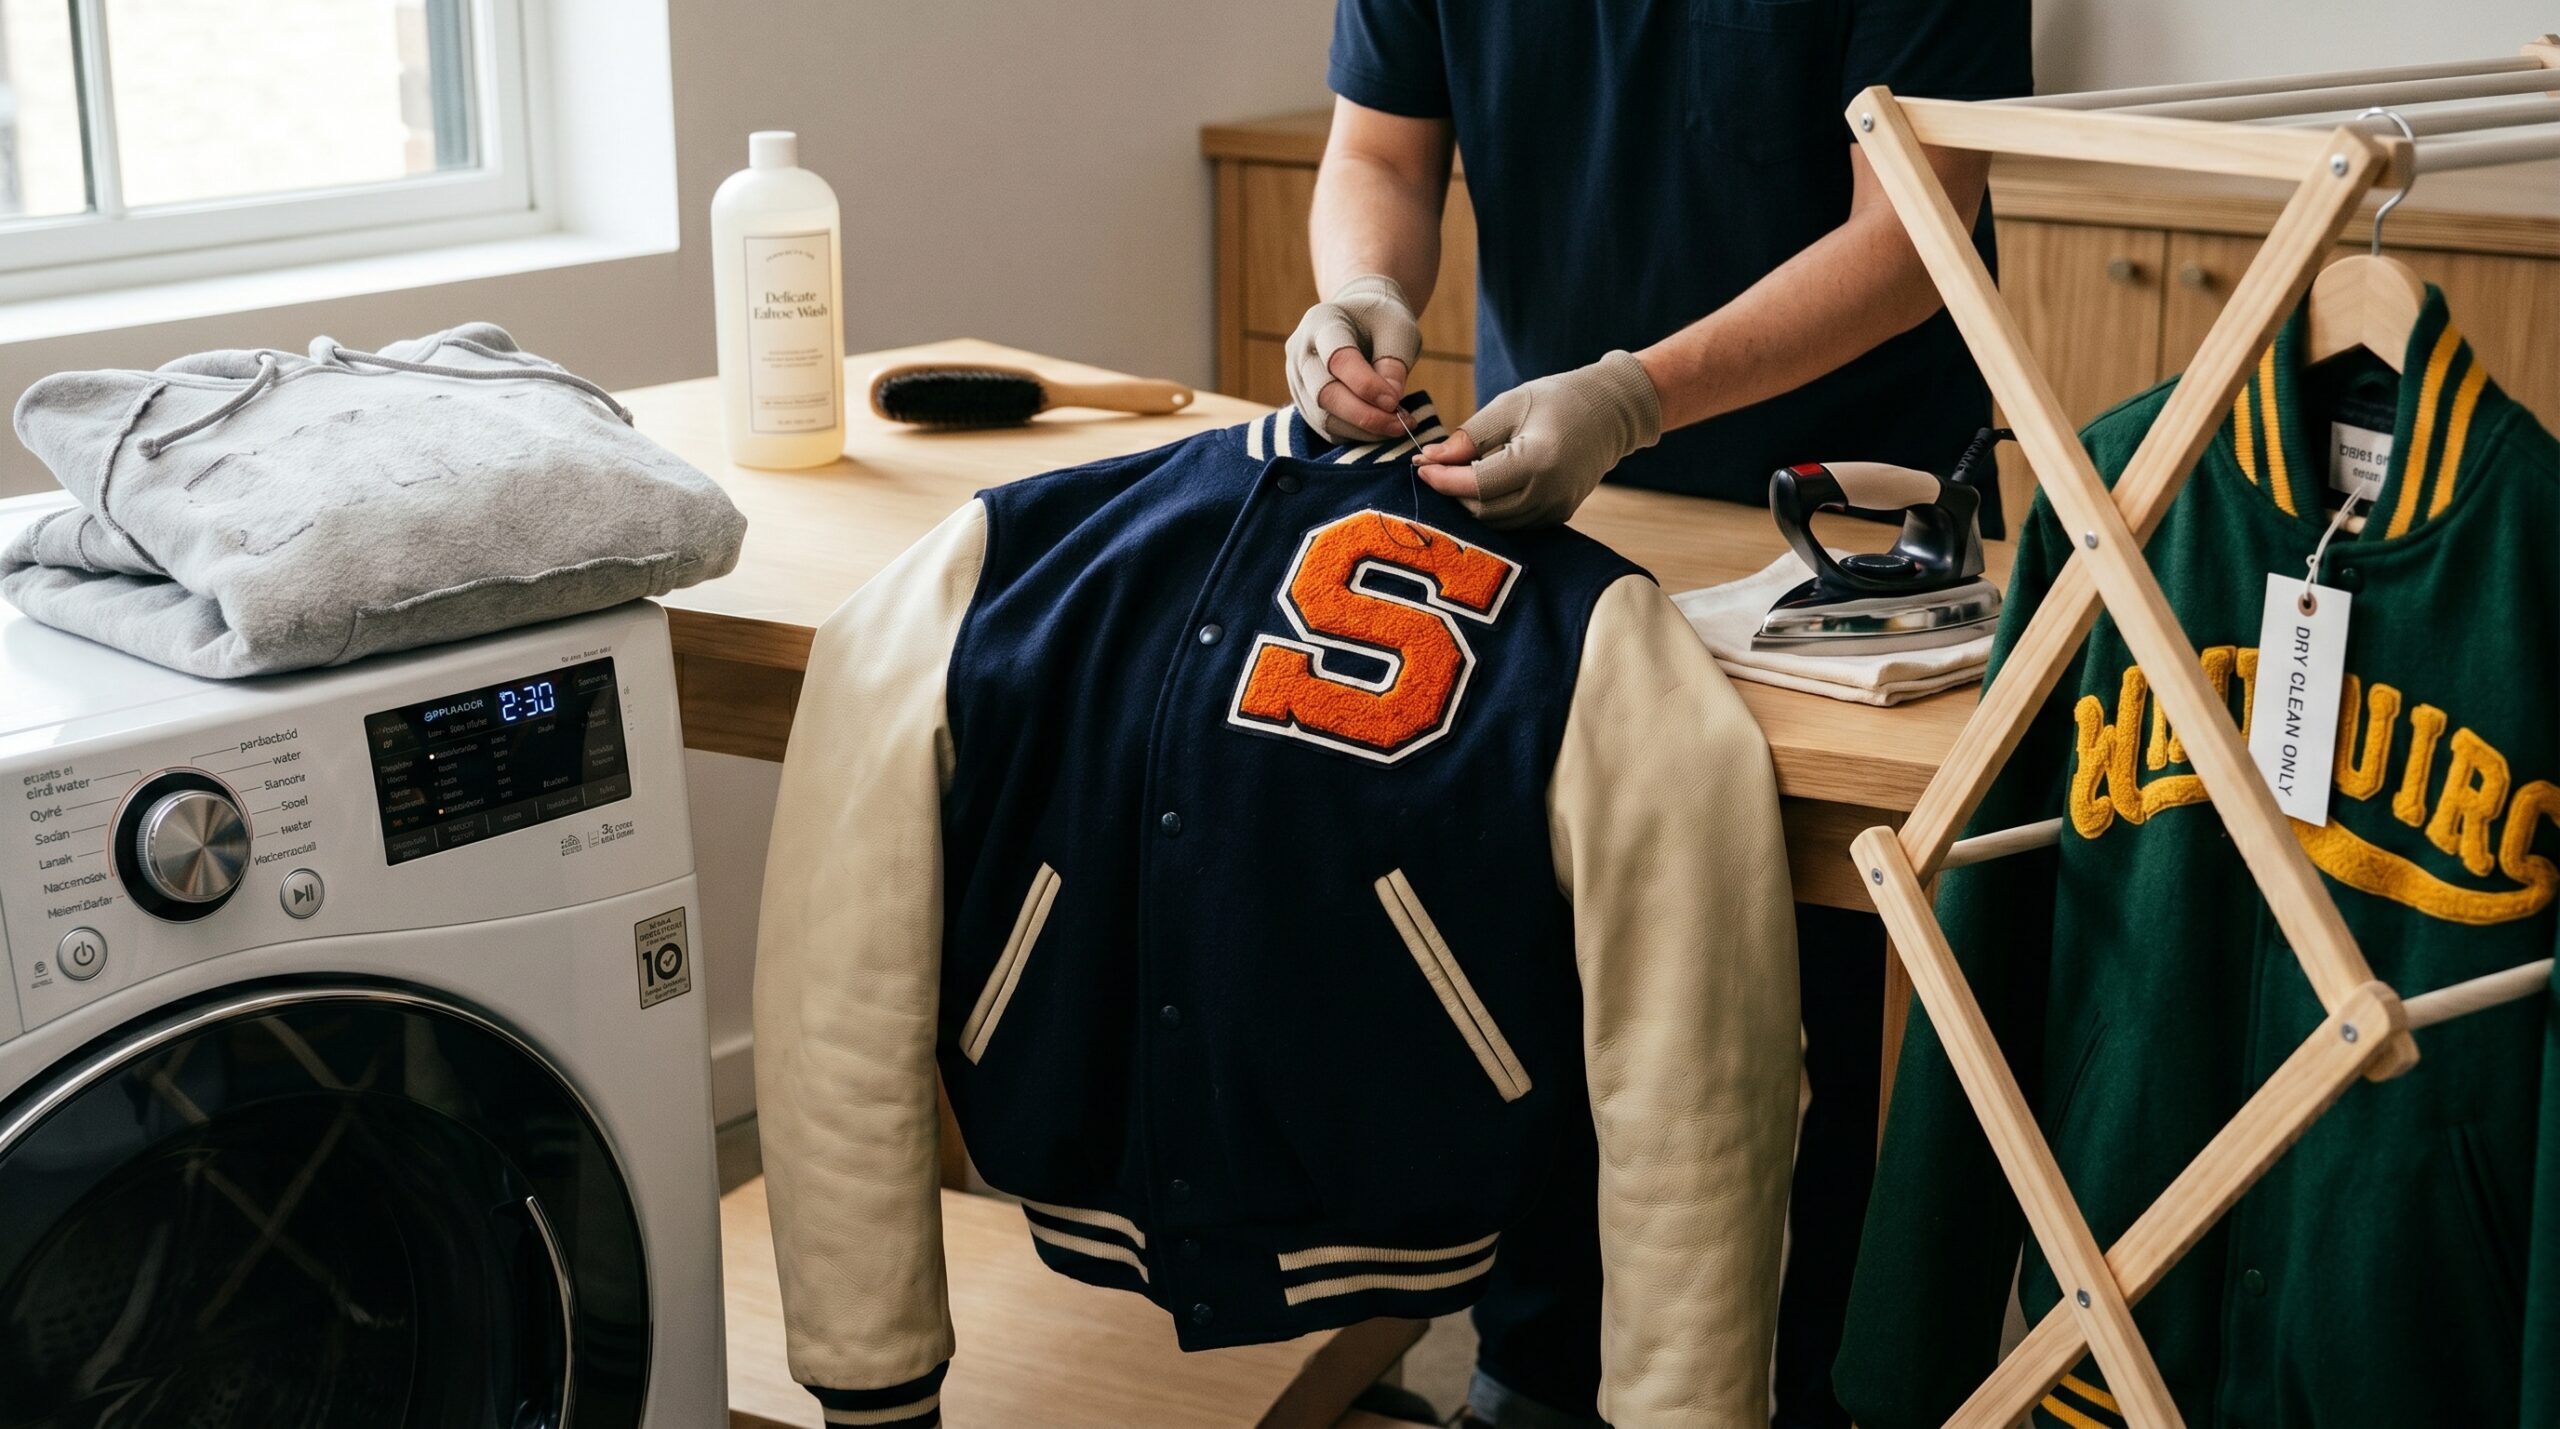
FAQ: How To Attach Chenille Patches
Can you iron on chenille patches?
Yes, if the patch has a heat-activated adhesive backing. Apply with firm pressure, no steam, and a pressing cloth over the patch to protect the chenille texture. For items that will be machine washed, reinforce iron-on patches with perimeter stitching.
What is the best way to attach chenille patches to jackets?
Sewing is the most secure and durable method for jackets, particularly wool or melton outerwear. Use a heavy-duty needle and stitch the full perimeter of the patch. For iron-on patches on lighter jacket materials, combine heat application with edge sewing.
How do you sew chenille patches by hand?
Thread a needle with matching thread, pin or temporarily adhere the patch to hold position, then stitch around the outer border using a whip stitch or straight stitch. Keep stitches 3 to 5mm apart and go around the full perimeter. Knot securely on the back side.
Do chenille patches come with iron-on backing?
Not all chenille patches include iron-on backing as a default. When ordering custom chenille patches, specify the backing type you need: sew-on, iron-on (heat seal), Velcro, or self-adhesive. Confirm with your supplier before production.
How do you attach chenille letter patches to a hoodie?
Place a piece of interfacing or stabilizer on the inside of the hoodie fabric at the patch location. Pin or adhere the patch to hold position. Sew around the full border using a heavy-duty needle. For iron-on application, press firmly from the outside using a pressing cloth, then reinforce with stitching.
Can you use fabric glue to attach chenille patches?
Fabric glue works for items that will not be machine washed. Use a permanent, flexible adhesive rated for heavy fabrics. Apply to the full back surface of the patch, press firmly, and allow full cure time. For washed items, fabric glue alone is not a reliable long-term solution.
How do you attach chenille patches to a bag?
Canvas bags hold up best with sewing. Structured or synthetic bags work better with fabric glue when sewing isn’t practical, or Velcro backing if the bag has a compatible panel system. Leather bags need hand stitching with a leather needle and pre-punched holes.
Will chenille patches stay on after washing?
Properly sewn chenille patches hold through repeated machine washing. Iron-on patches without supplemental stitching may loosen over time with repeated washing. Wash garments inside out in cold water on a gentle cycle to extend patch and bond life.
Choosing the Right Attachment Method for Your Application
The method you choose should match the base material, the frequency of washing or use, and the production context you are working in.
For commercial apparel decoration on school uniforms, sports programs, or branded merchandise, sewing is the production standard. It is more time-intensive but produces a finish that holds through the life of the garment.
For retail-sold or DIY patch products, iron-on backing offers convenience and works well when customers follow application instructions correctly. Supplementary sewing instructions on packaging reduce returns from failed applications.
For gear, bags, or specialty applications, Velcro or fabric glue extends your options to surfaces and materials that sewing does not accommodate easily.
Custom chenille patches can be ordered with any of these backing options built in during production, which simplifies the attachment process for your end customer or decoration team.