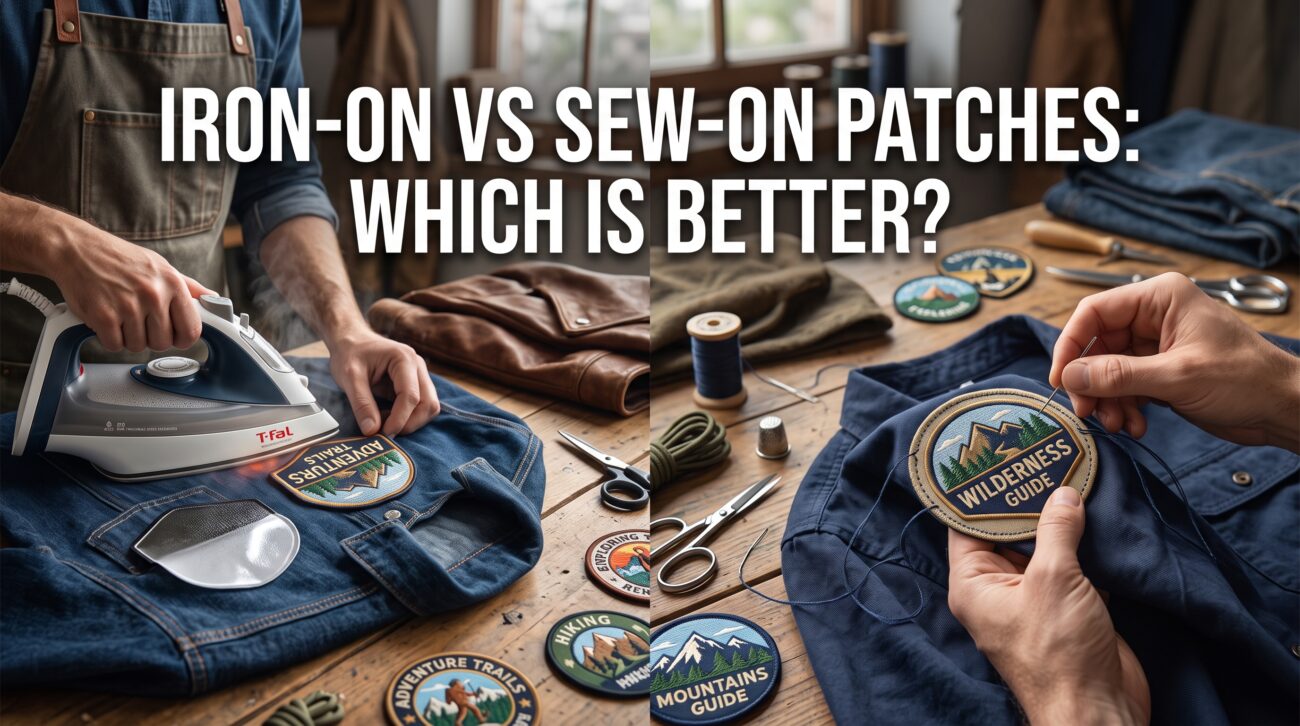

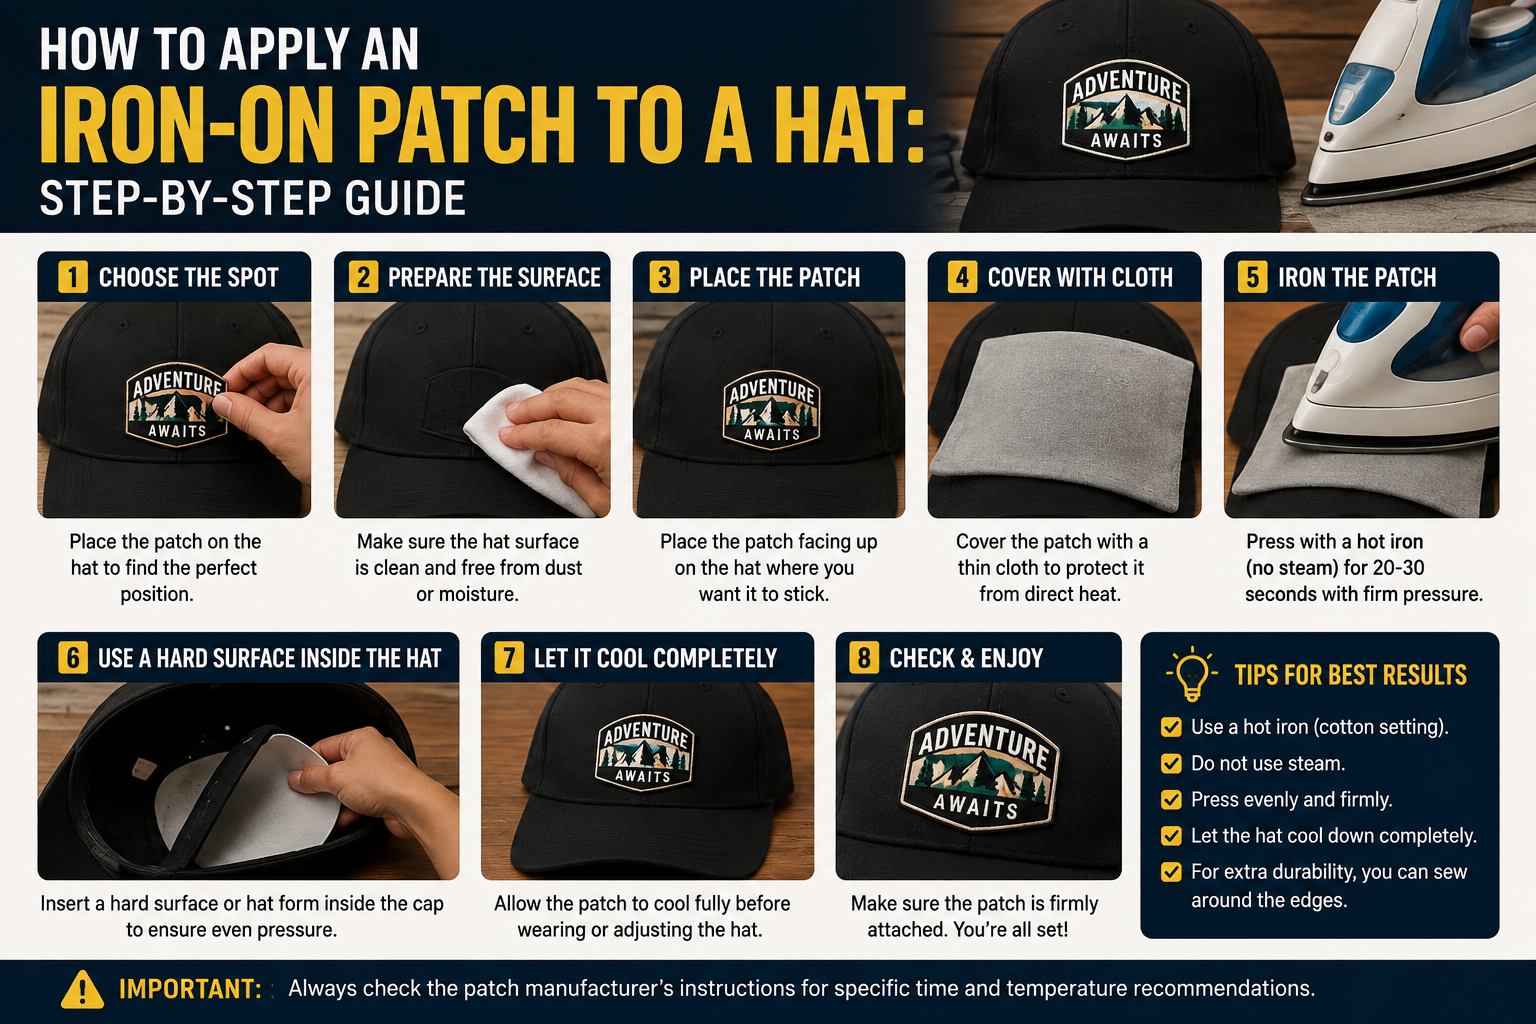
Applying an iron-on patch to a hat comes down to the right heat, pressure, and a hard surface inside the cap. Cotton and twill hats work best. Following each step carefully is what keeps the patch secure.
Introduction
Iron-on patches are one of the fastest ways to customize a hat without sewing. But hats have curved surfaces, so the process needs a bit more care than a flat shirt or bag. This guide shows you exactly how to apply iron-on patches to hats, step by step.
Featured Snippet Answer
To apply an iron-on patch to a hat, place the patch on the desired spot, cover it with a thin cloth, and press with a hot iron for 20-30 seconds. Use a hard surface inside the cap for even pressure. Let it cool fully before wearing.
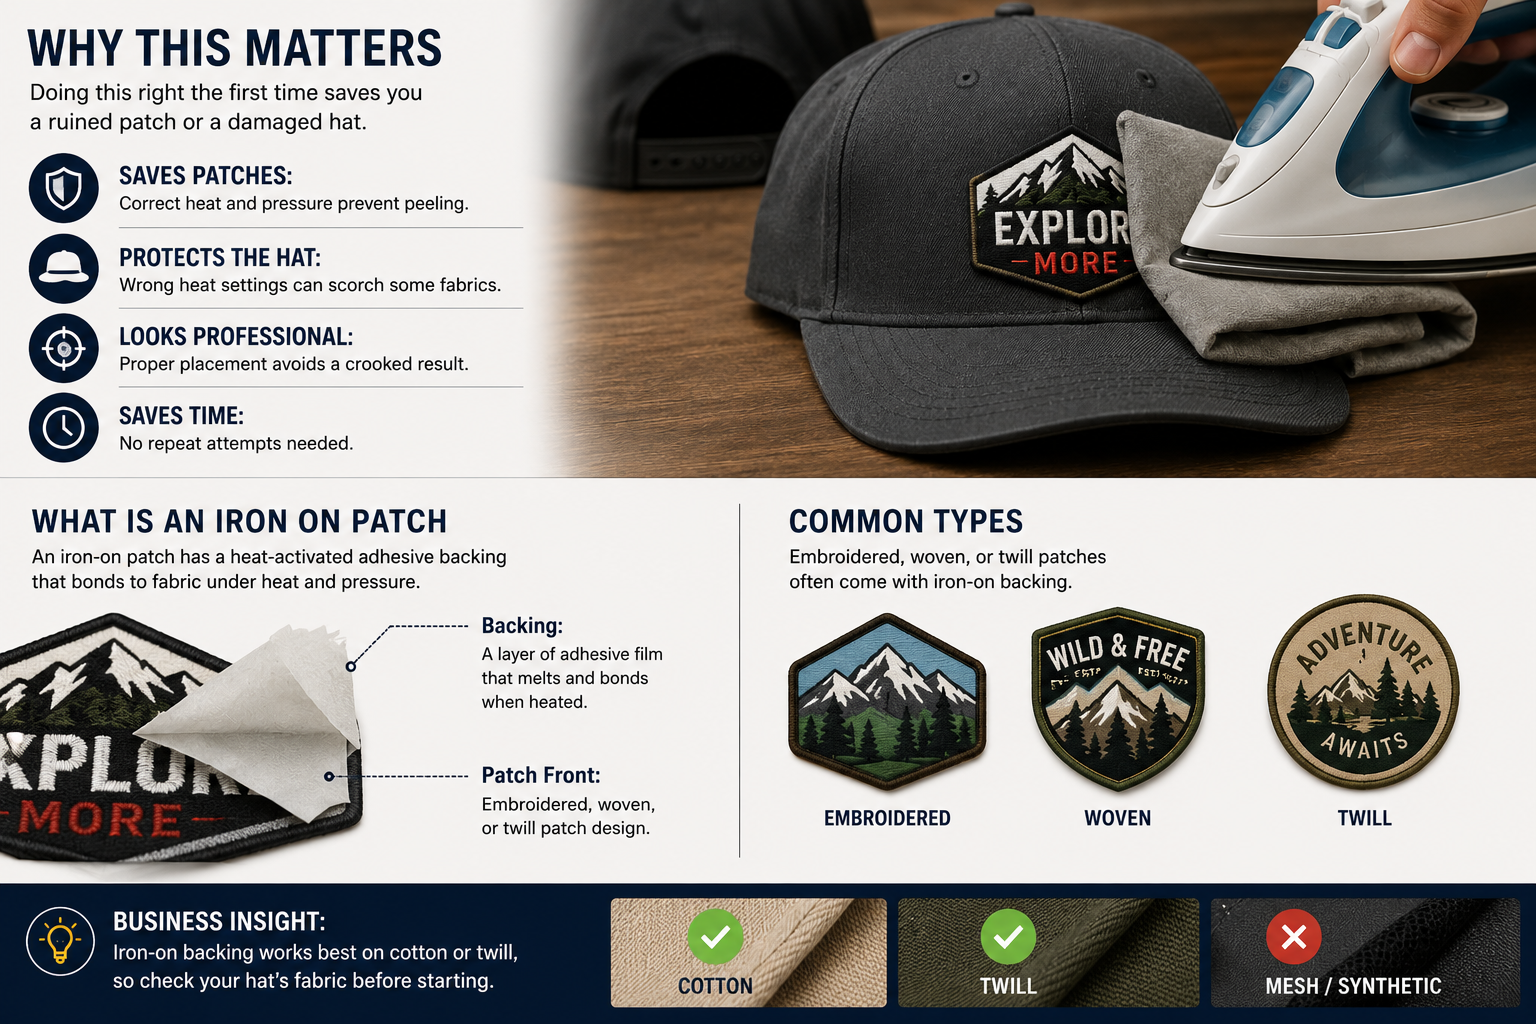
Why This Matters
Doing this right the first time saves you a ruined patch or a damaged hat.
- Saves patches: Correct heat and pressure prevent peeling.
- Protects the hat: Wrong heat settings can scorch some fabrics.
- Looks professional: Proper placement avoids a crooked result.
- Saves time: No repeat attempts needed.
What Is an Iron On Patch
An iron-on patch has a heat-activated adhesive backing that bonds to fabric under heat and pressure.
- Backing: A layer of adhesive film that melts and bonds when heated.
- Common types: Embroidered, woven, or twill patches often come with this backing.
- Best use: Fast, no-sew customization for hats, jackets, and bags.
Business Insight: Iron-on backing works best on cotton or twill, so check your hat’s fabric before starting.
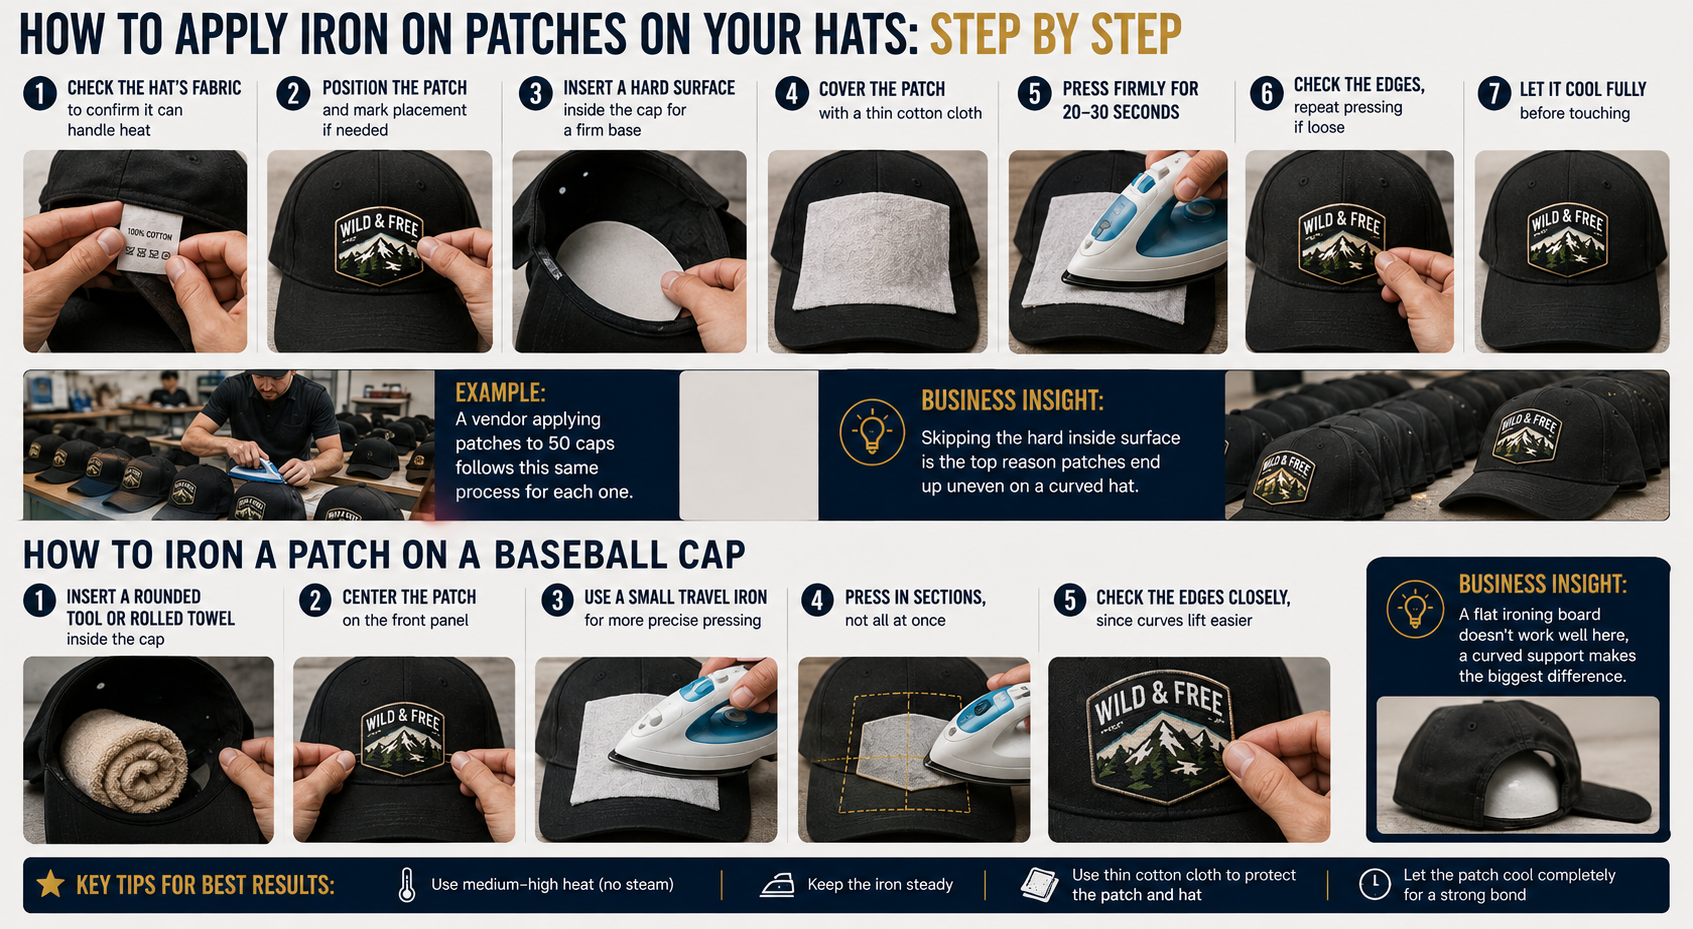
How to Apply Iron On Patches on Your Hats: Step by Step
- Step 1: Check the hat’s fabric to confirm it can handle heat.
- Step 2: Position the patch and mark placement if needed.
- Step 3: Insert a hard surface inside the cap for a firm base.
- Step 4: Cover the patch with a thin cotton cloth.
- Step 5: Press firmly for 20-30 seconds.
- Step 6: Check the edges, repeat pressing if loose.
- Step 7: Let it cool fully before touching.
Example: A vendor applying patches to 50 caps follows this same process for each one.
Business Insight: Skipping the hard inside surface is the top reason patches end up uneven on a curved hat.
How to Iron a Patch on a Baseball Cap
Baseball caps have a curved crown, so they need extra support.
- Step 1: Insert a rounded tool or rolled towel inside the cap.
- Step 2: Center the patch on the front panel.
- Step 3: Use a small travel iron for more precise pressing.
- Step 4: Press in sections, not all at once.
- Step 5: Check the edges closely, since curves lift easier.
Business Insight: A flat ironing board doesn’t work well here, a curved support makes the biggest difference.
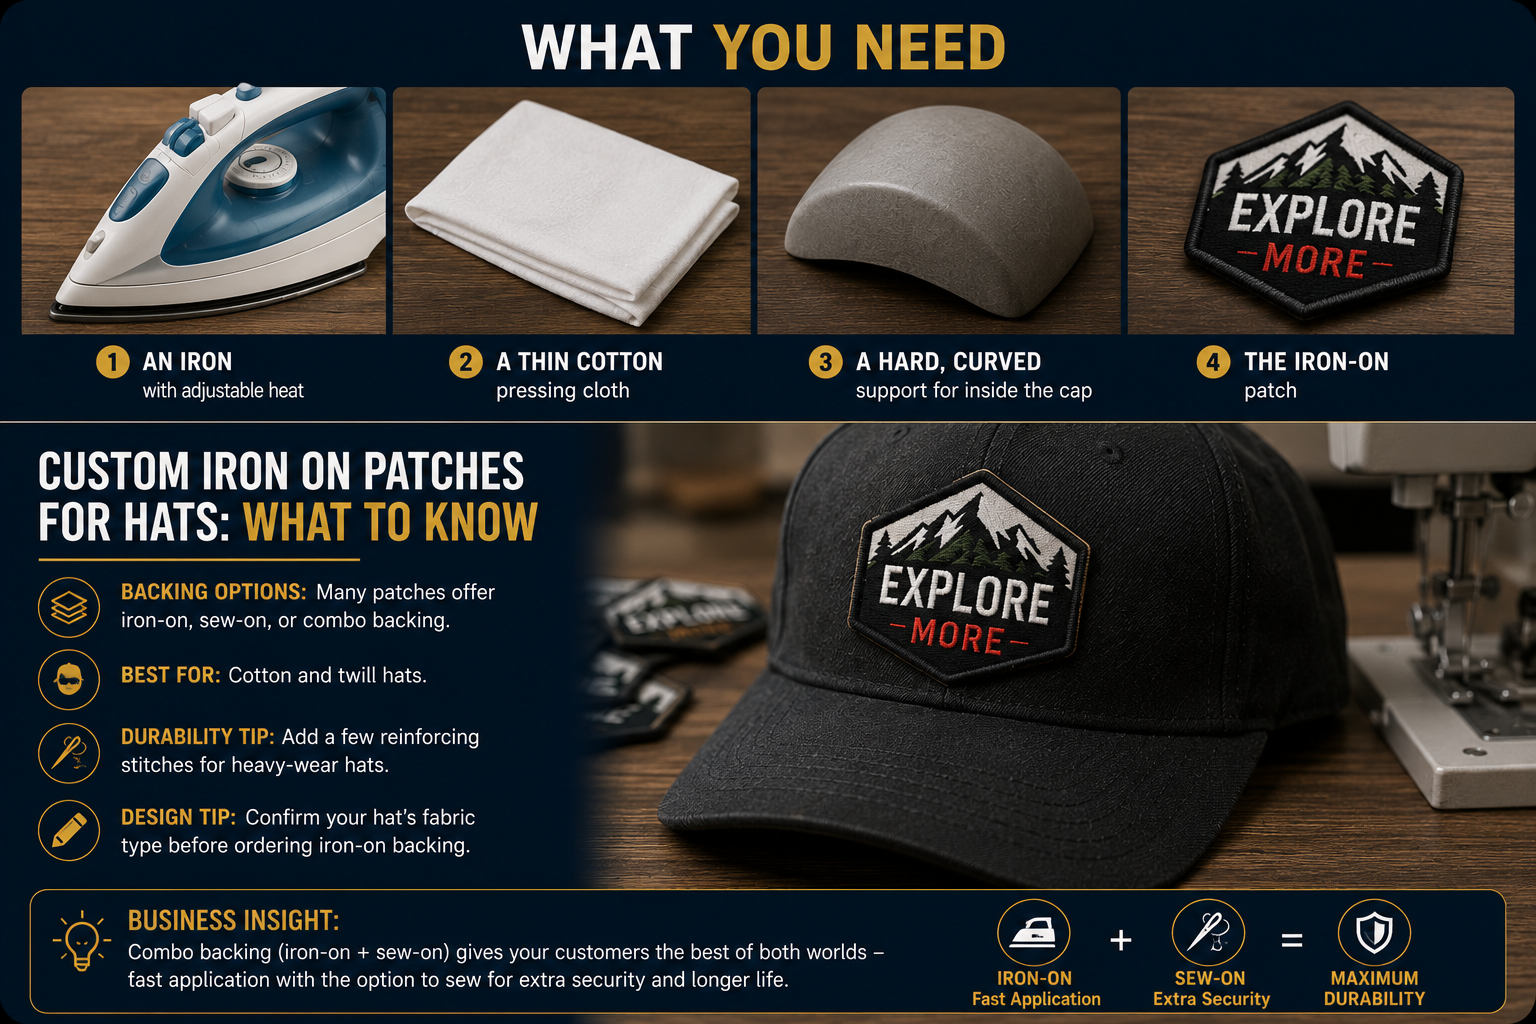
What You Need
- An iron with adjustable heat.
- A thin cotton pressing cloth.
- A hard, curved support for inside the cap.
- The iron-on patch.
Custom Iron On Patches for Hats: What to Know
- Backing options: Many patches offer iron-on, sew-on, or combo backing.
- Best for: Cotton and twill hats.
- Durability tip: Add a few reinforcing stitches for heavy-wear hats.
- Design tip: Confirm your hat’s fabric type before ordering iron-on backing.
Business Insight: Combo backing (iron-on plus a few stitches) holds up better long-term than iron-on alone.
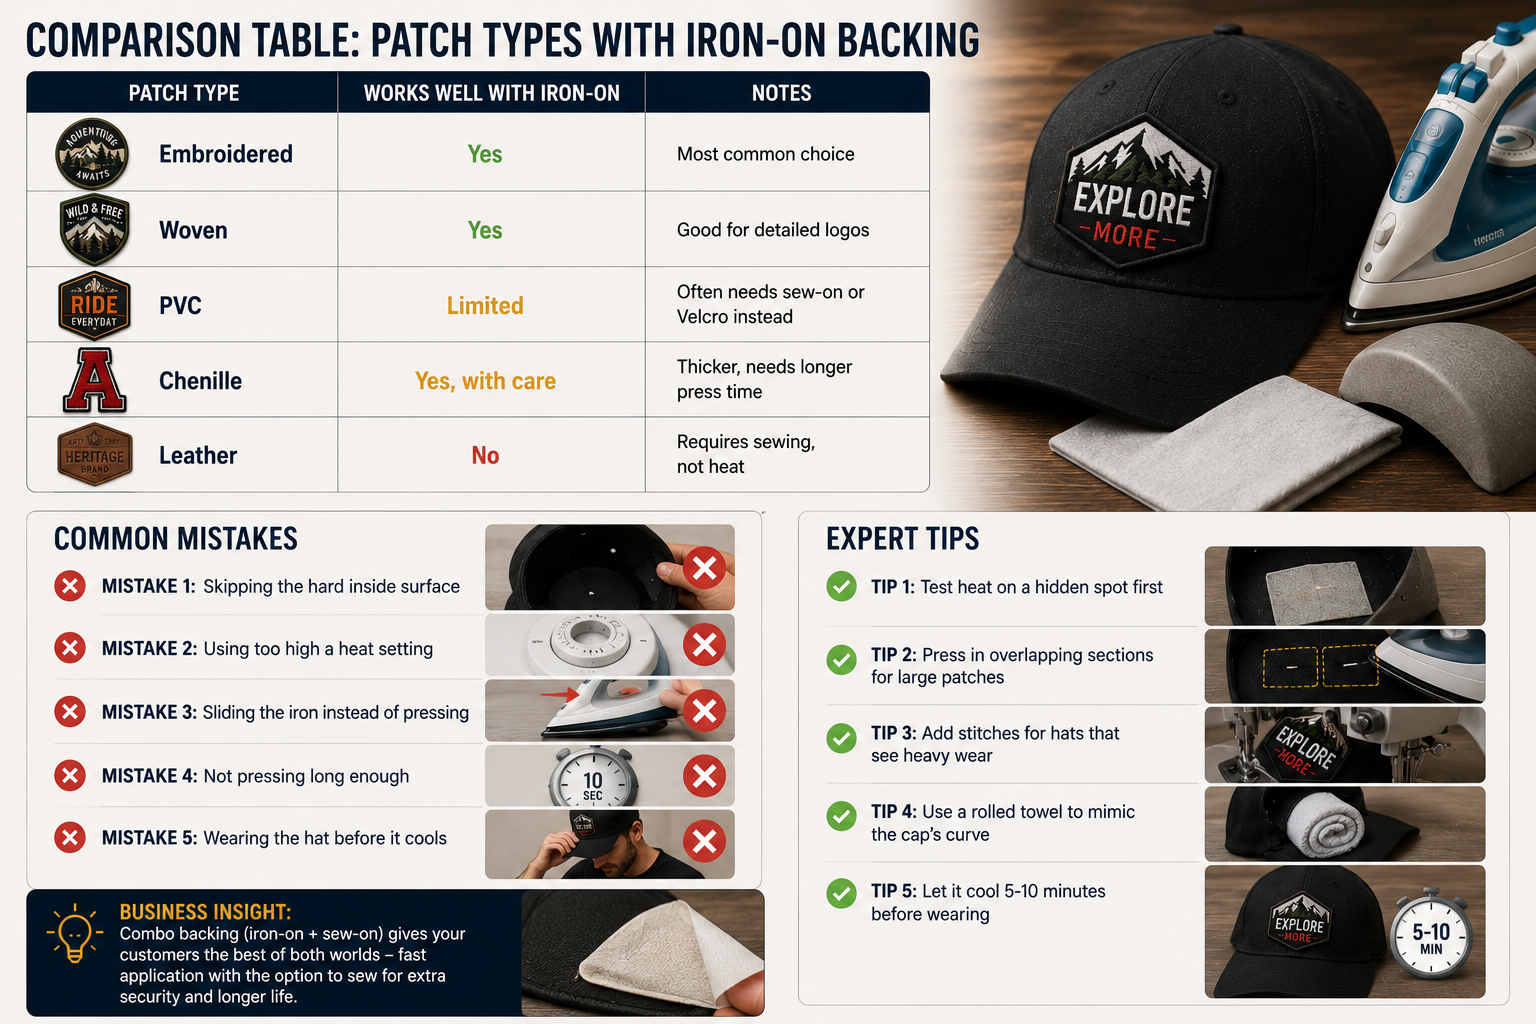
Comparison Table: Patch Types with Iron-On Backing
| Patch Type | Works Well with Iron-On | Notes |
|---|---|---|
| Embroidered | Yes | Most common choice |
| Woven | Yes | Good for detailed logos |
| PVC | Limited | Often needs sew-on or Velcro instead |
| Chenille | Yes, with care | Thicker, needs longer press time |
| Leather | No | Requires sewing, not heat |
Common Mistakes
- Mistake 1: Skipping the hard inside surface.
- Mistake 2: Using too high a heat setting.
- Mistake 3: Sliding the iron instead of pressing.
- Mistake 4: Not pressing long enough.
- Mistake 5: Wearing the hat before it cools.
Expert Tips
- Tip 1: Test heat on a hidden spot first.
- Tip 2: Press in overlapping sections for large patches.
- Tip 3: Add stitches for hats that see heavy wear.
- Tip 4: Use a rolled towel to mimic the cap’s curve.
- Tip 5: Let it cool 5-10 minutes before wearing.
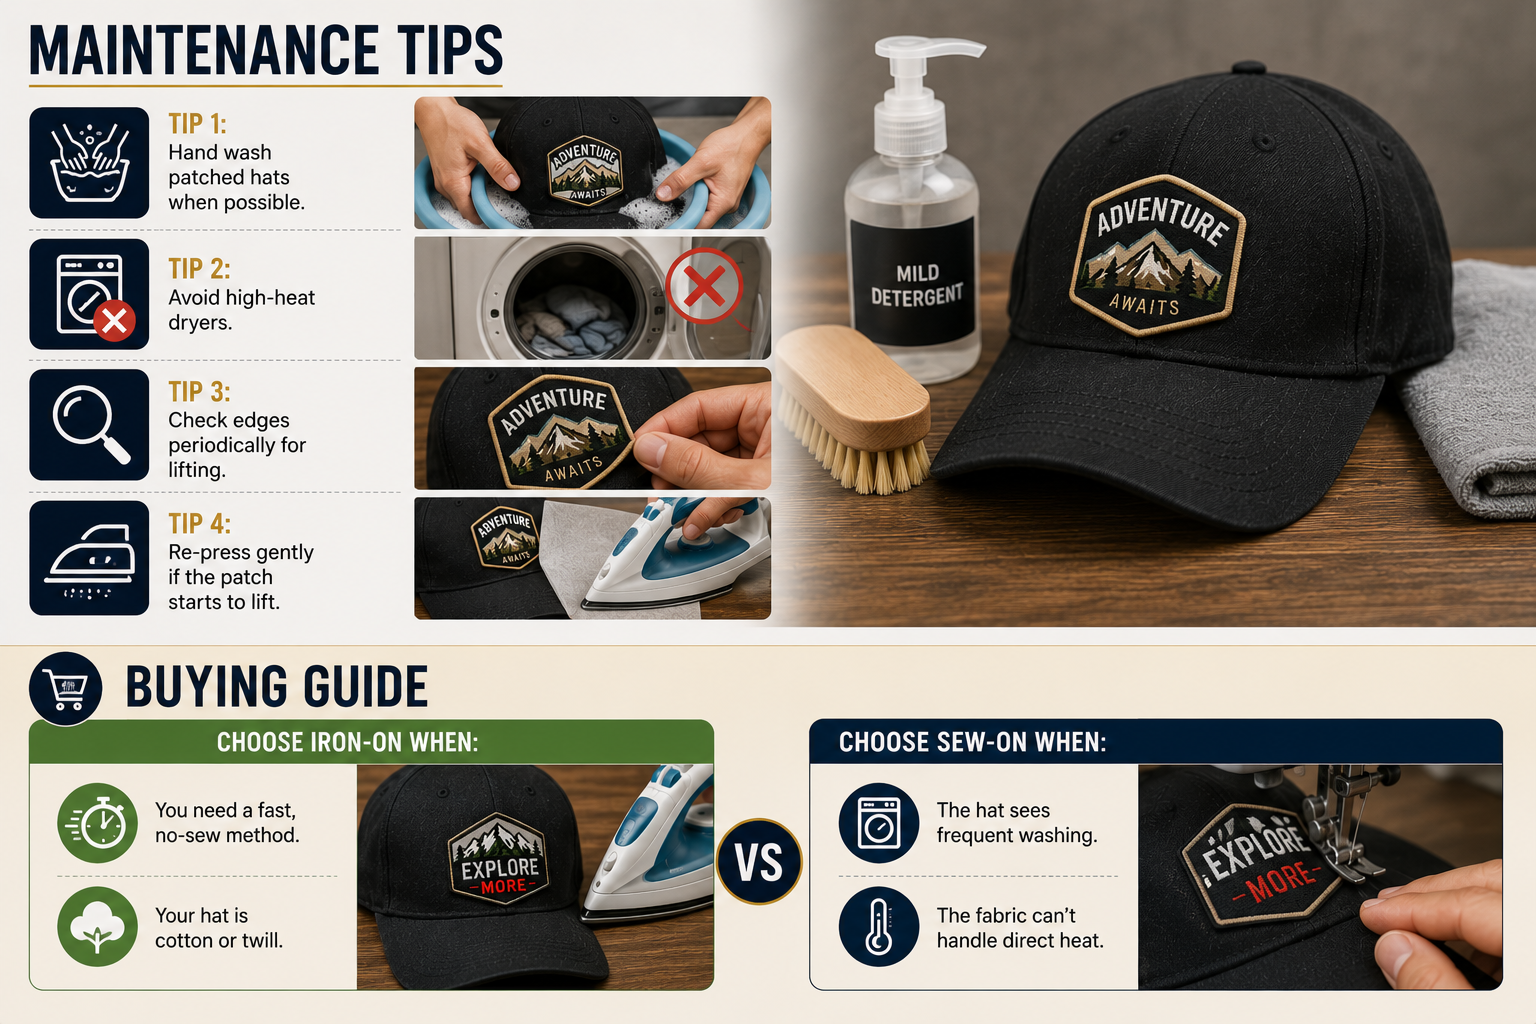
Maintenance Tips
- Tip 1: Hand wash patched hats when possible.
- Tip 2: Avoid high-heat dryers.
- Tip 3: Check edges periodically for lifting.
- Tip 4: Re-press gently if the patch starts to lift.
Buying Guide
Choose iron-on when:
- You need a fast, no-sew method.
- Your hat is cotton or twill.
Choose sew-on when:
- The hat sees frequent washing.
- The fabric can’t handle direct heat.
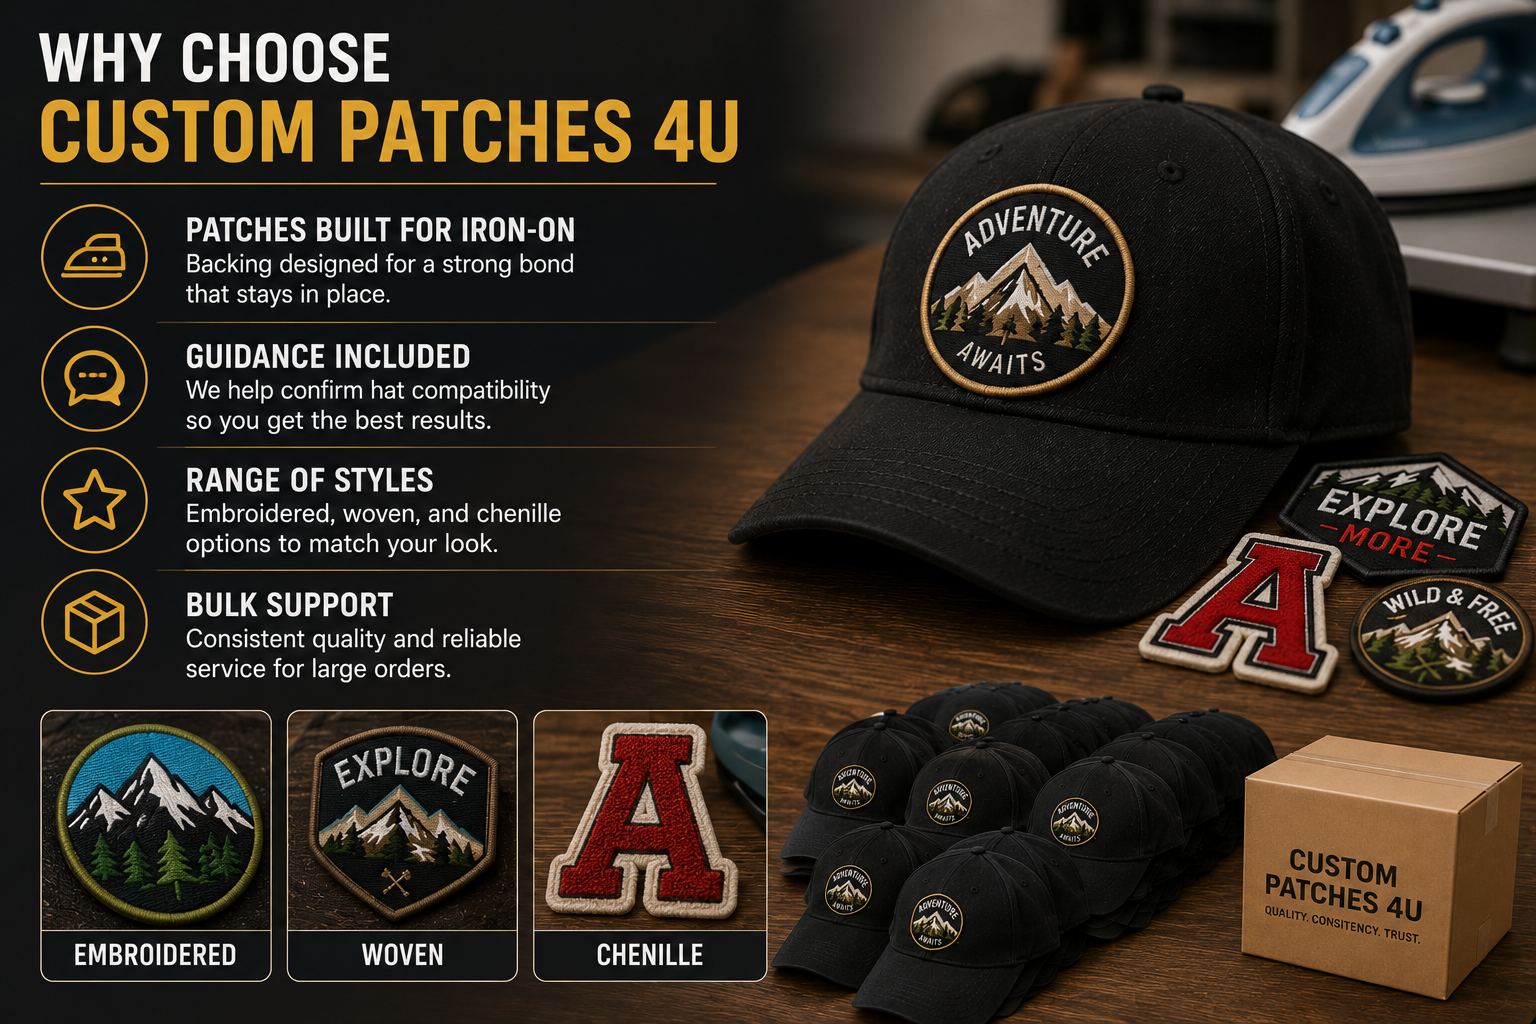
Why Choose Custom Patches 4U
- Patches built for iron-on: Backing designed for a strong bond.
- Guidance included: We help confirm hat compatibility.
- Range of styles: Embroidered, woven, and chenille options.
- Bulk support: Consistent quality for large orders.
FAQs
How do I apply an iron-on patch to a hat?
Place the patch, cover with cloth, press for 20-30 seconds using a hard surface inside the cap.
What is an iron-on patch?
A patch with heat-activated adhesive backing that bonds to fabric under heat.
How do I iron a patch on a baseball cap?
Use a curved support inside the crown, then press in sections for even contact.
Can I use a regular iron?
Yes, though a smaller travel iron helps with curved areas.
Why did my patch peel off?
Usually from too little pressing time or too low heat.
Can iron-on patches go on any hat?
Best on cotton or twill; synthetic fabrics need lower heat and care.
Should I sew an iron-on patch too?
Yes, for extra durability on heavily worn hats.
How long does application take?
A few minutes per patch, plus cooling time.
Do I need a special surface for curved hats?
Yes, a hard curved object inside the cap helps press evenly.
Can I remove an iron-on patch later?
It’s difficult and can leave residue or fabric damage.
Get Custom Iron-On Patches
Share your hat material and design for guidance on the best patch backing. Ask about samples or bulk pricing before you order.